Tuesday October 27, 2026
What’s in a Frame?
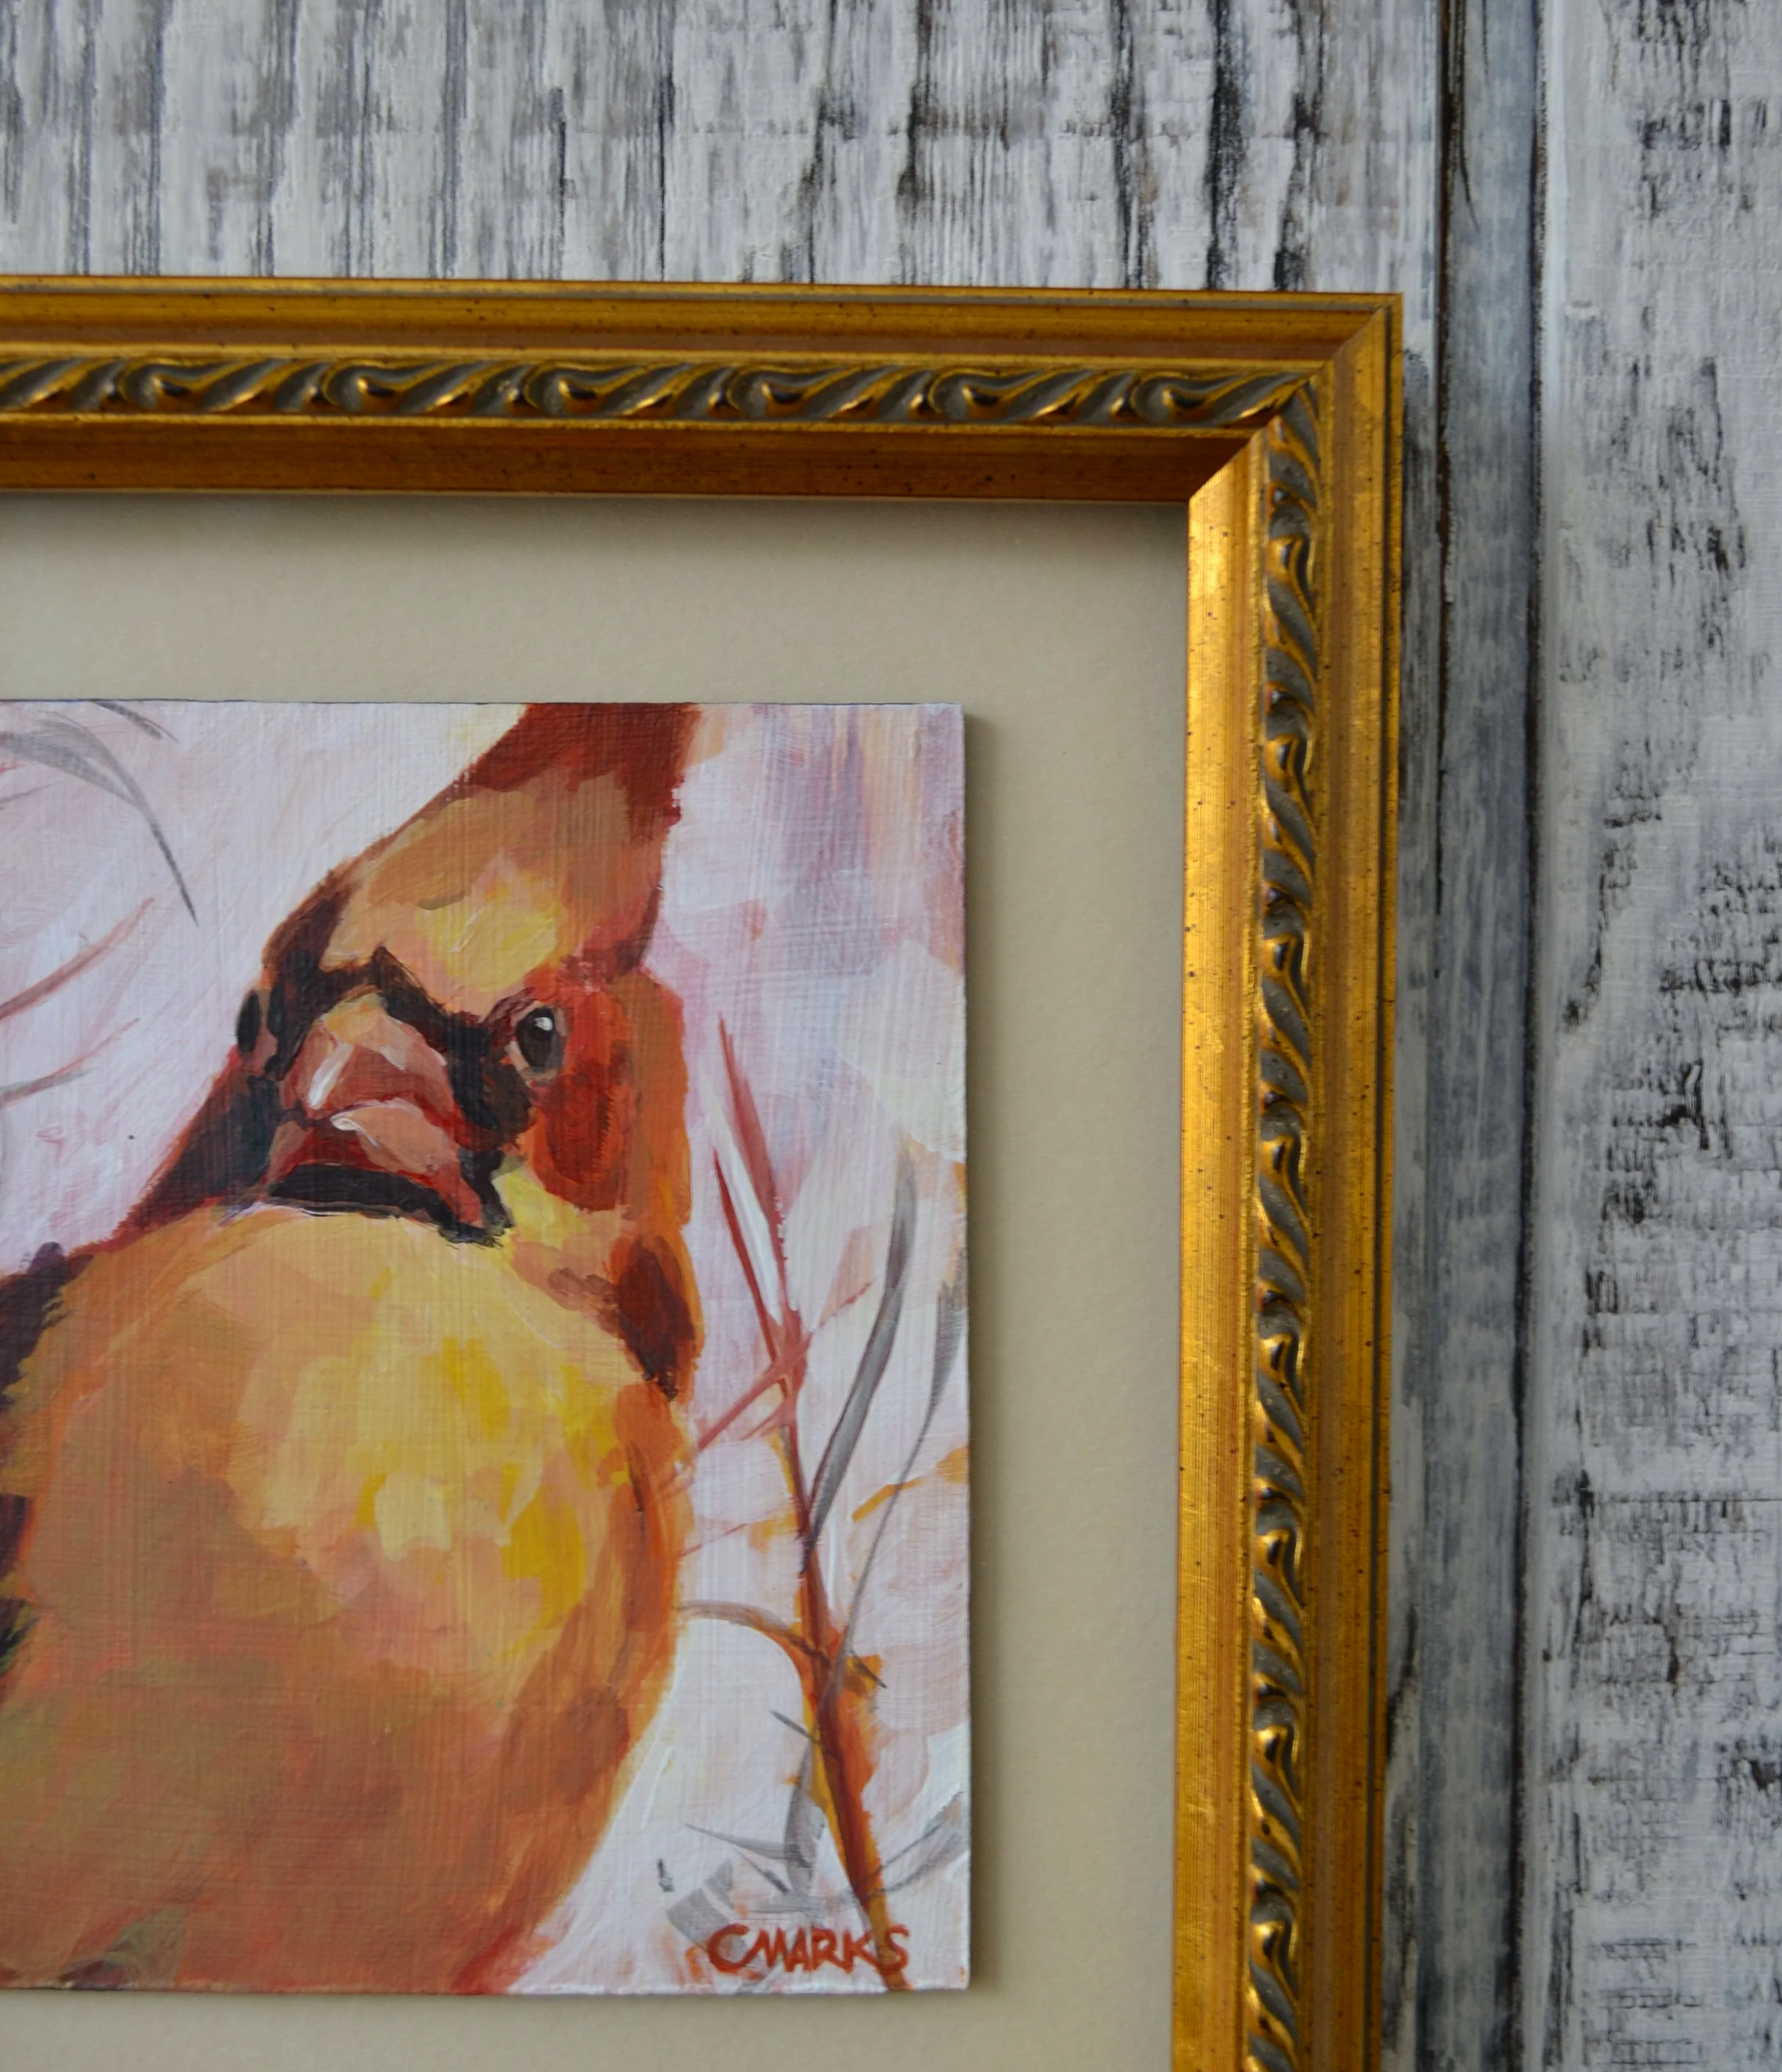
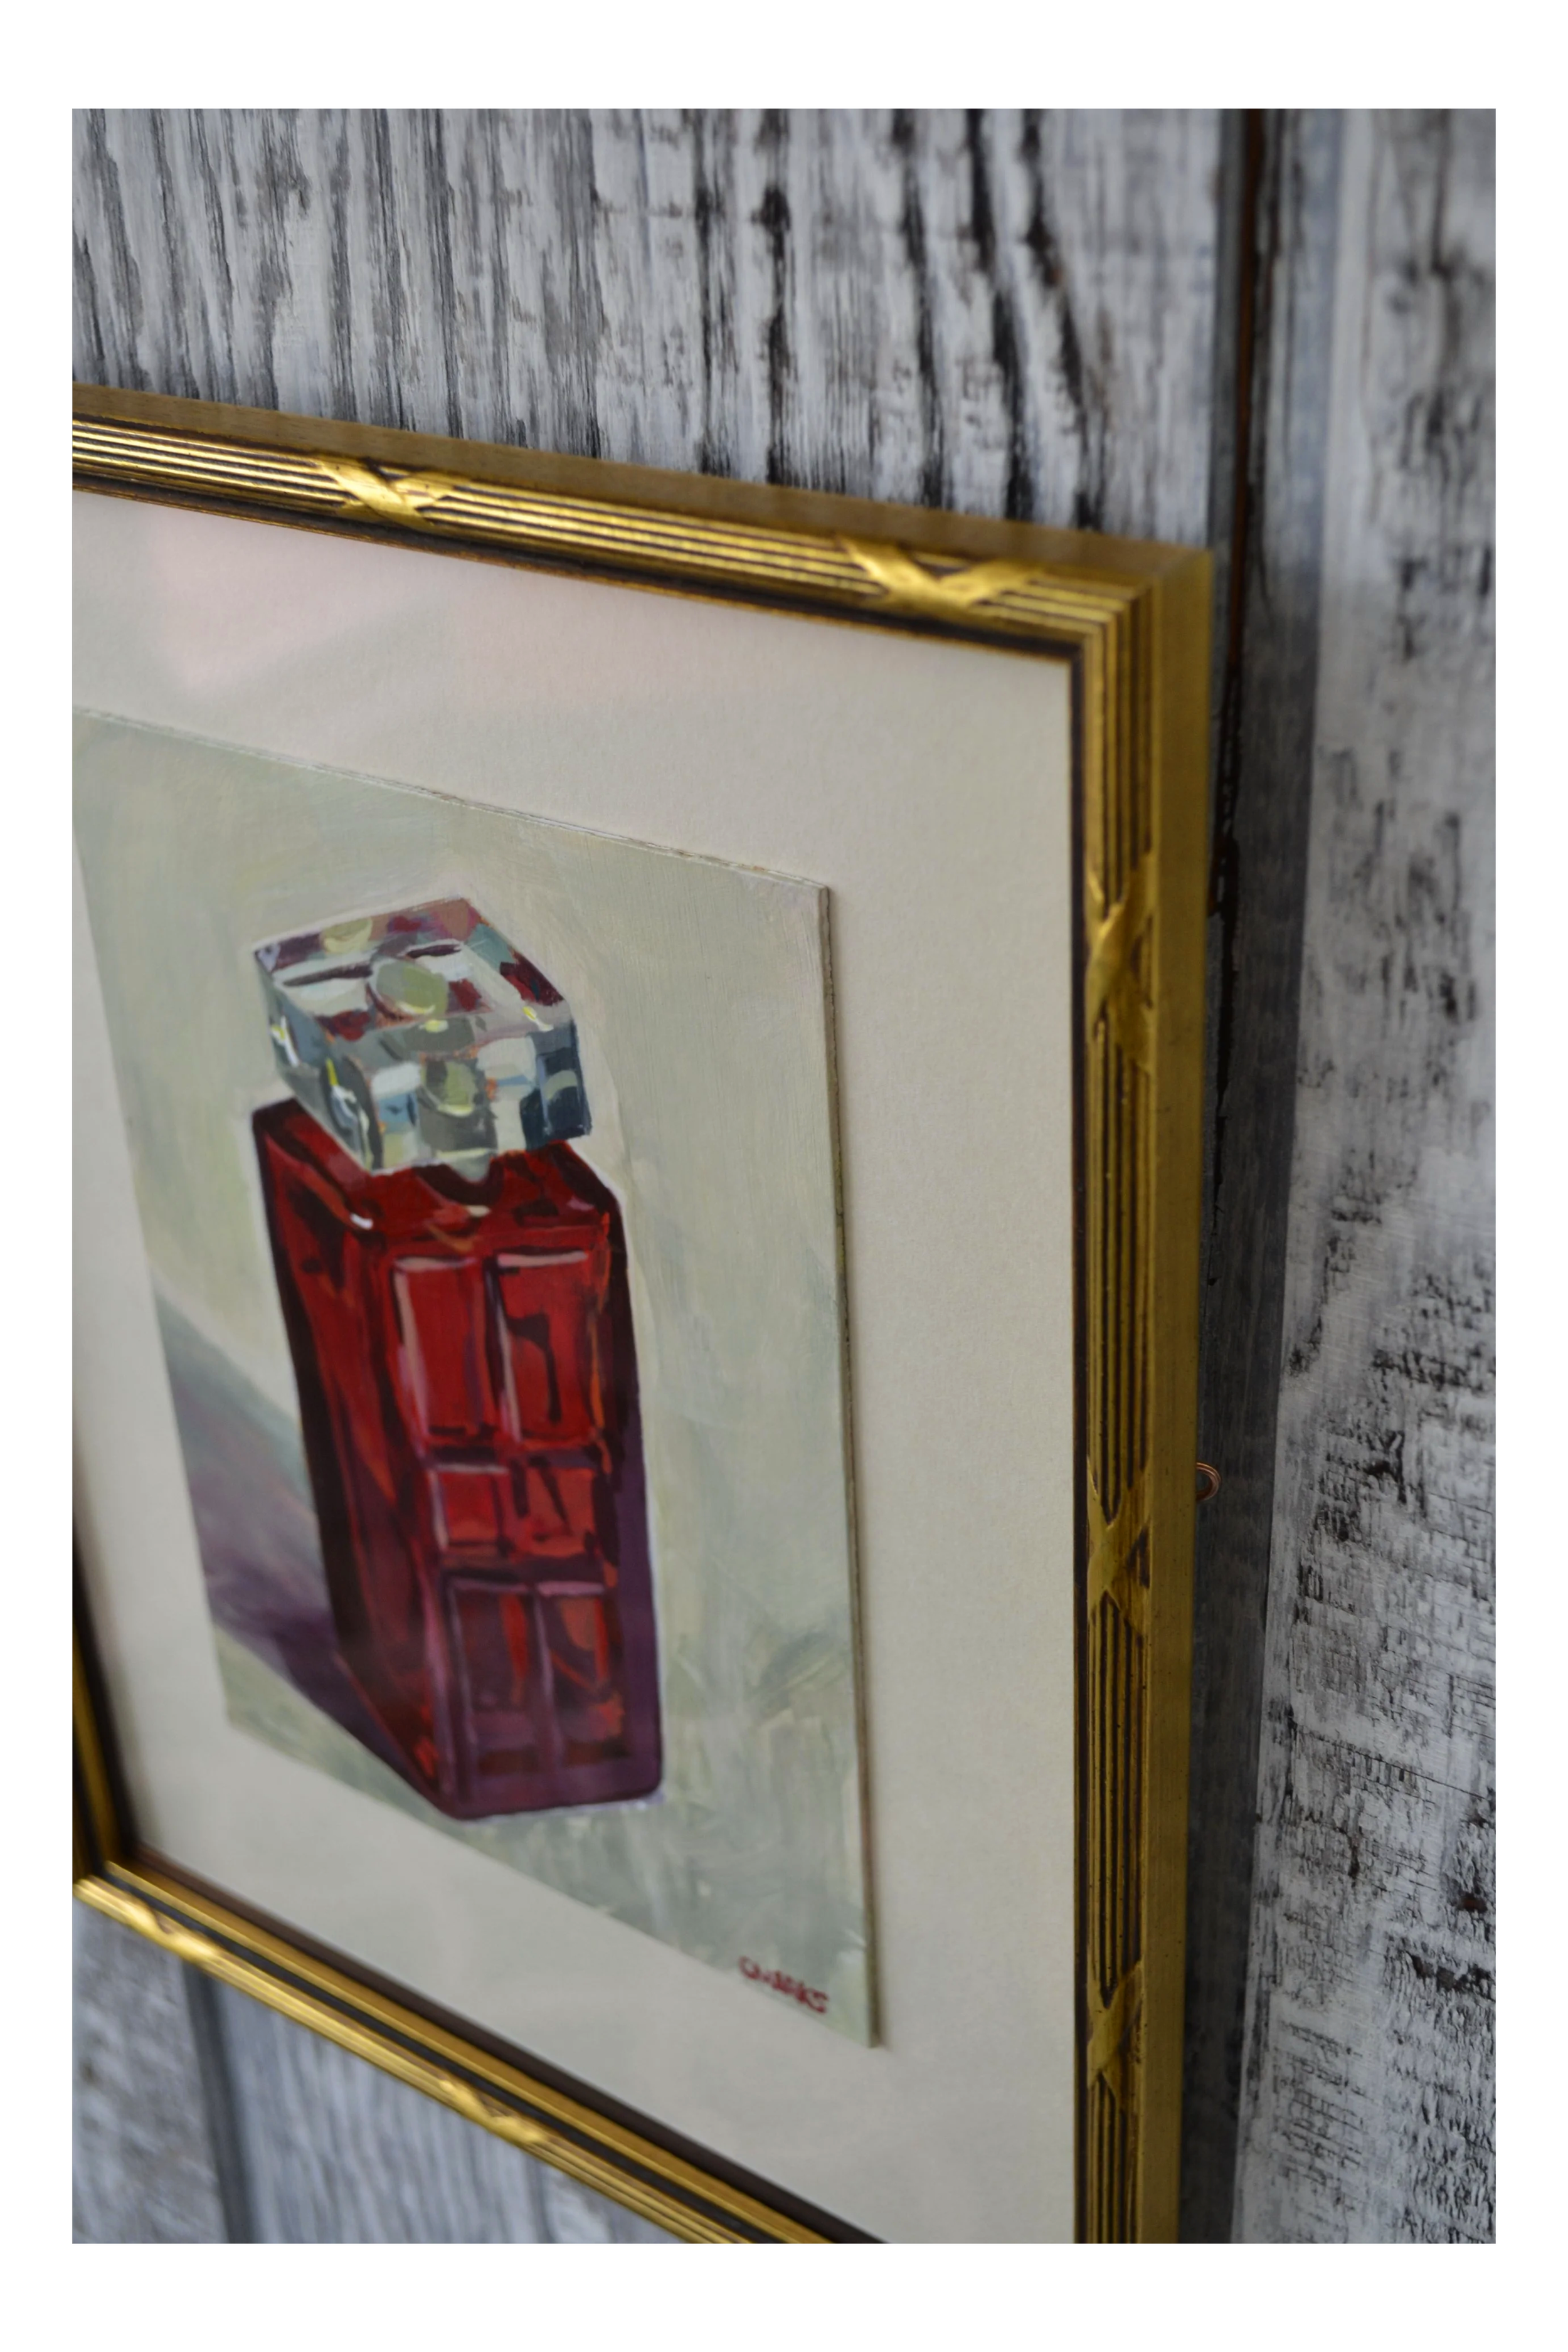
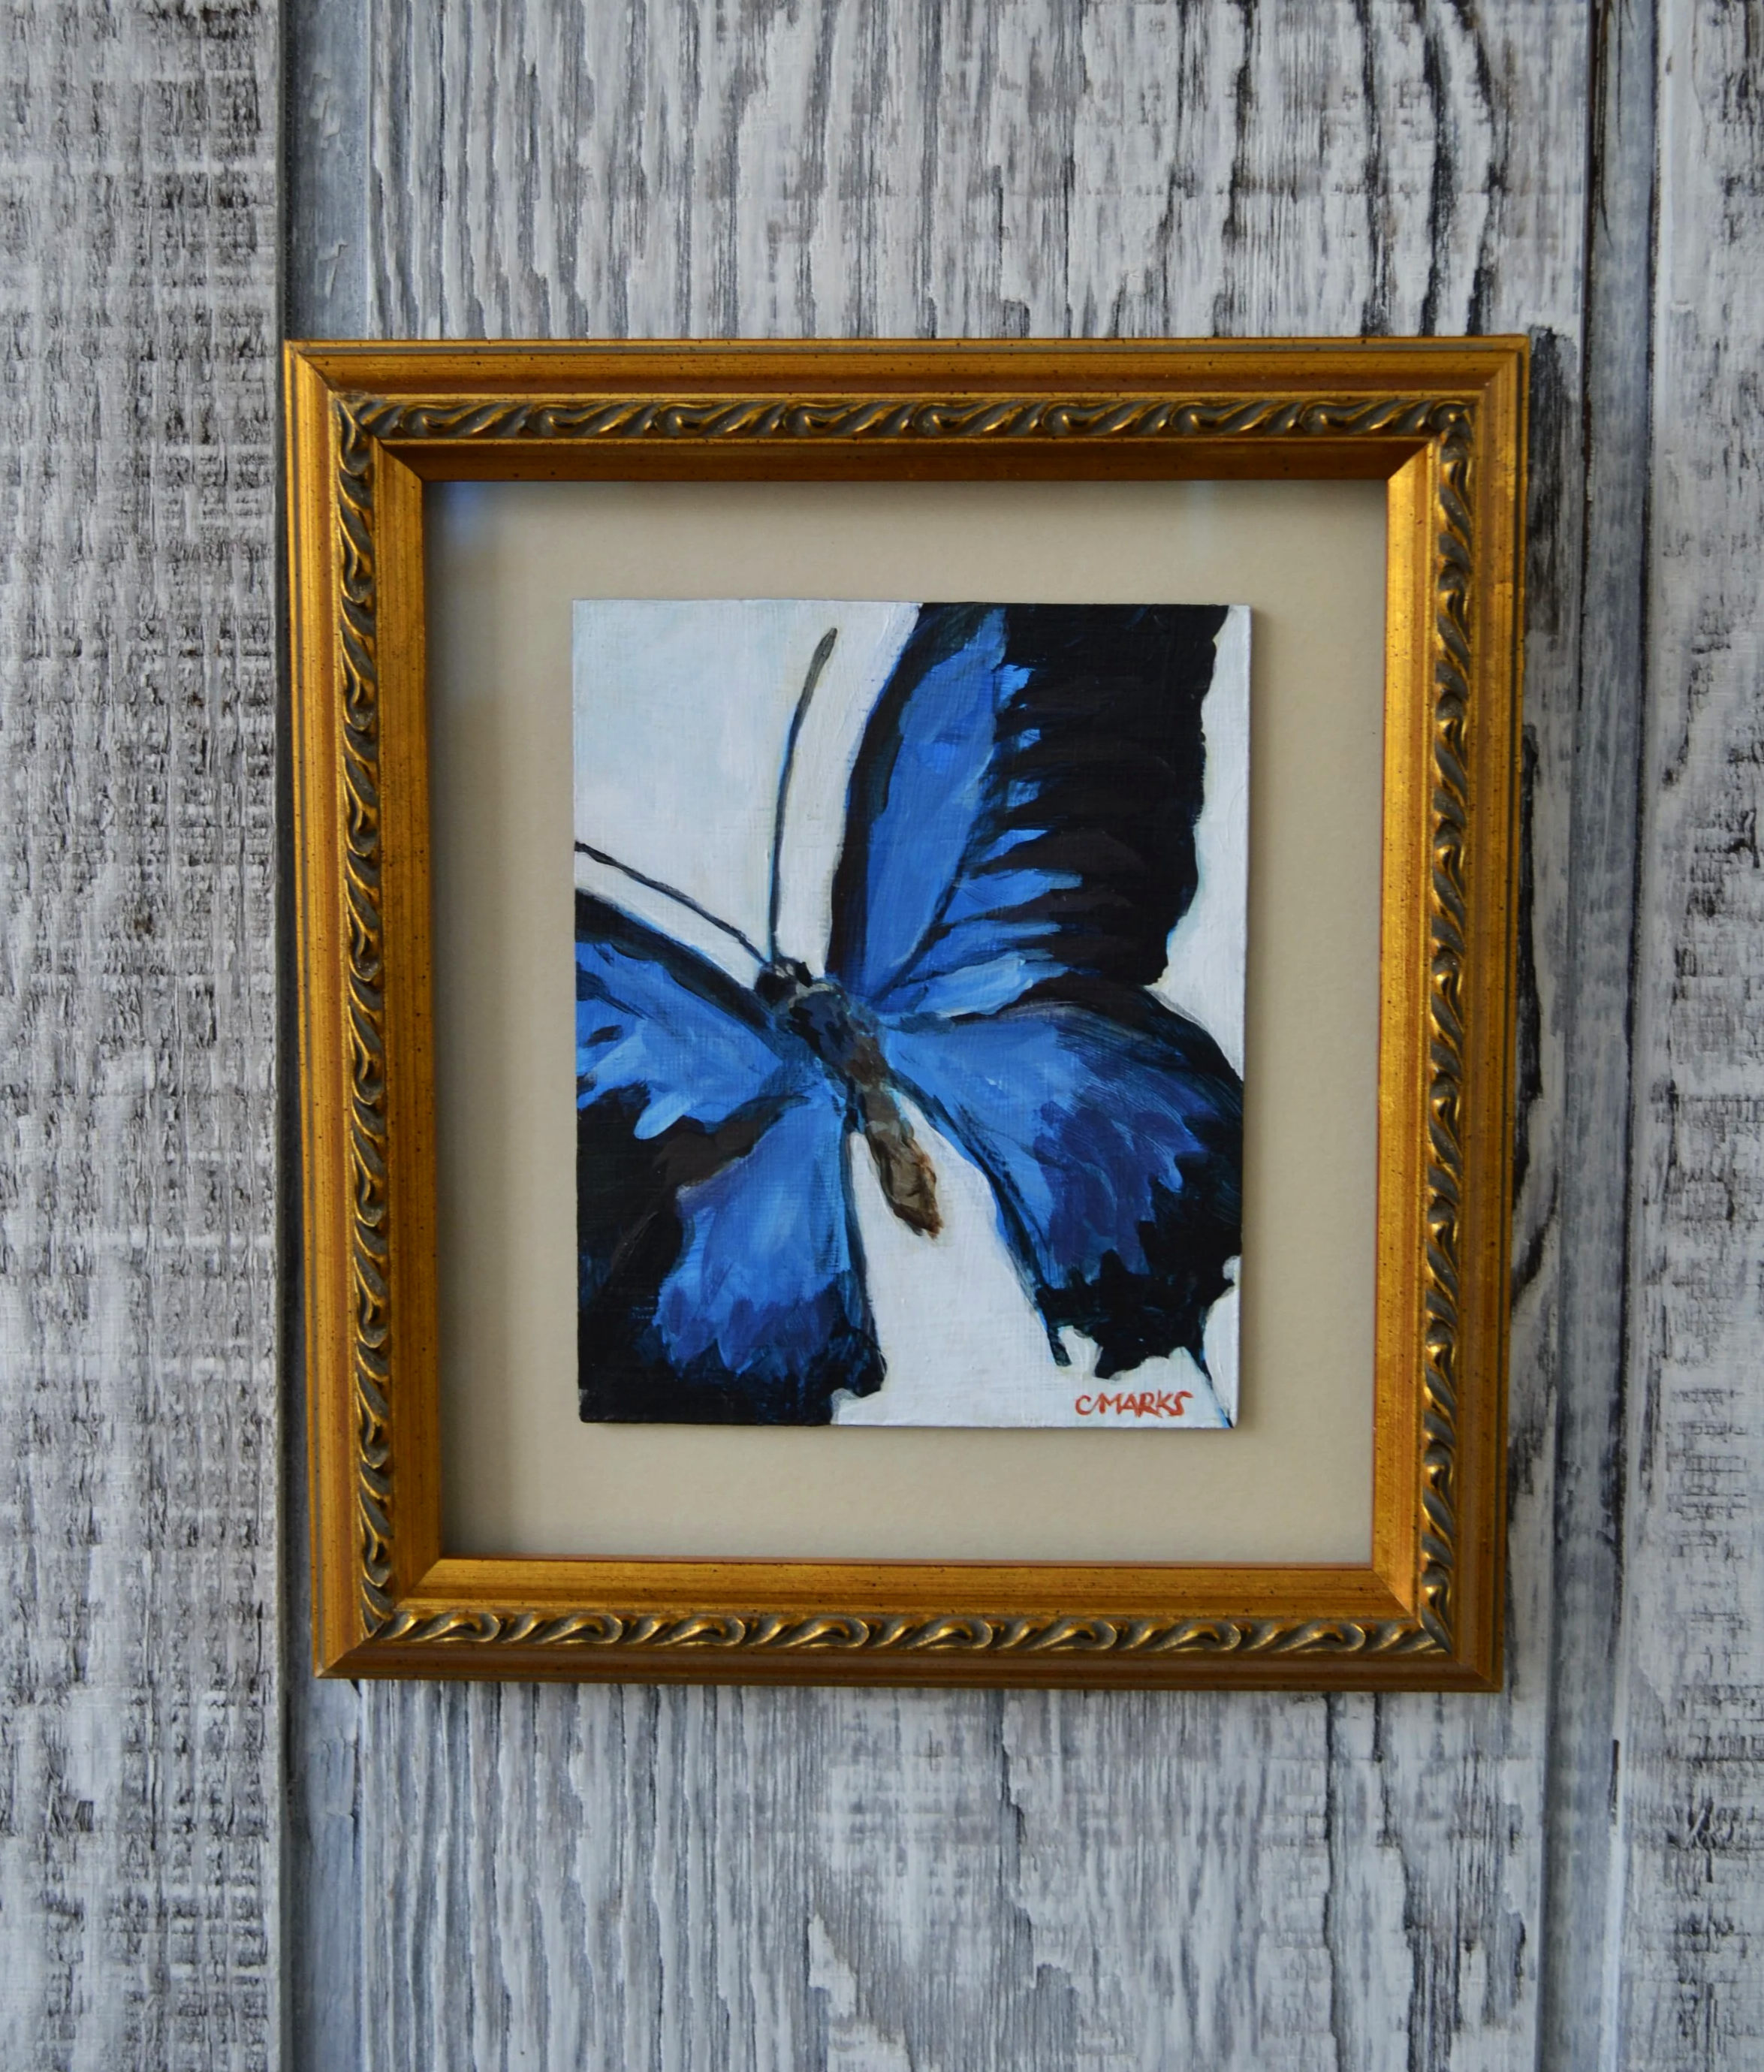
I’ve been working in custom framing shops for the past nine years. I thought it would be fun to show you how I framed some of my acrylic paintings from start to finish.
All of this was done at McKay Bricker Framing in Kent, OH. They’ve been around now for over 42 years.
Step One:
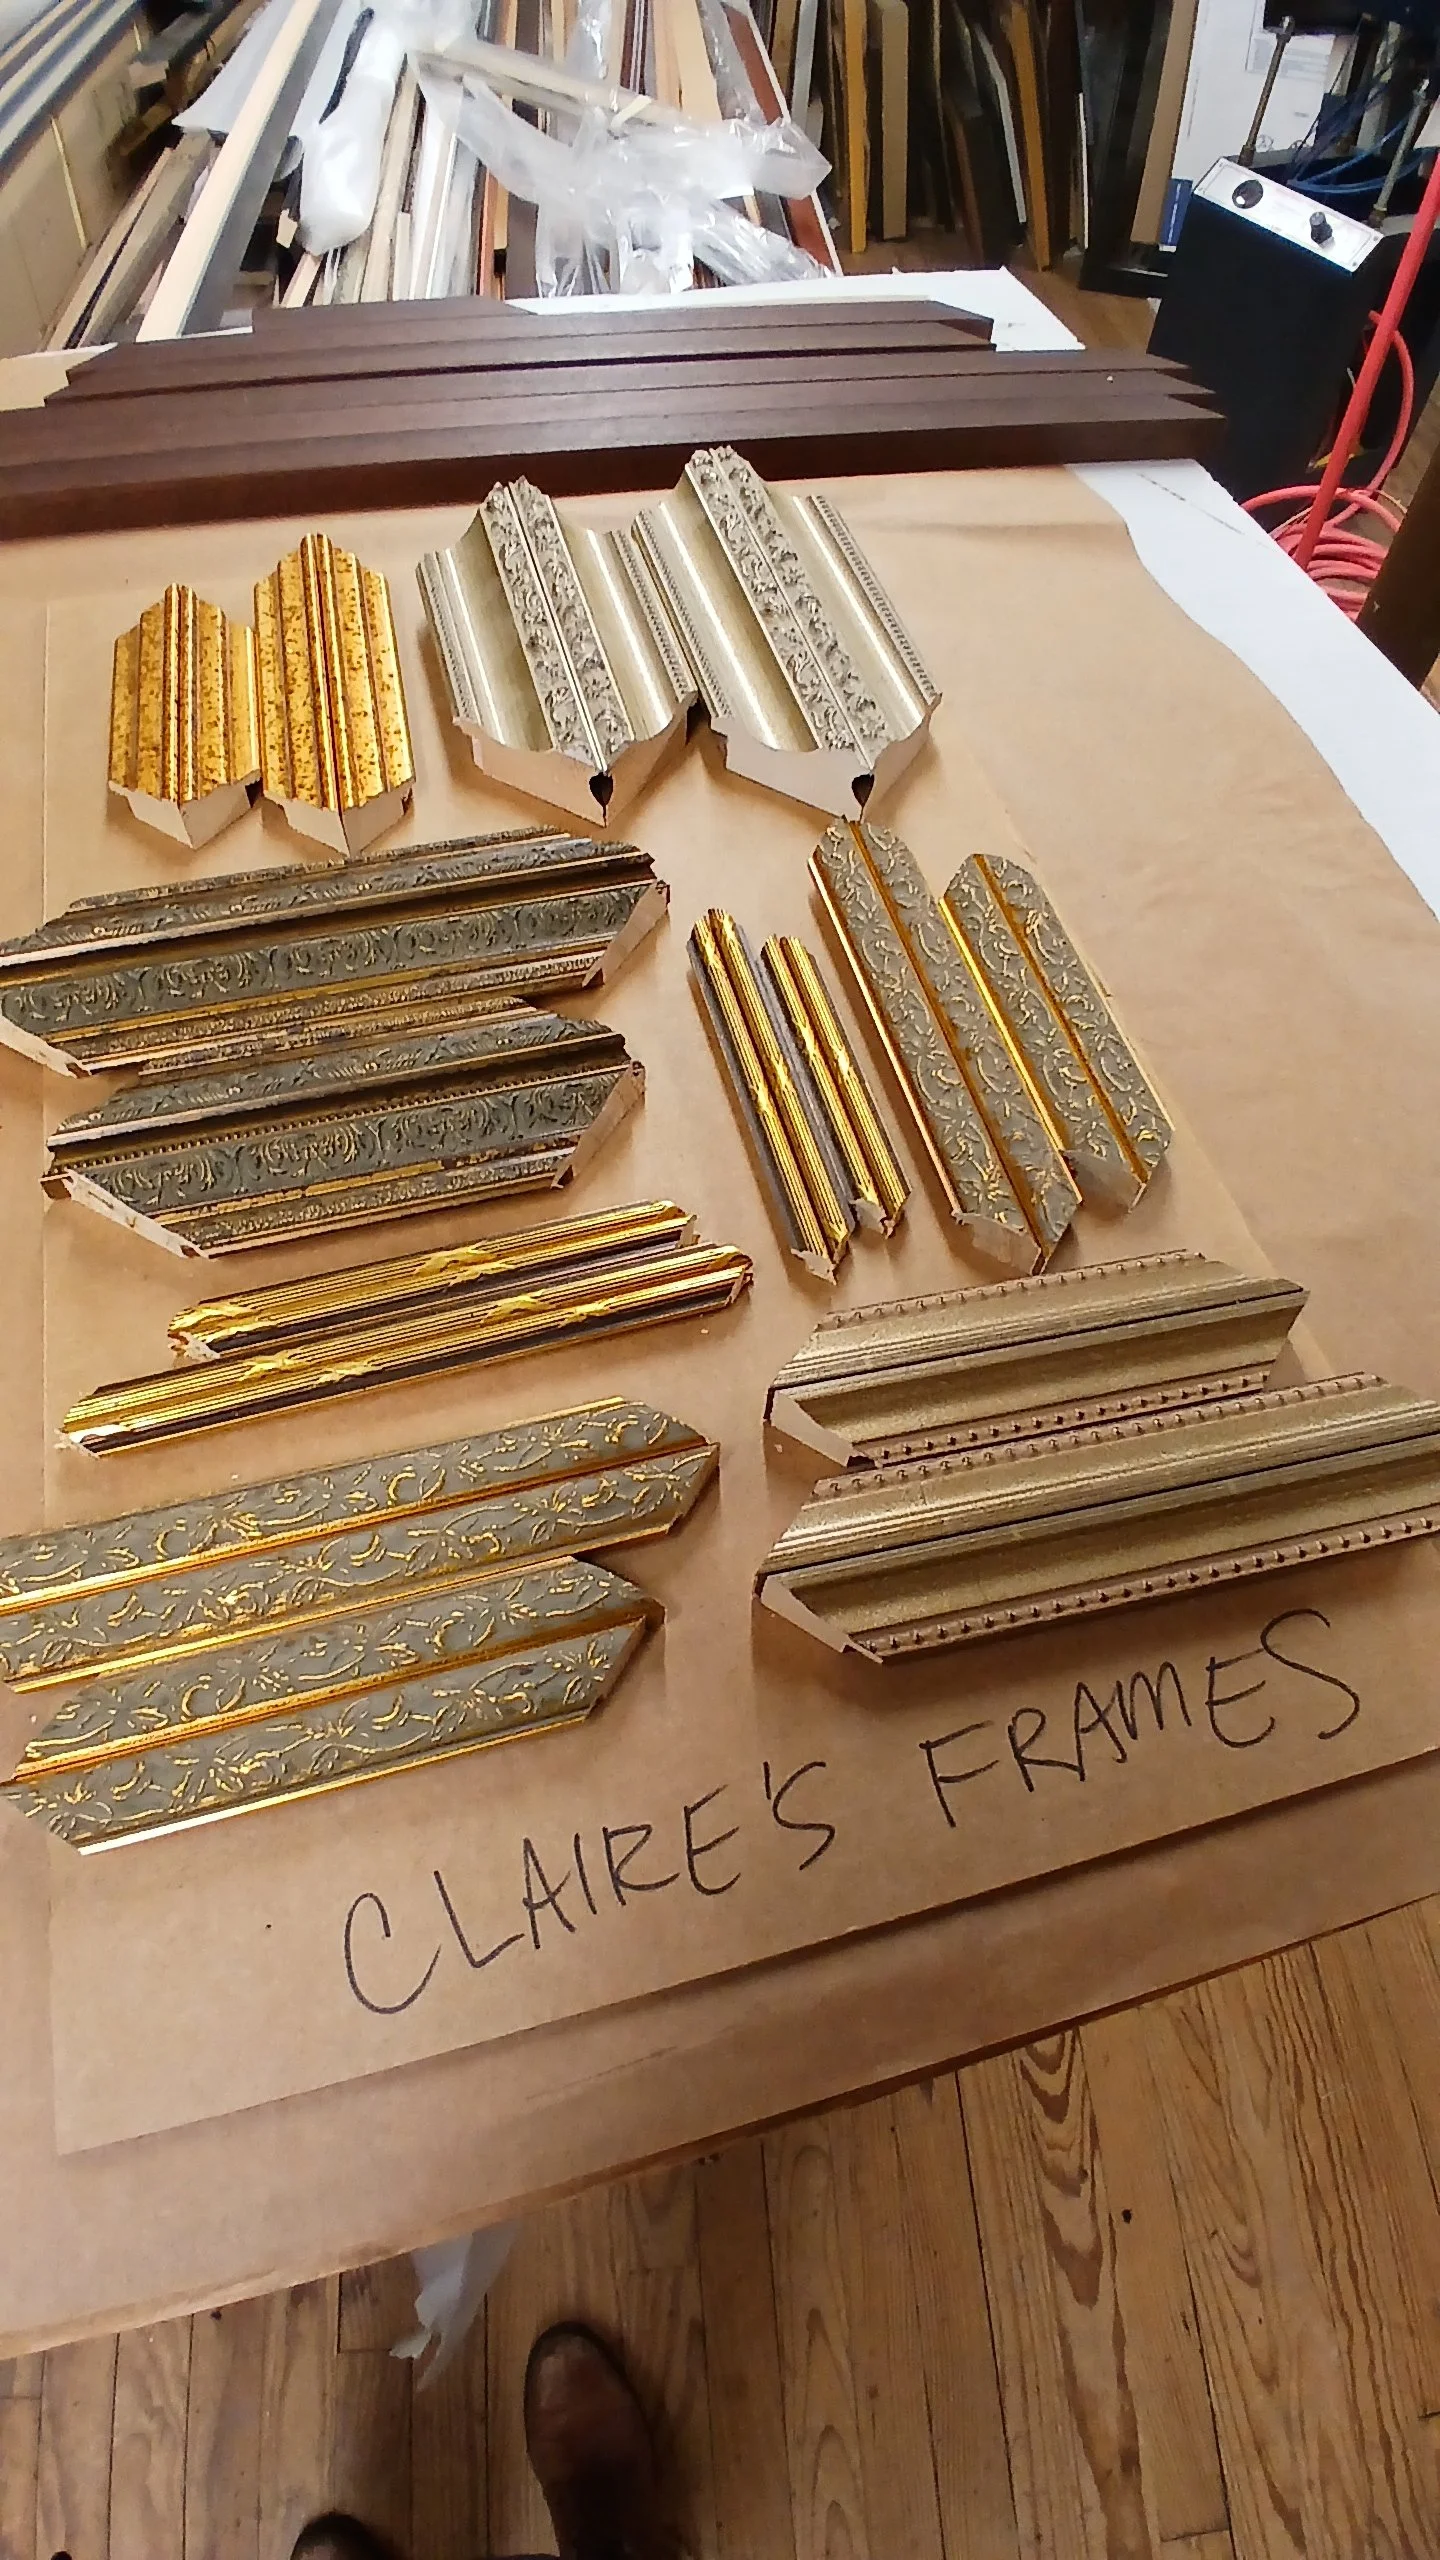
Select and Chop the moulding
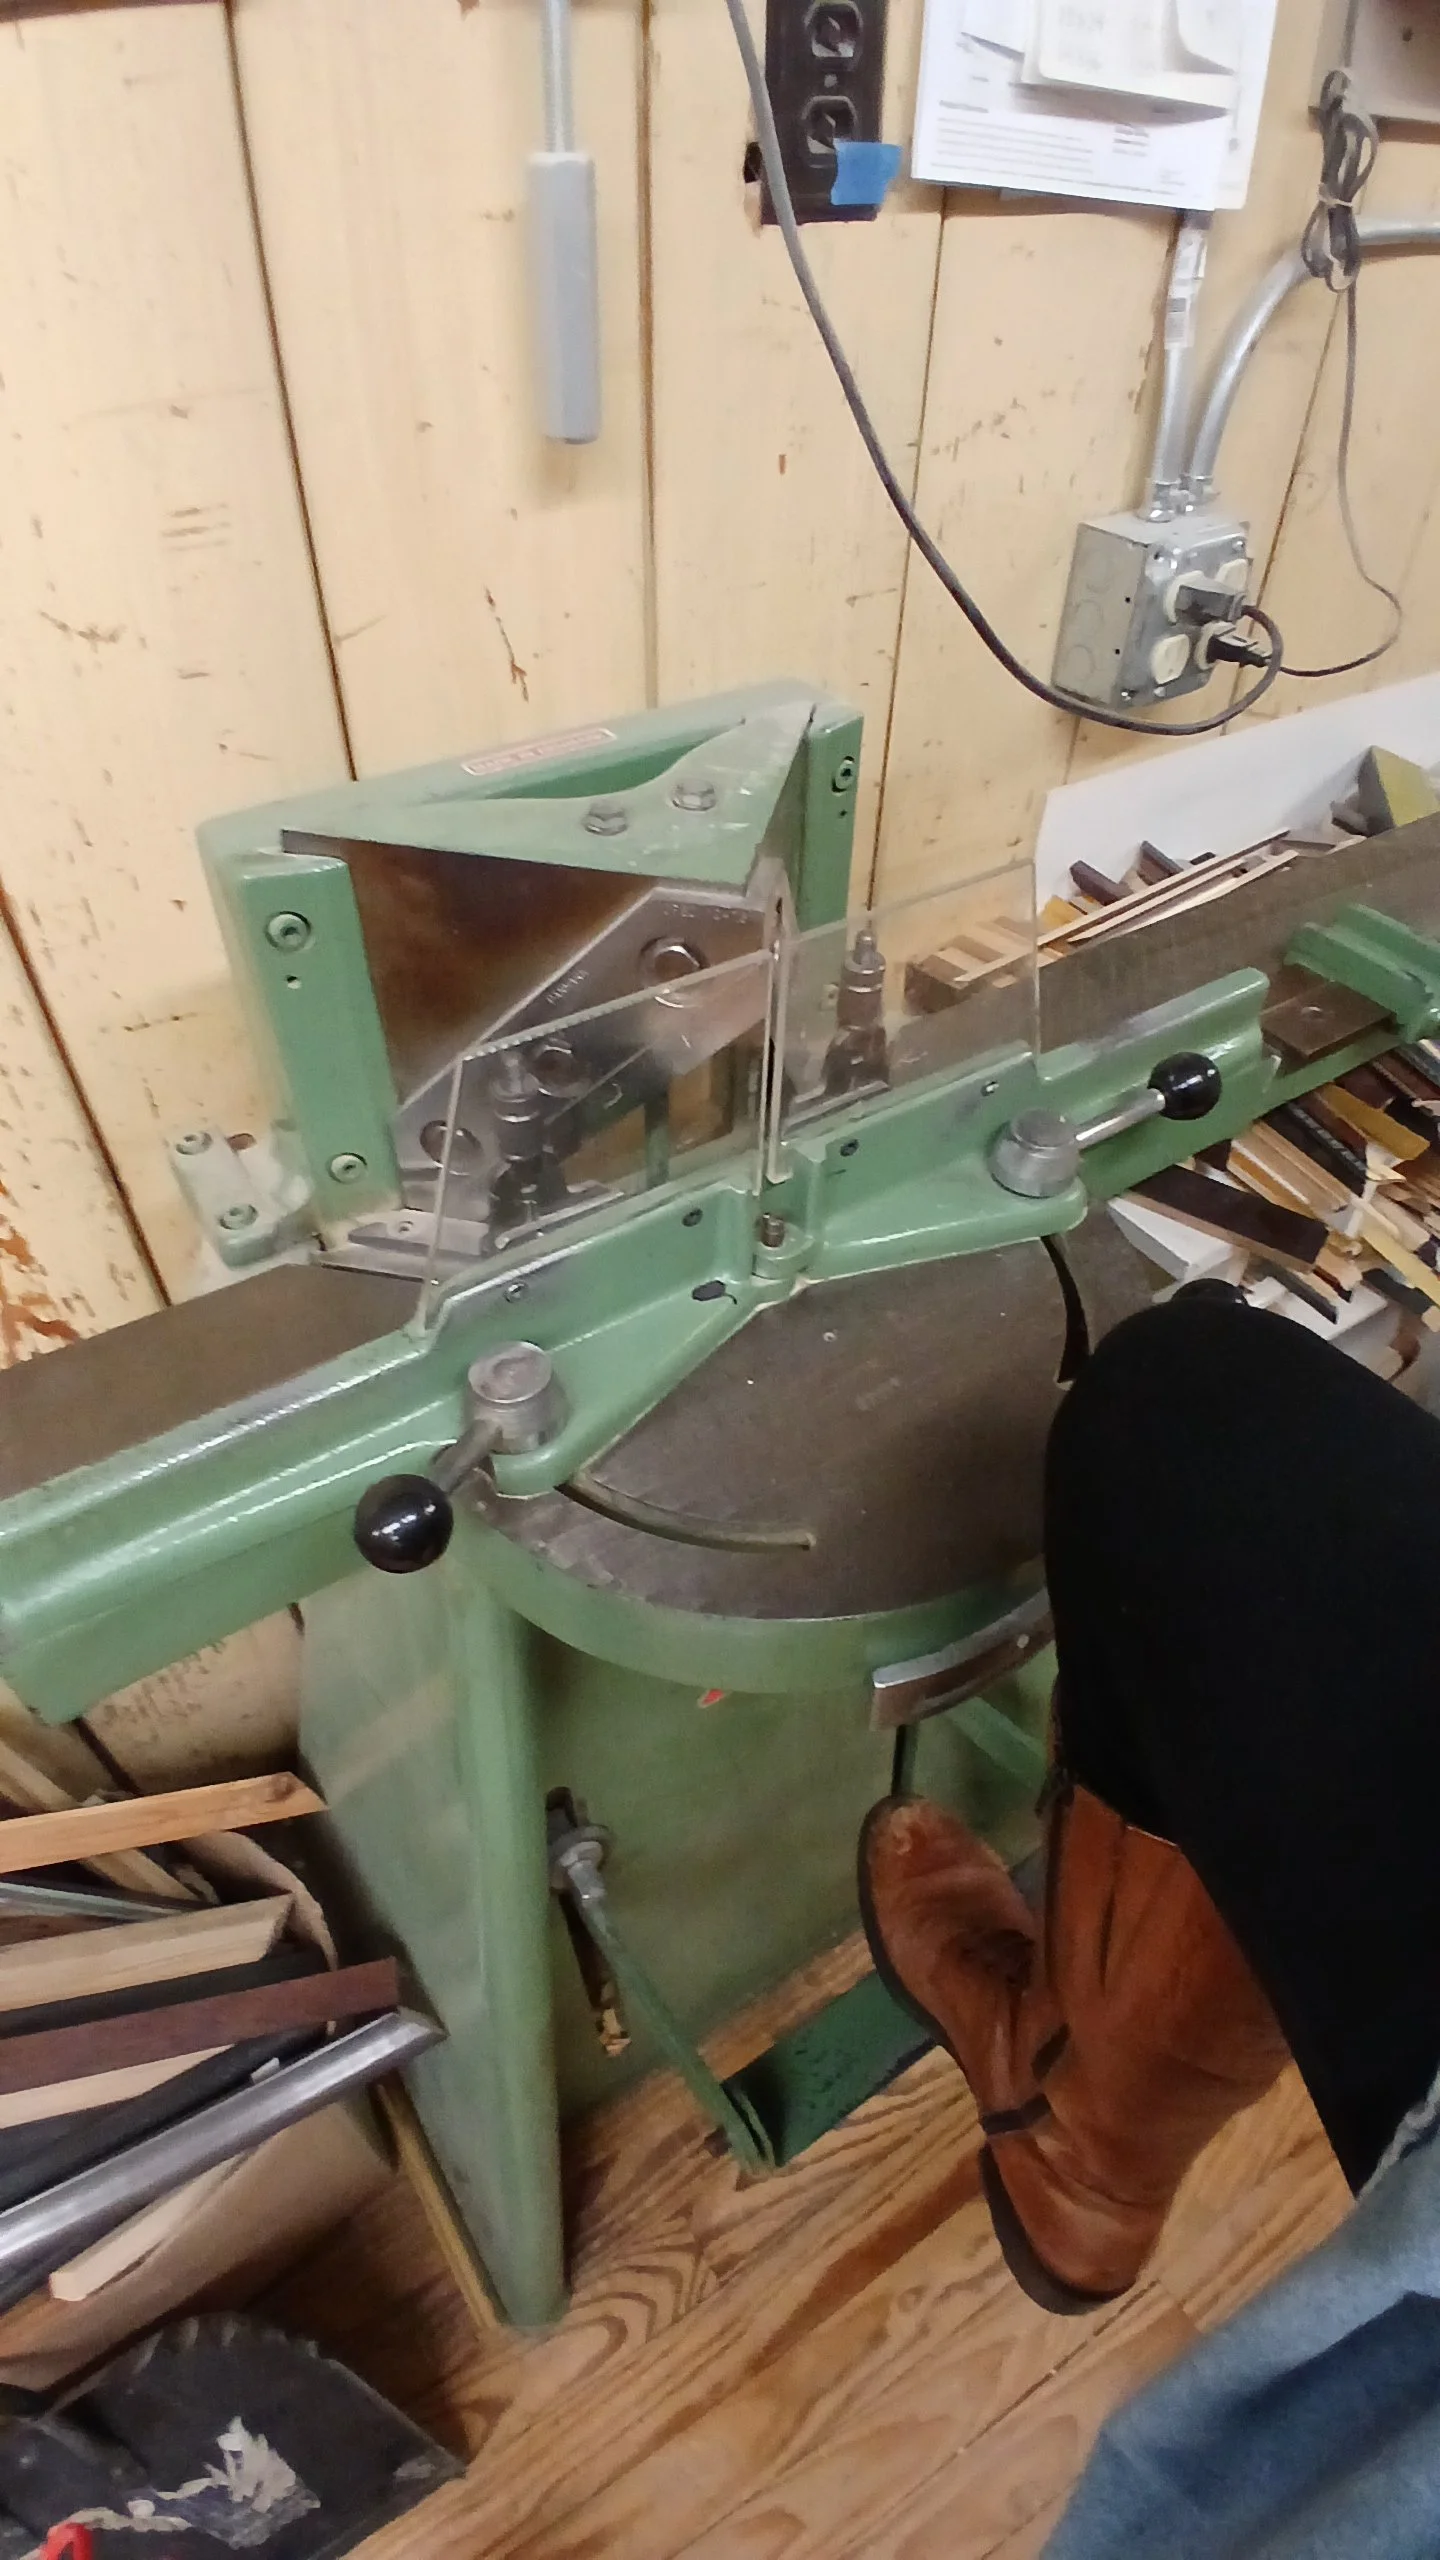
Frame mouldings come in an endless variety of designs. Lengths of moulding is typically 8 - 10 feet long and need to be cut down into the desired size. This can be done with a circle saw or by using a miter chopper.
My frames have the standard 1/8” allowance. This means that if I want a frame that fits a 5” x 7” piece, the interior measurement needs to be 5.125” x 7.125”. This gives a wee bit of wiggle room.
I chop my pieces to be a little larger than that to account for the amount I’ll sand off (see next step).
Step Two:
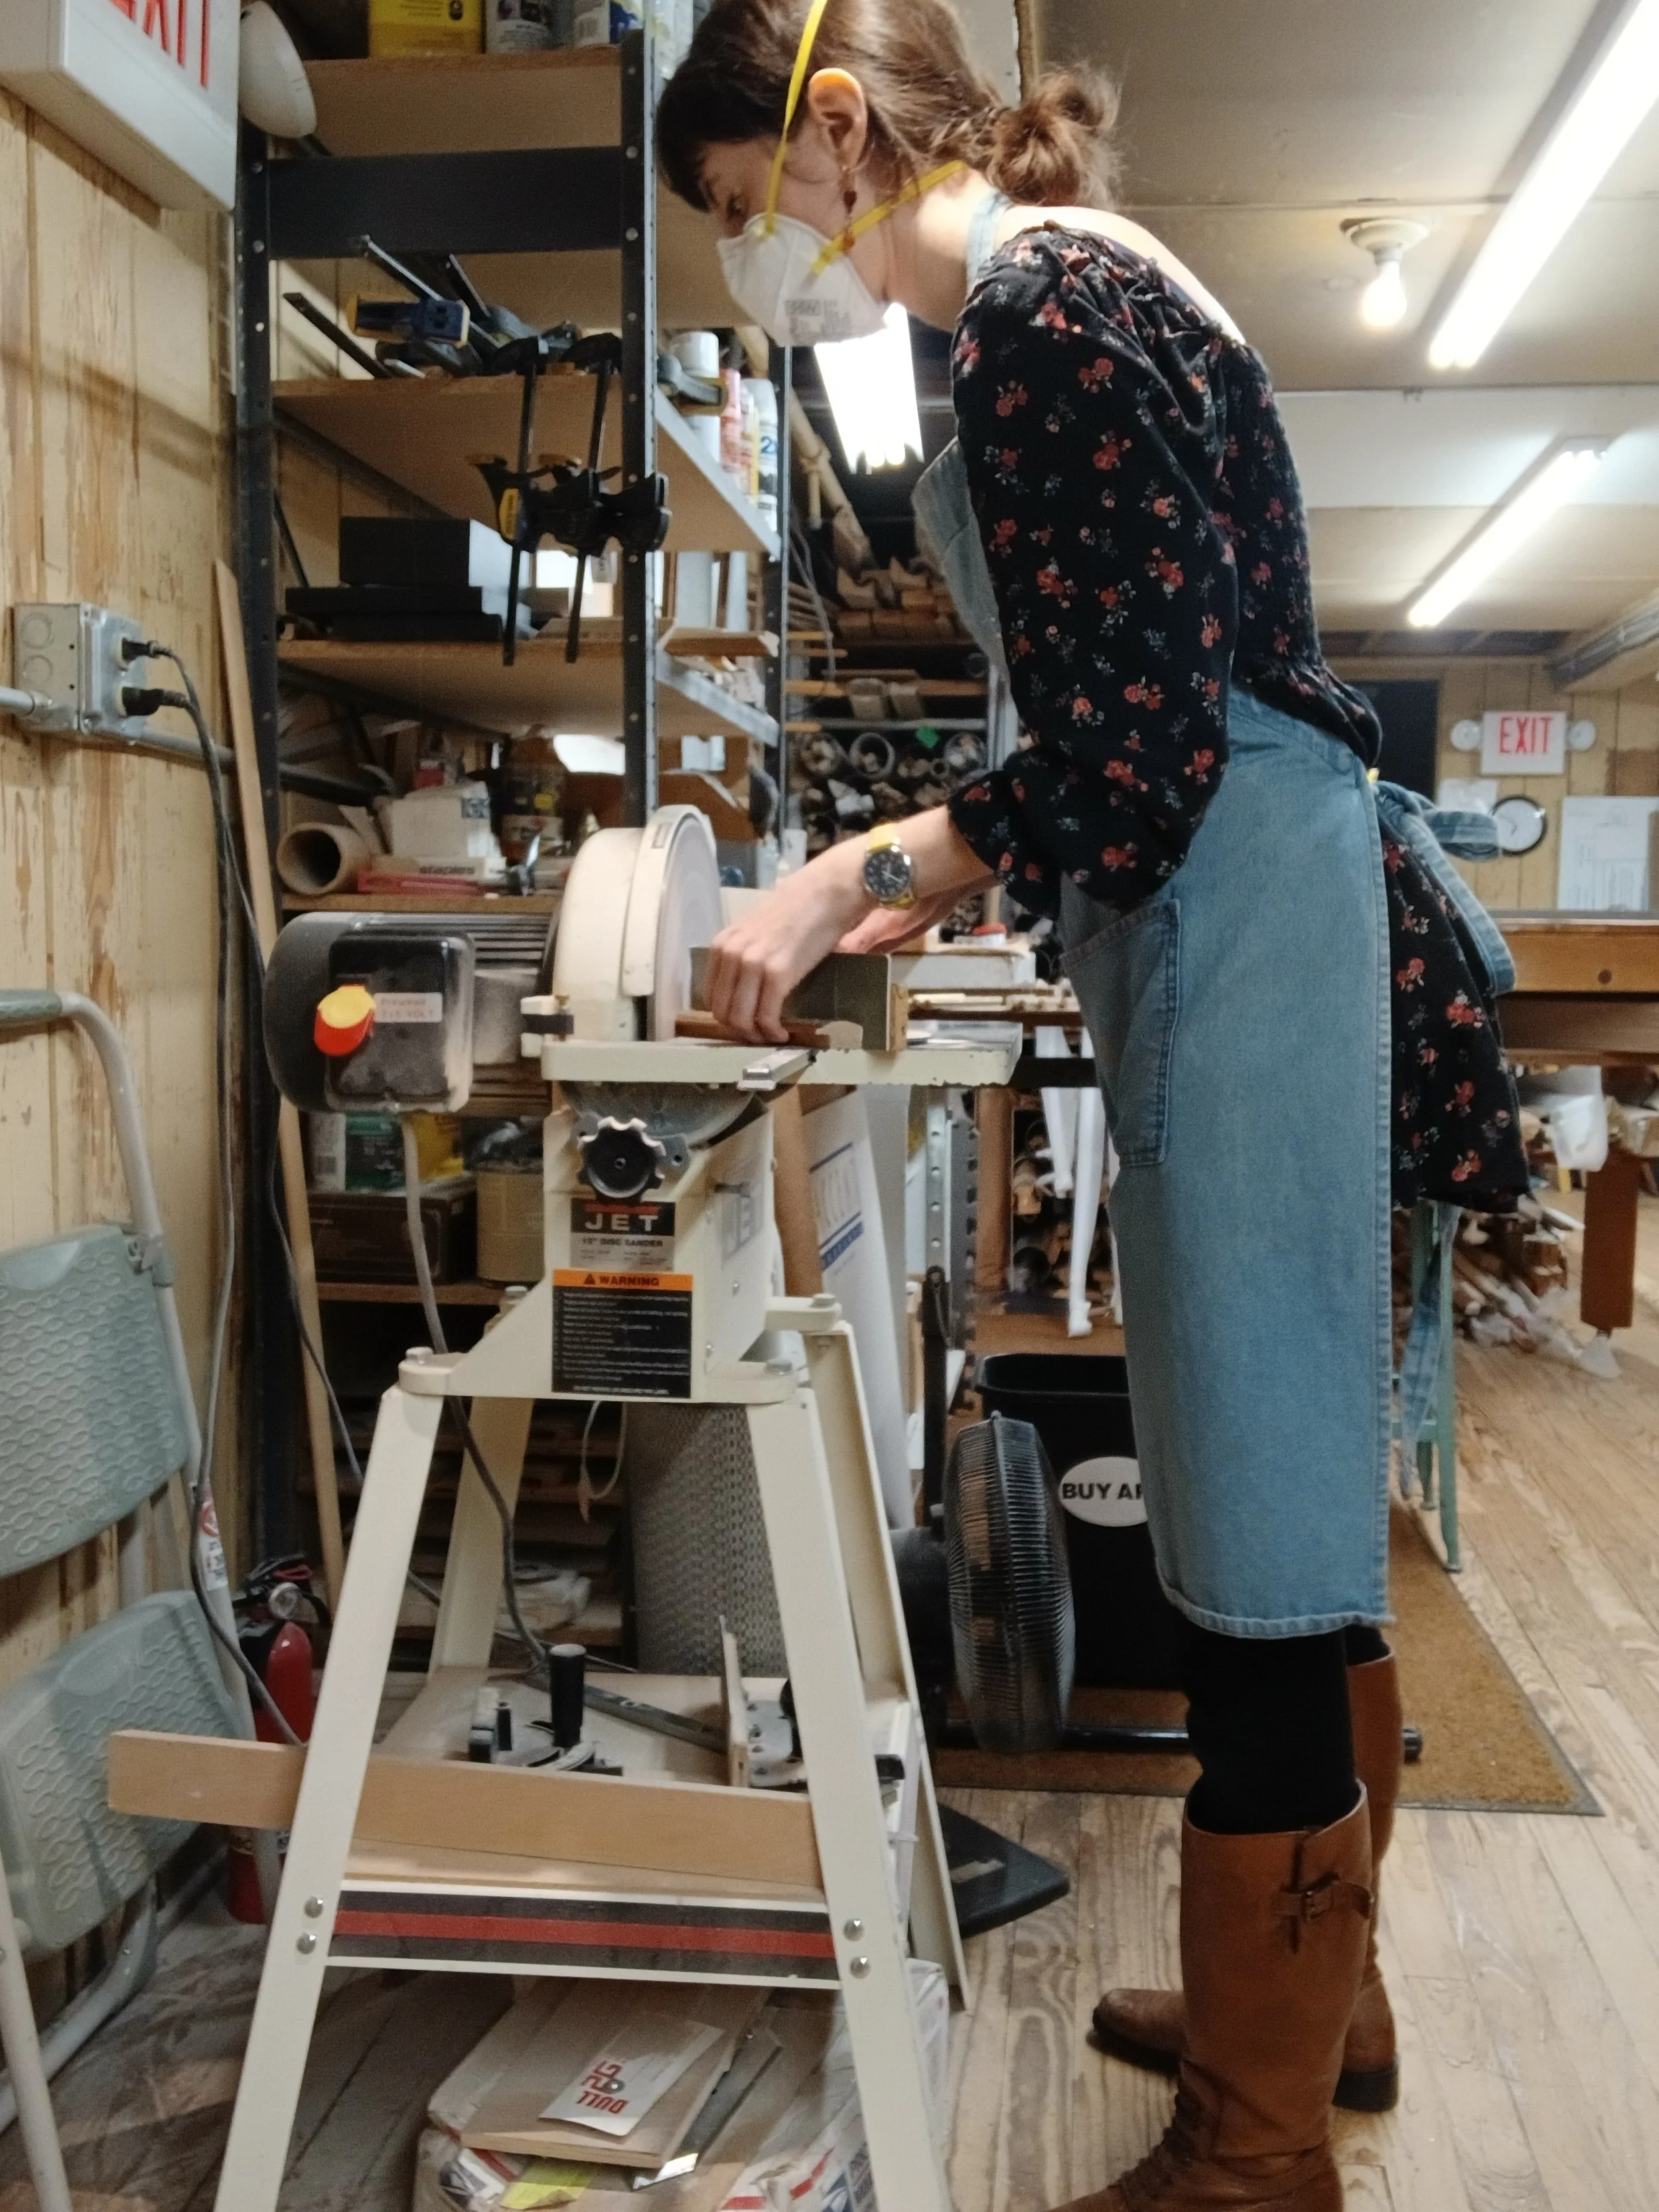
Sand the rails (frame pieces) to exact size
The chopper will get my rails close to the size I need, but the circle sander makes sure they’re precise.
Step Three:
Joining corners
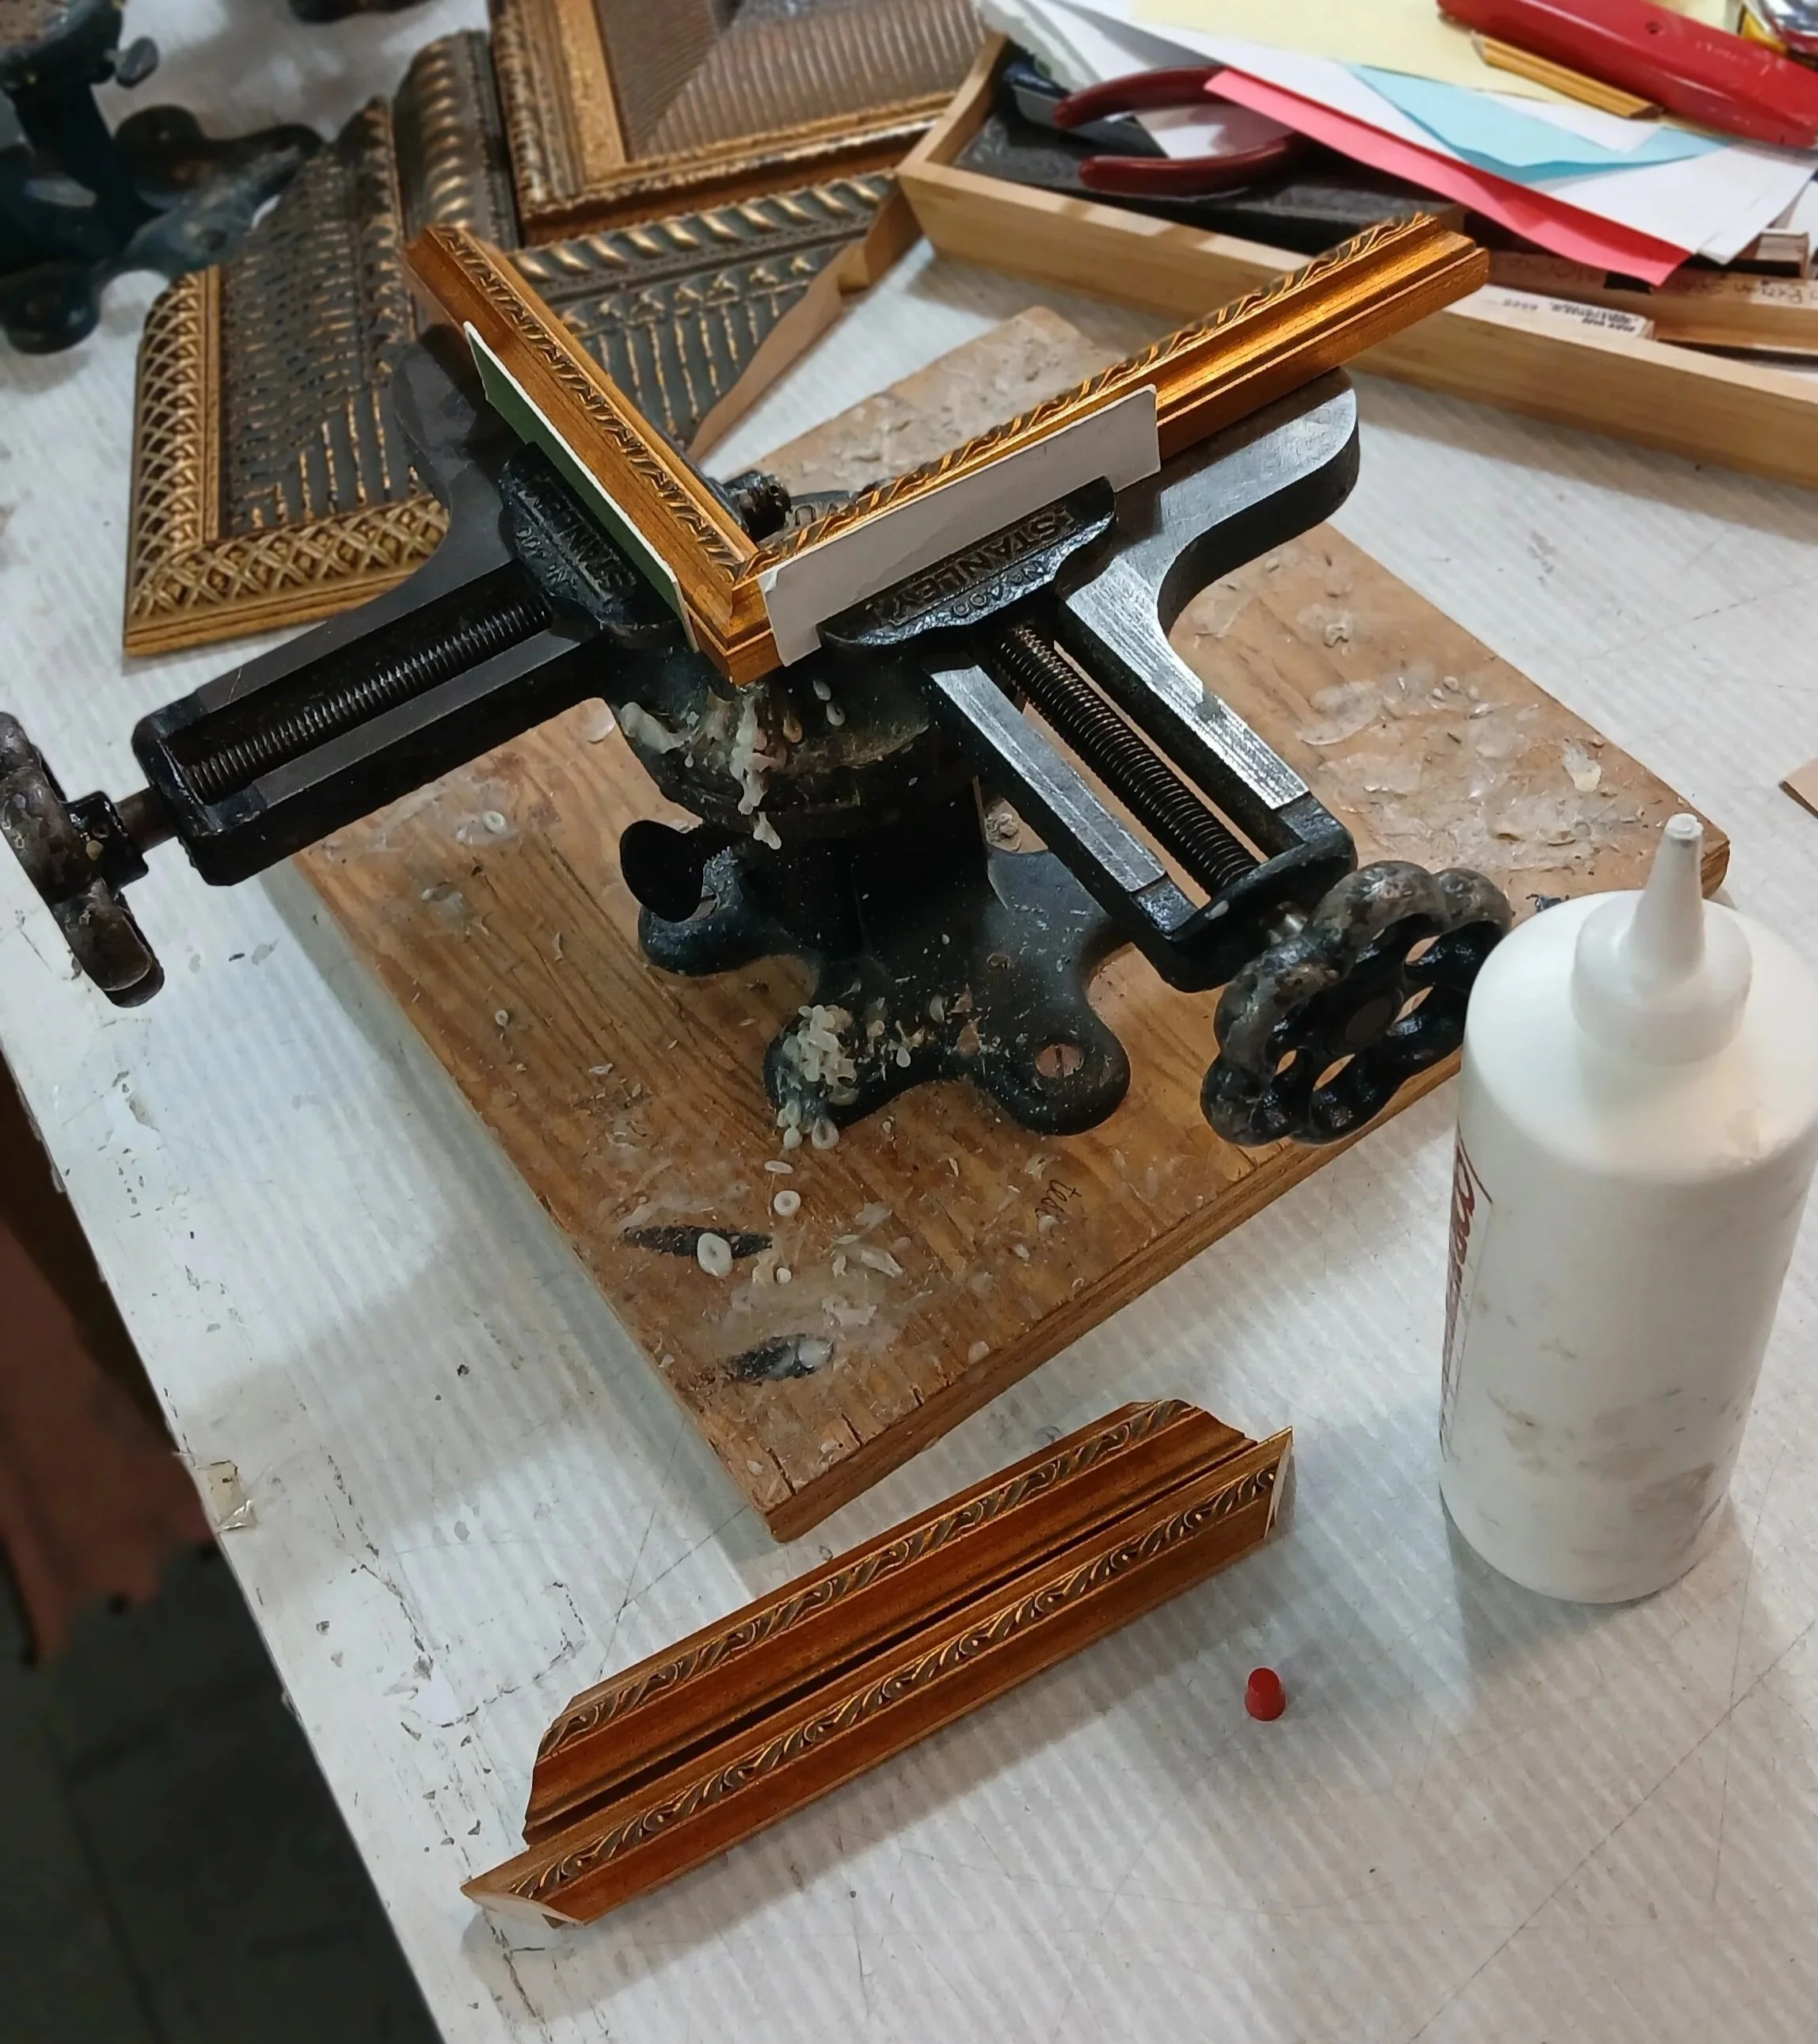
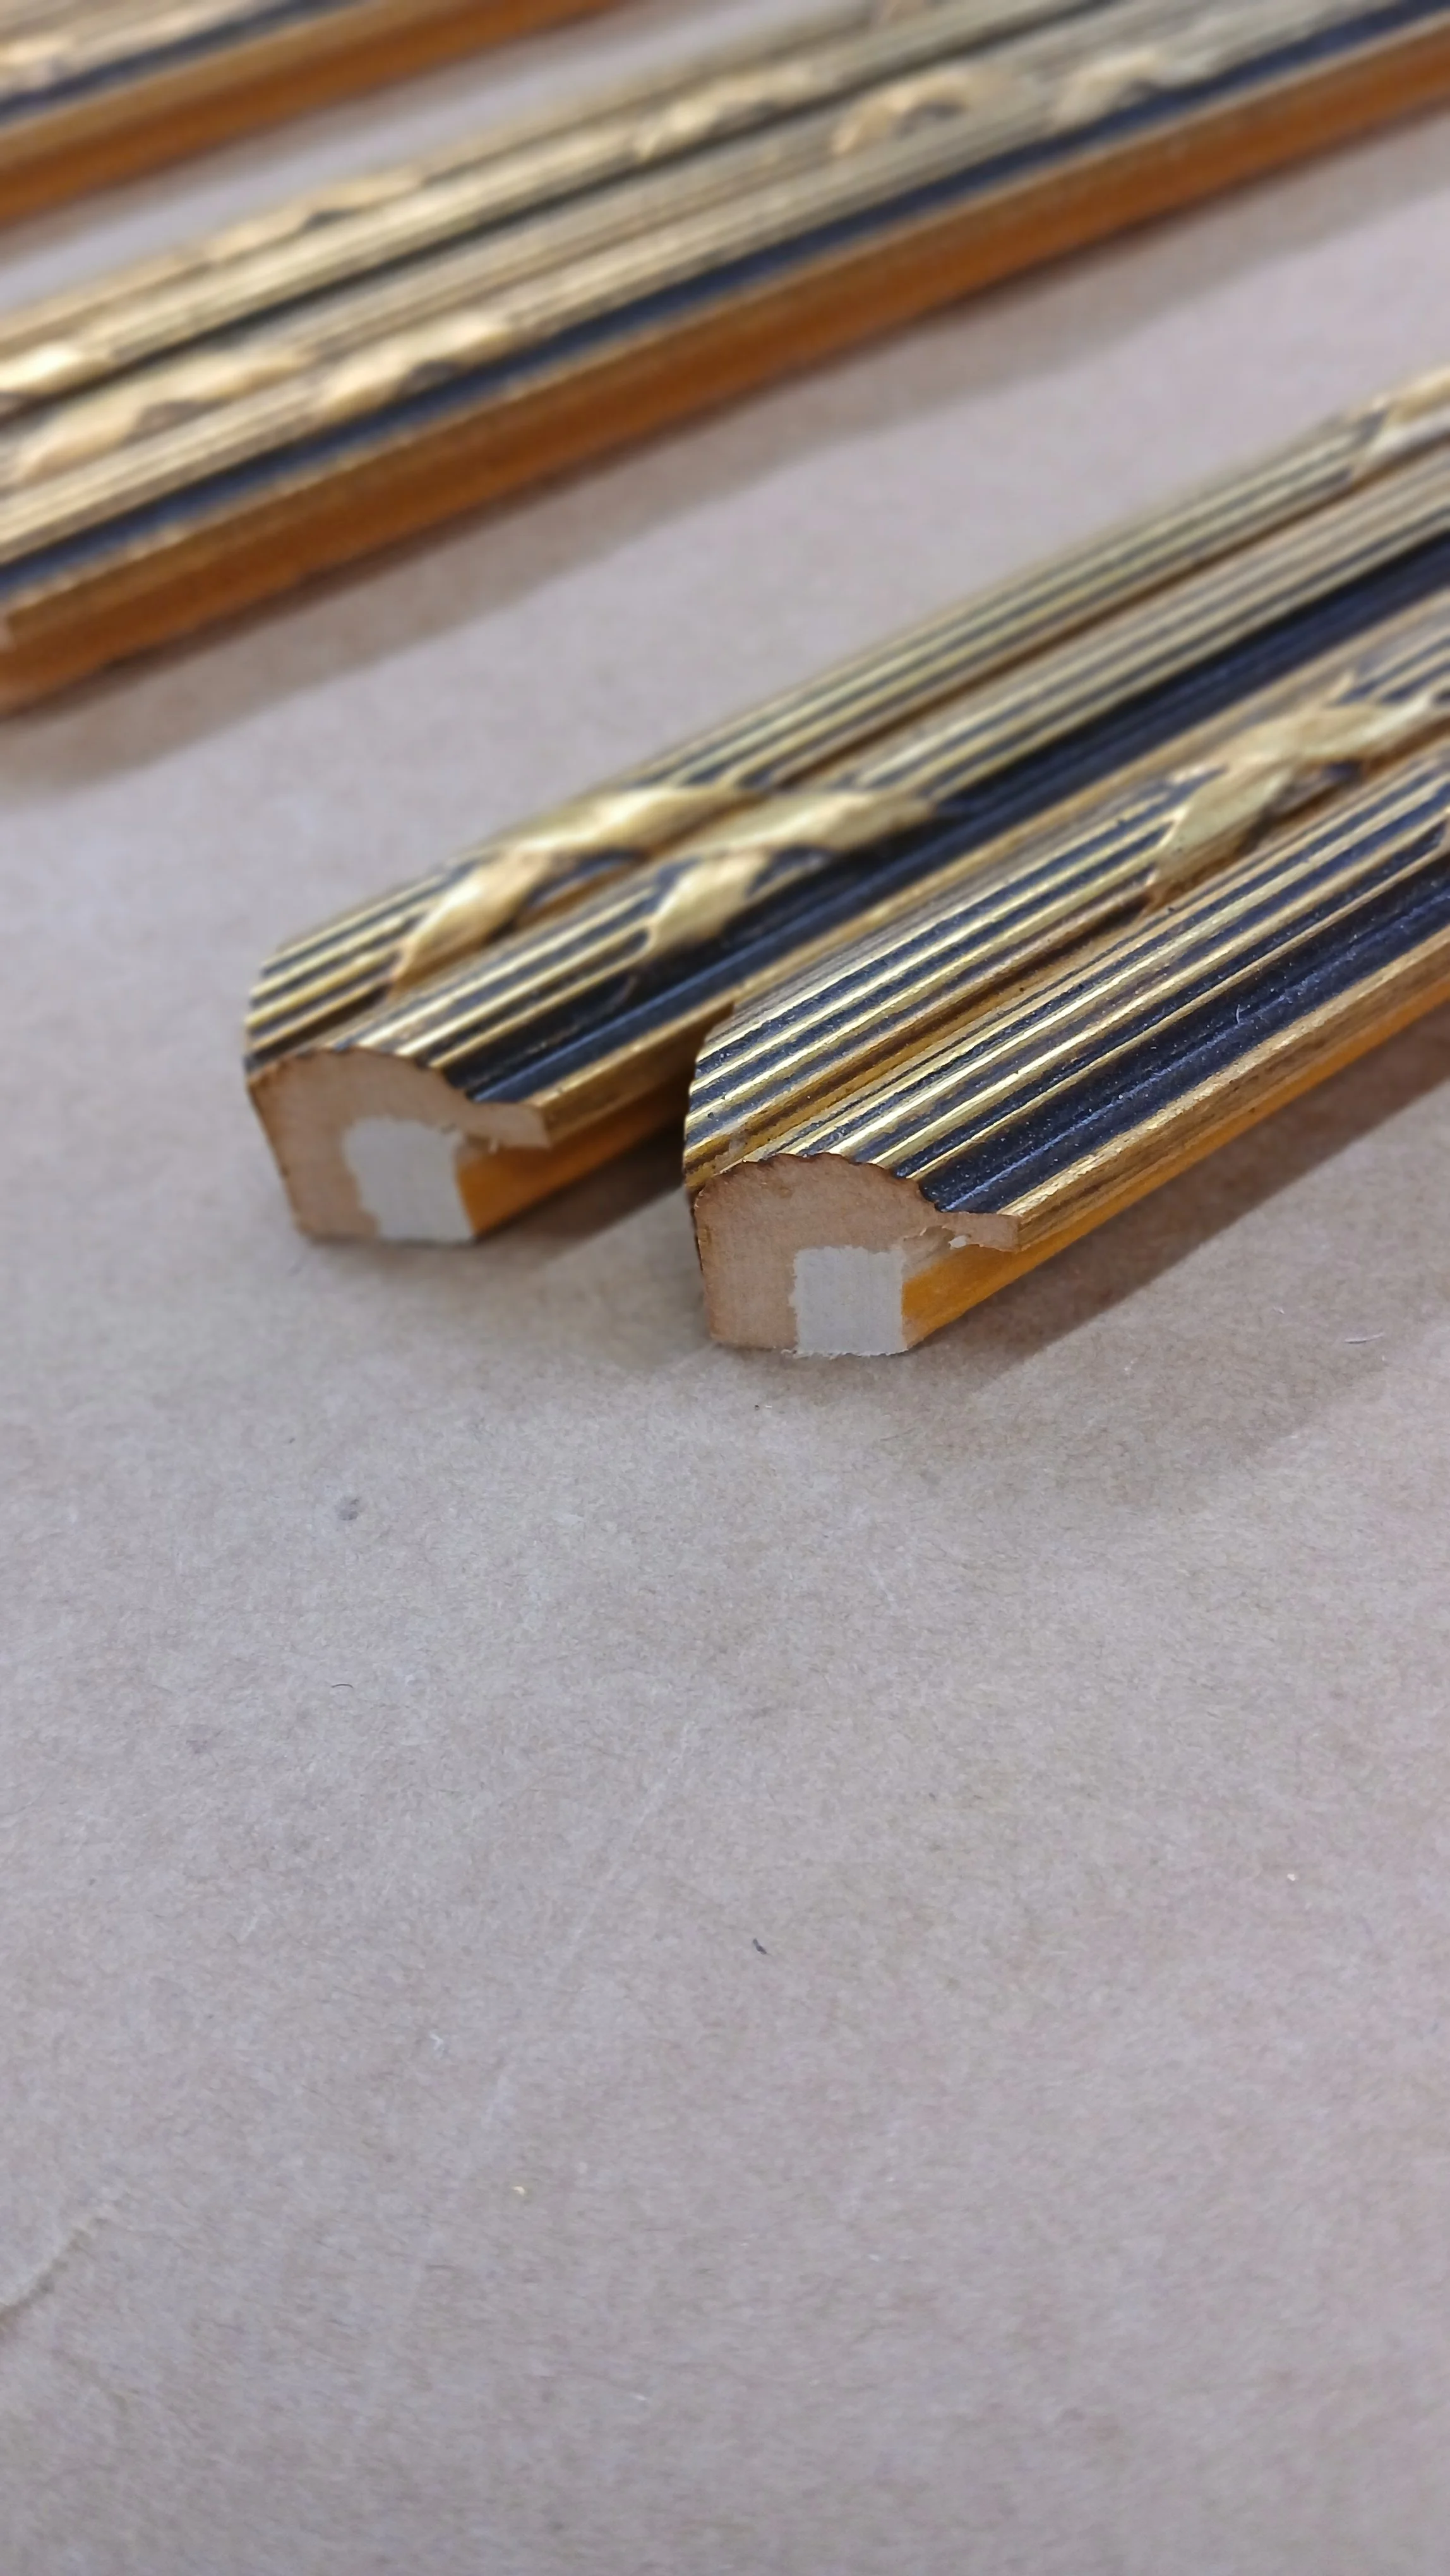
Before gluing, the ends of each rail get stained with a marker.
It can take some time and practice getting the frame rails to line up seamlessly in the vice. First, two opposite corners are joined (a long rail with a short). Then, they’re brought together by gluing a third corner, and then the final corner.
Step Four:
V-Nailing and Filling corners
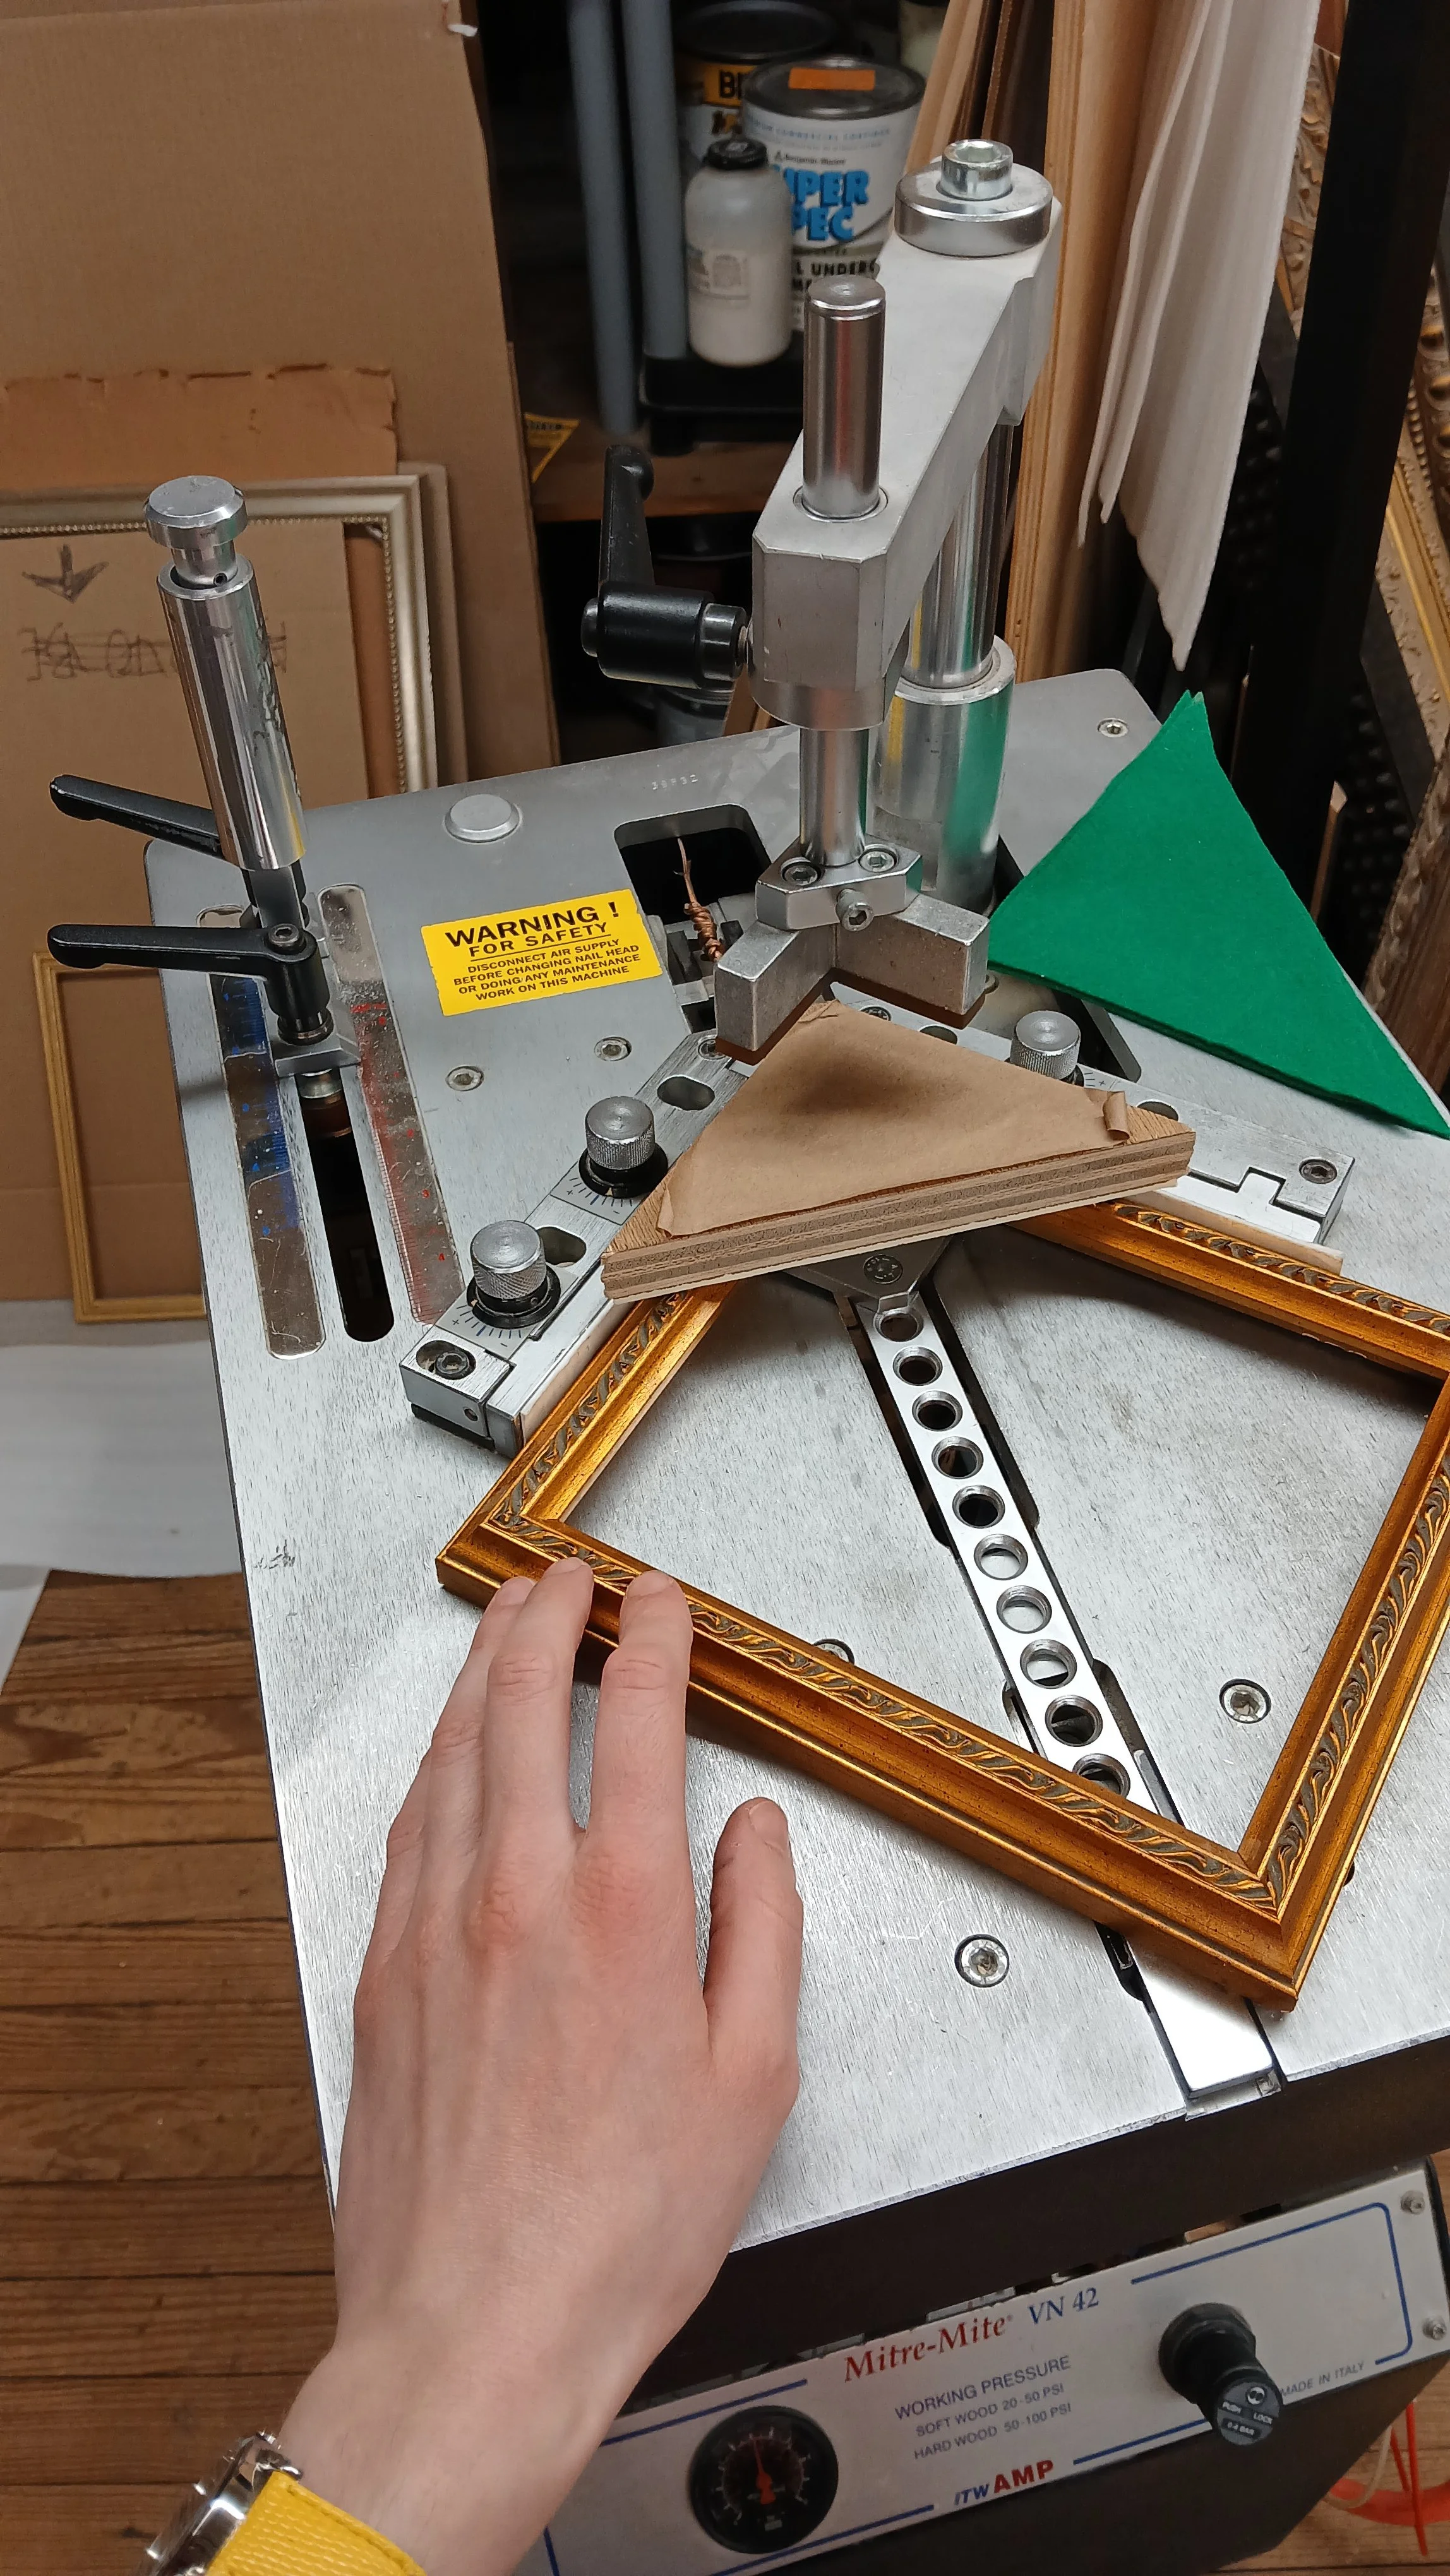
Reinforcing the glued corners of each frame with the pneumatic v-nailer (also called an underpinner) comes next. A clamp comes down to hold the corner from above, and a v-nail is shot into the frame from underneath when you press down the button at the top of the left lever. If you’re not careful setting up with the correct depth v-nails, pressure, or nail placement, you could easily ruin your frame at this stage. You’d be in good company…Everyone has done it at least once.
Depending on the width and size of your frame, each corner could get between two and four v-nails.
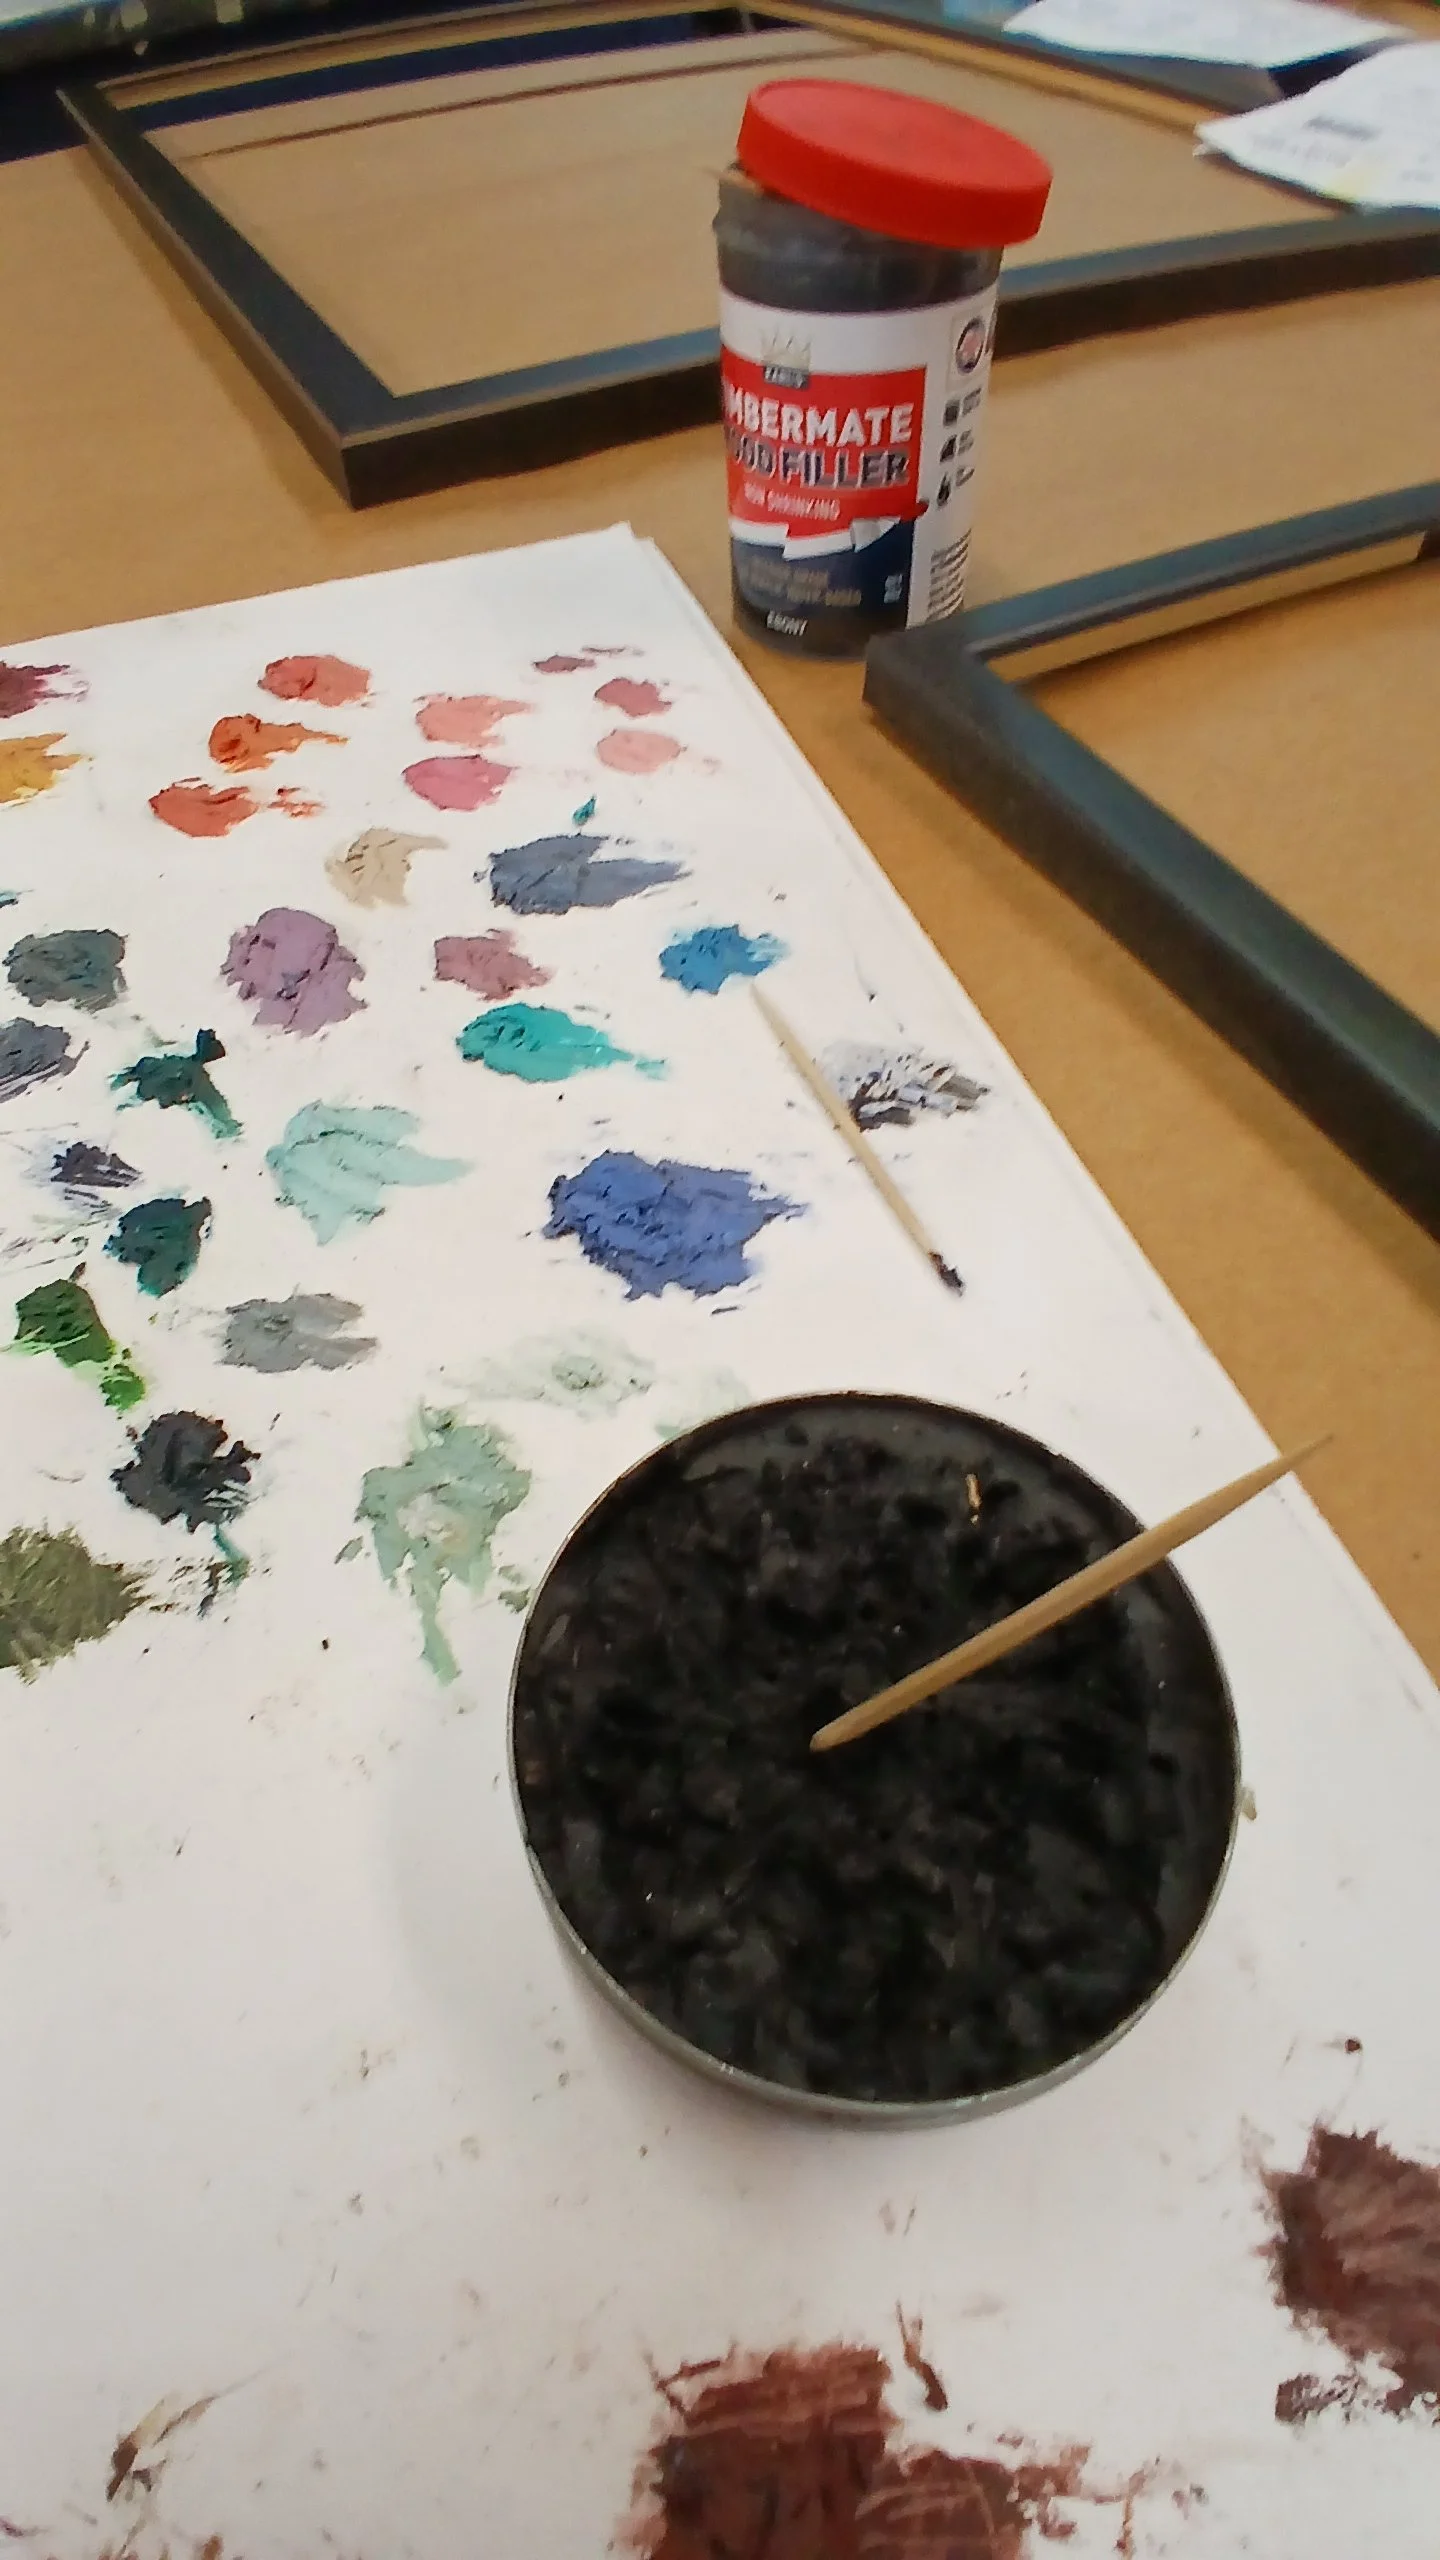
Then comes the final (and my favorite) stage of creating a frame: touching up the corners. Wood filler and colored wax putty fill in small gaps where needed. For metalic gold and silver frames, we use gilt cream to disguise any wood filler.
Step Five:
Putting it all together
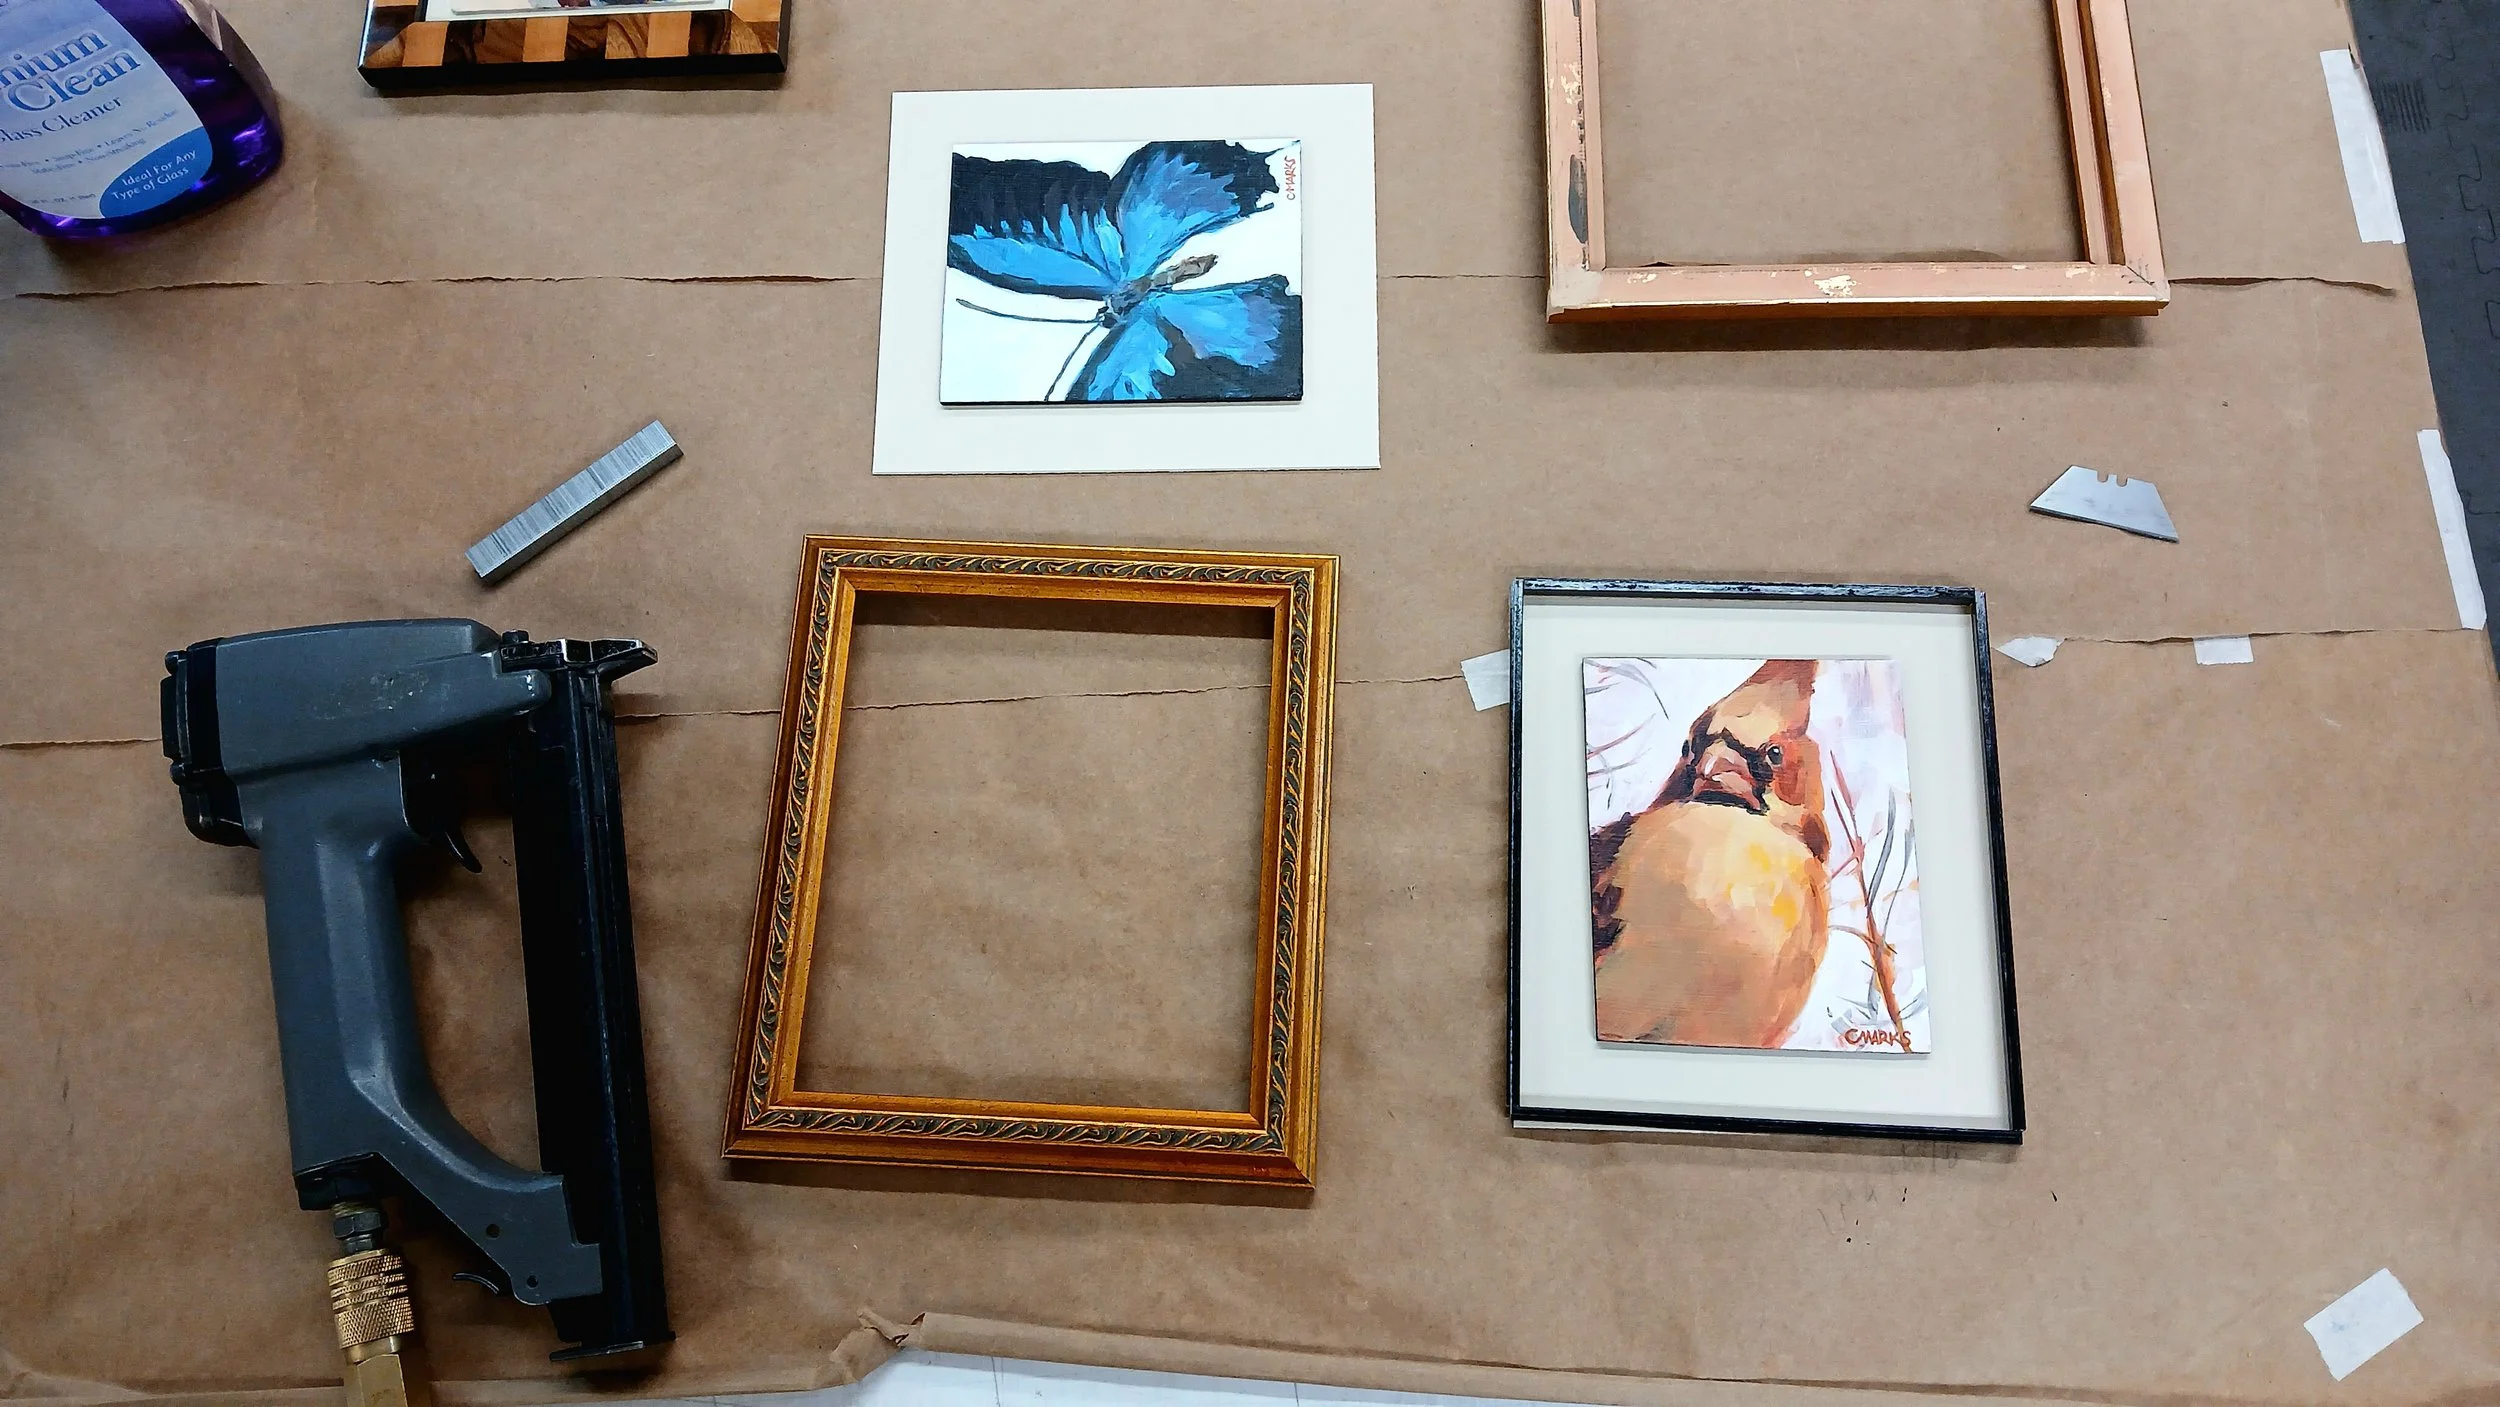
With the frame complete, it’s time to assemble the other components I need.
The specific components I need depend on how I’d like to present the piece. Acrylic paintings don’t necessarily need glass, but I wanted to give these the extra UV protection with Museum Glass. It’s hard to go back to using regular glass after you’ve seen your art under the clarity of MG! I also wanted to glue mount some of these particular paintings on top of a neutral piece of mat to give it a little extra border.
It’s bad practice to put glass directly on top of a painting without any space in between. To keep the glass from touching the painting, I put 1/4” black spacers on the glass. These are hidden under the lip of the frame and create a shallow shadowbox effect.
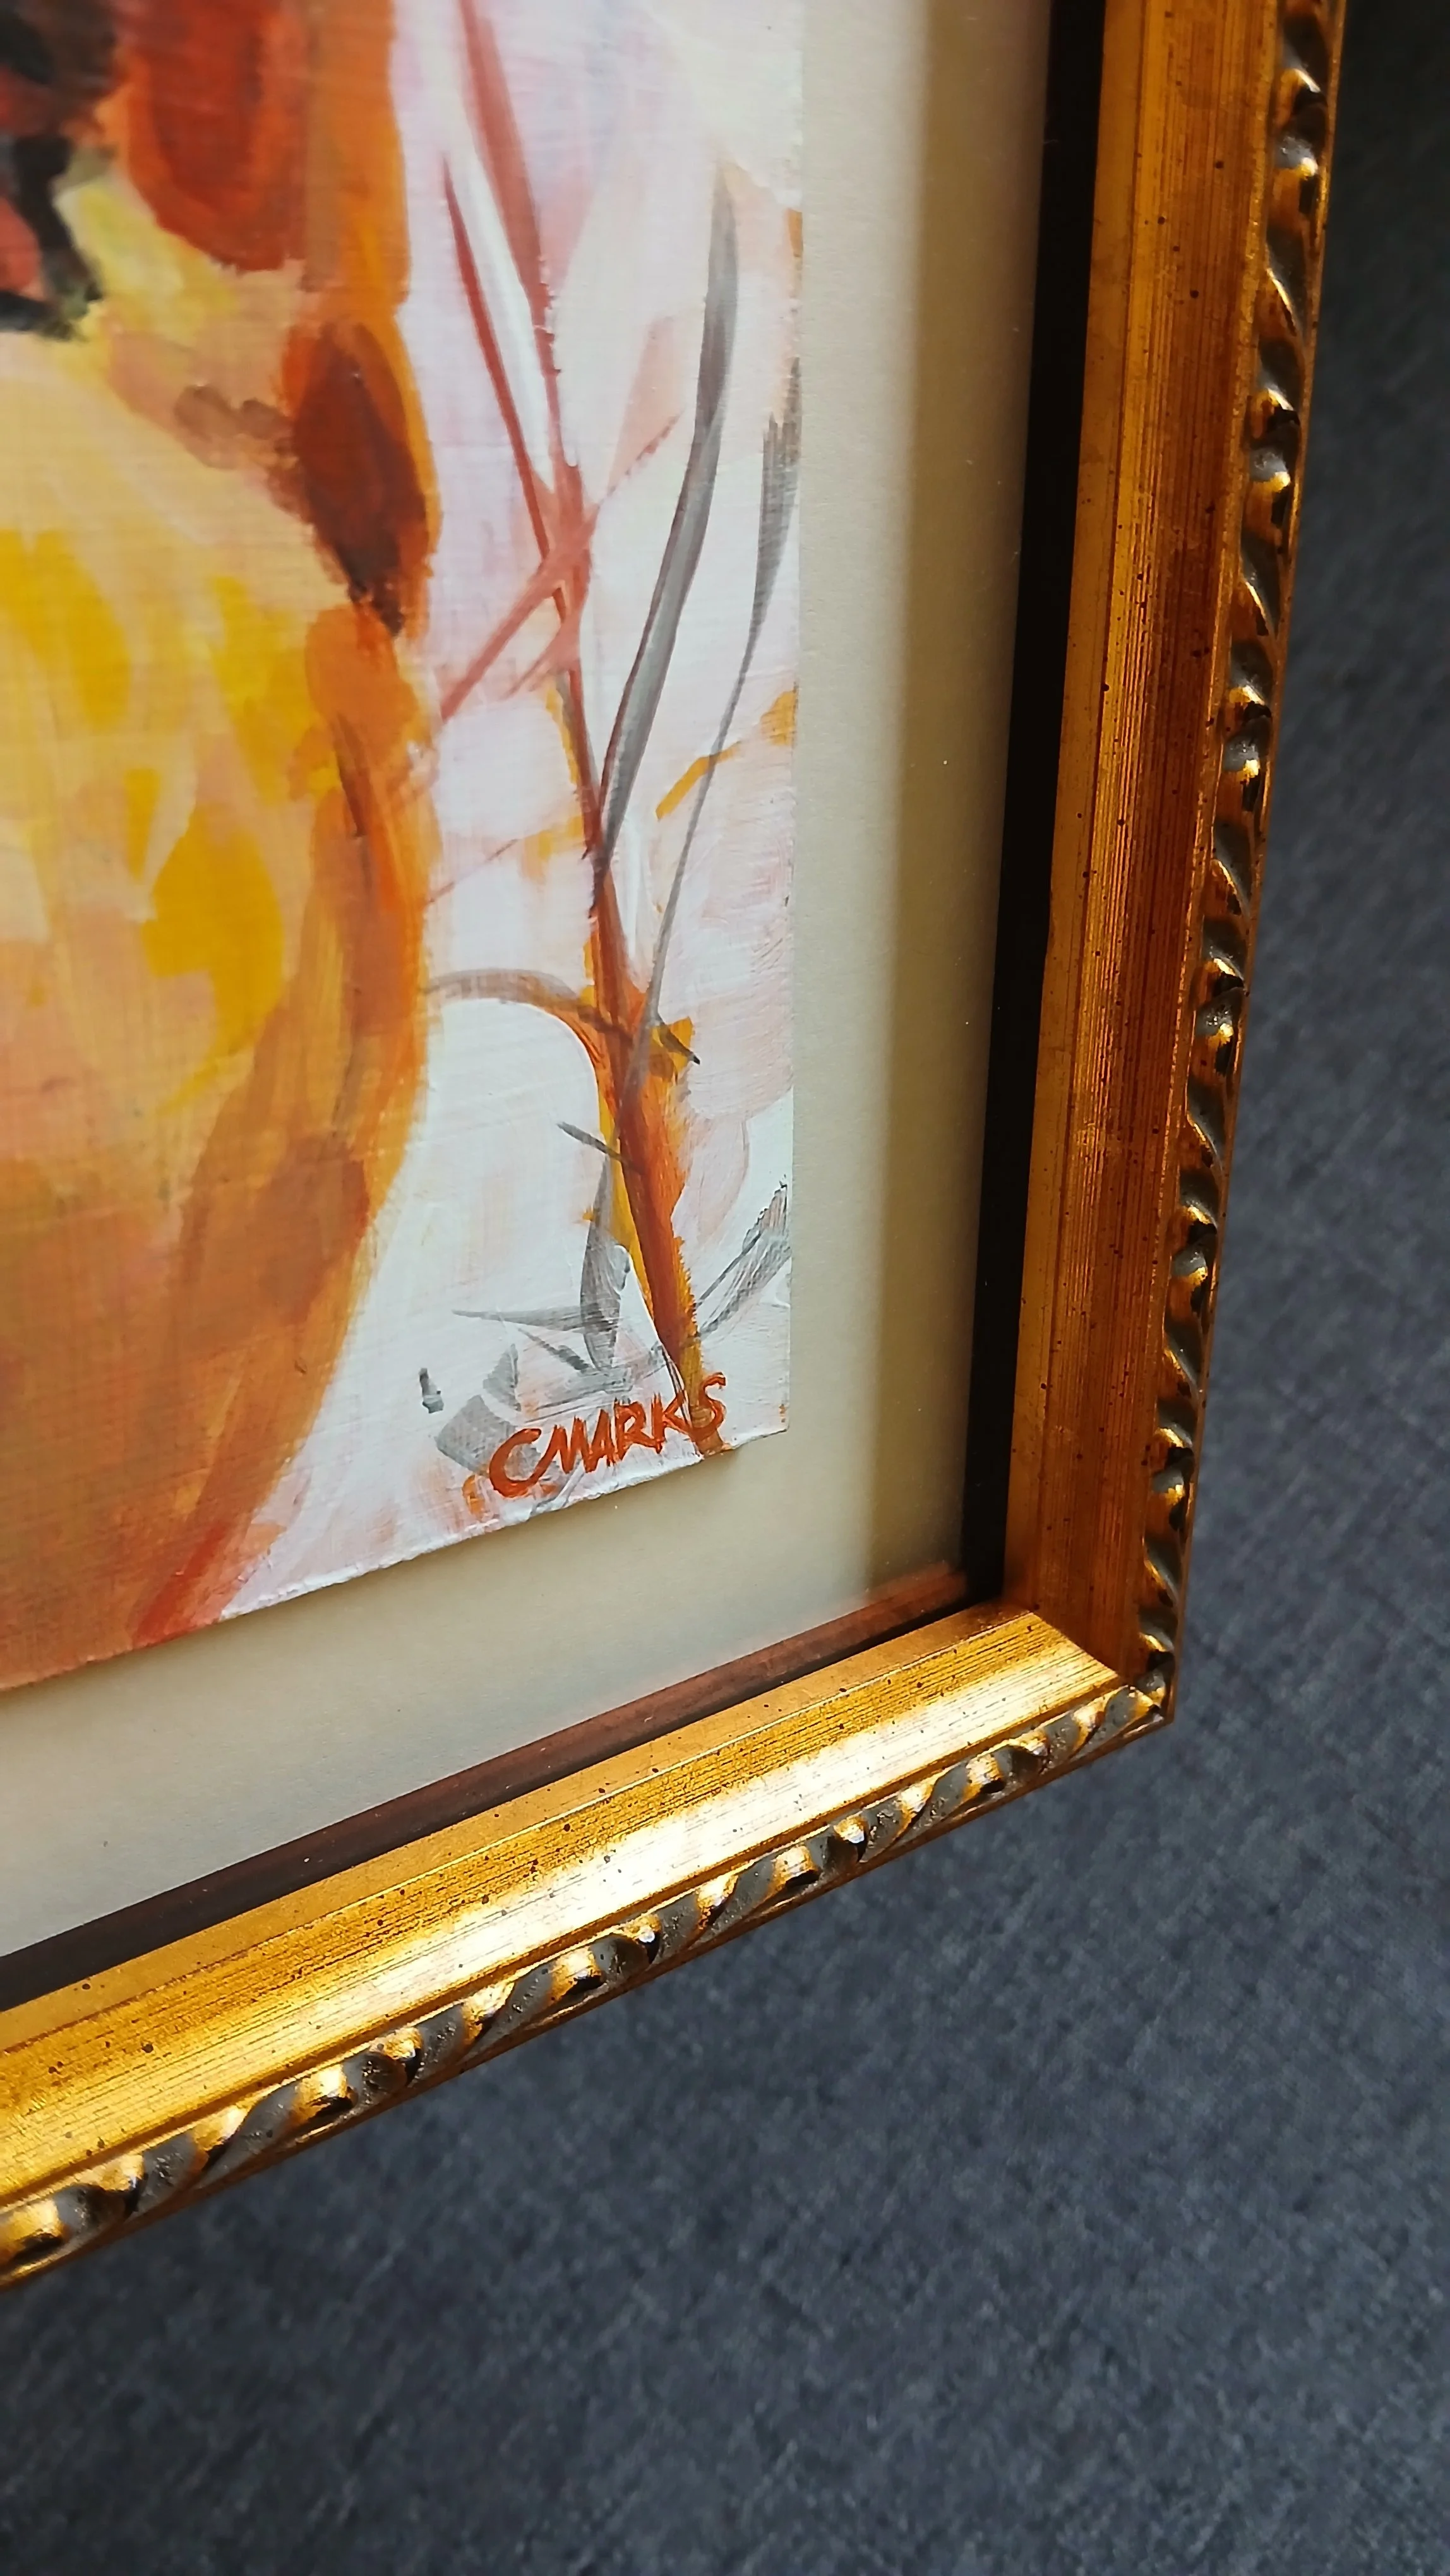
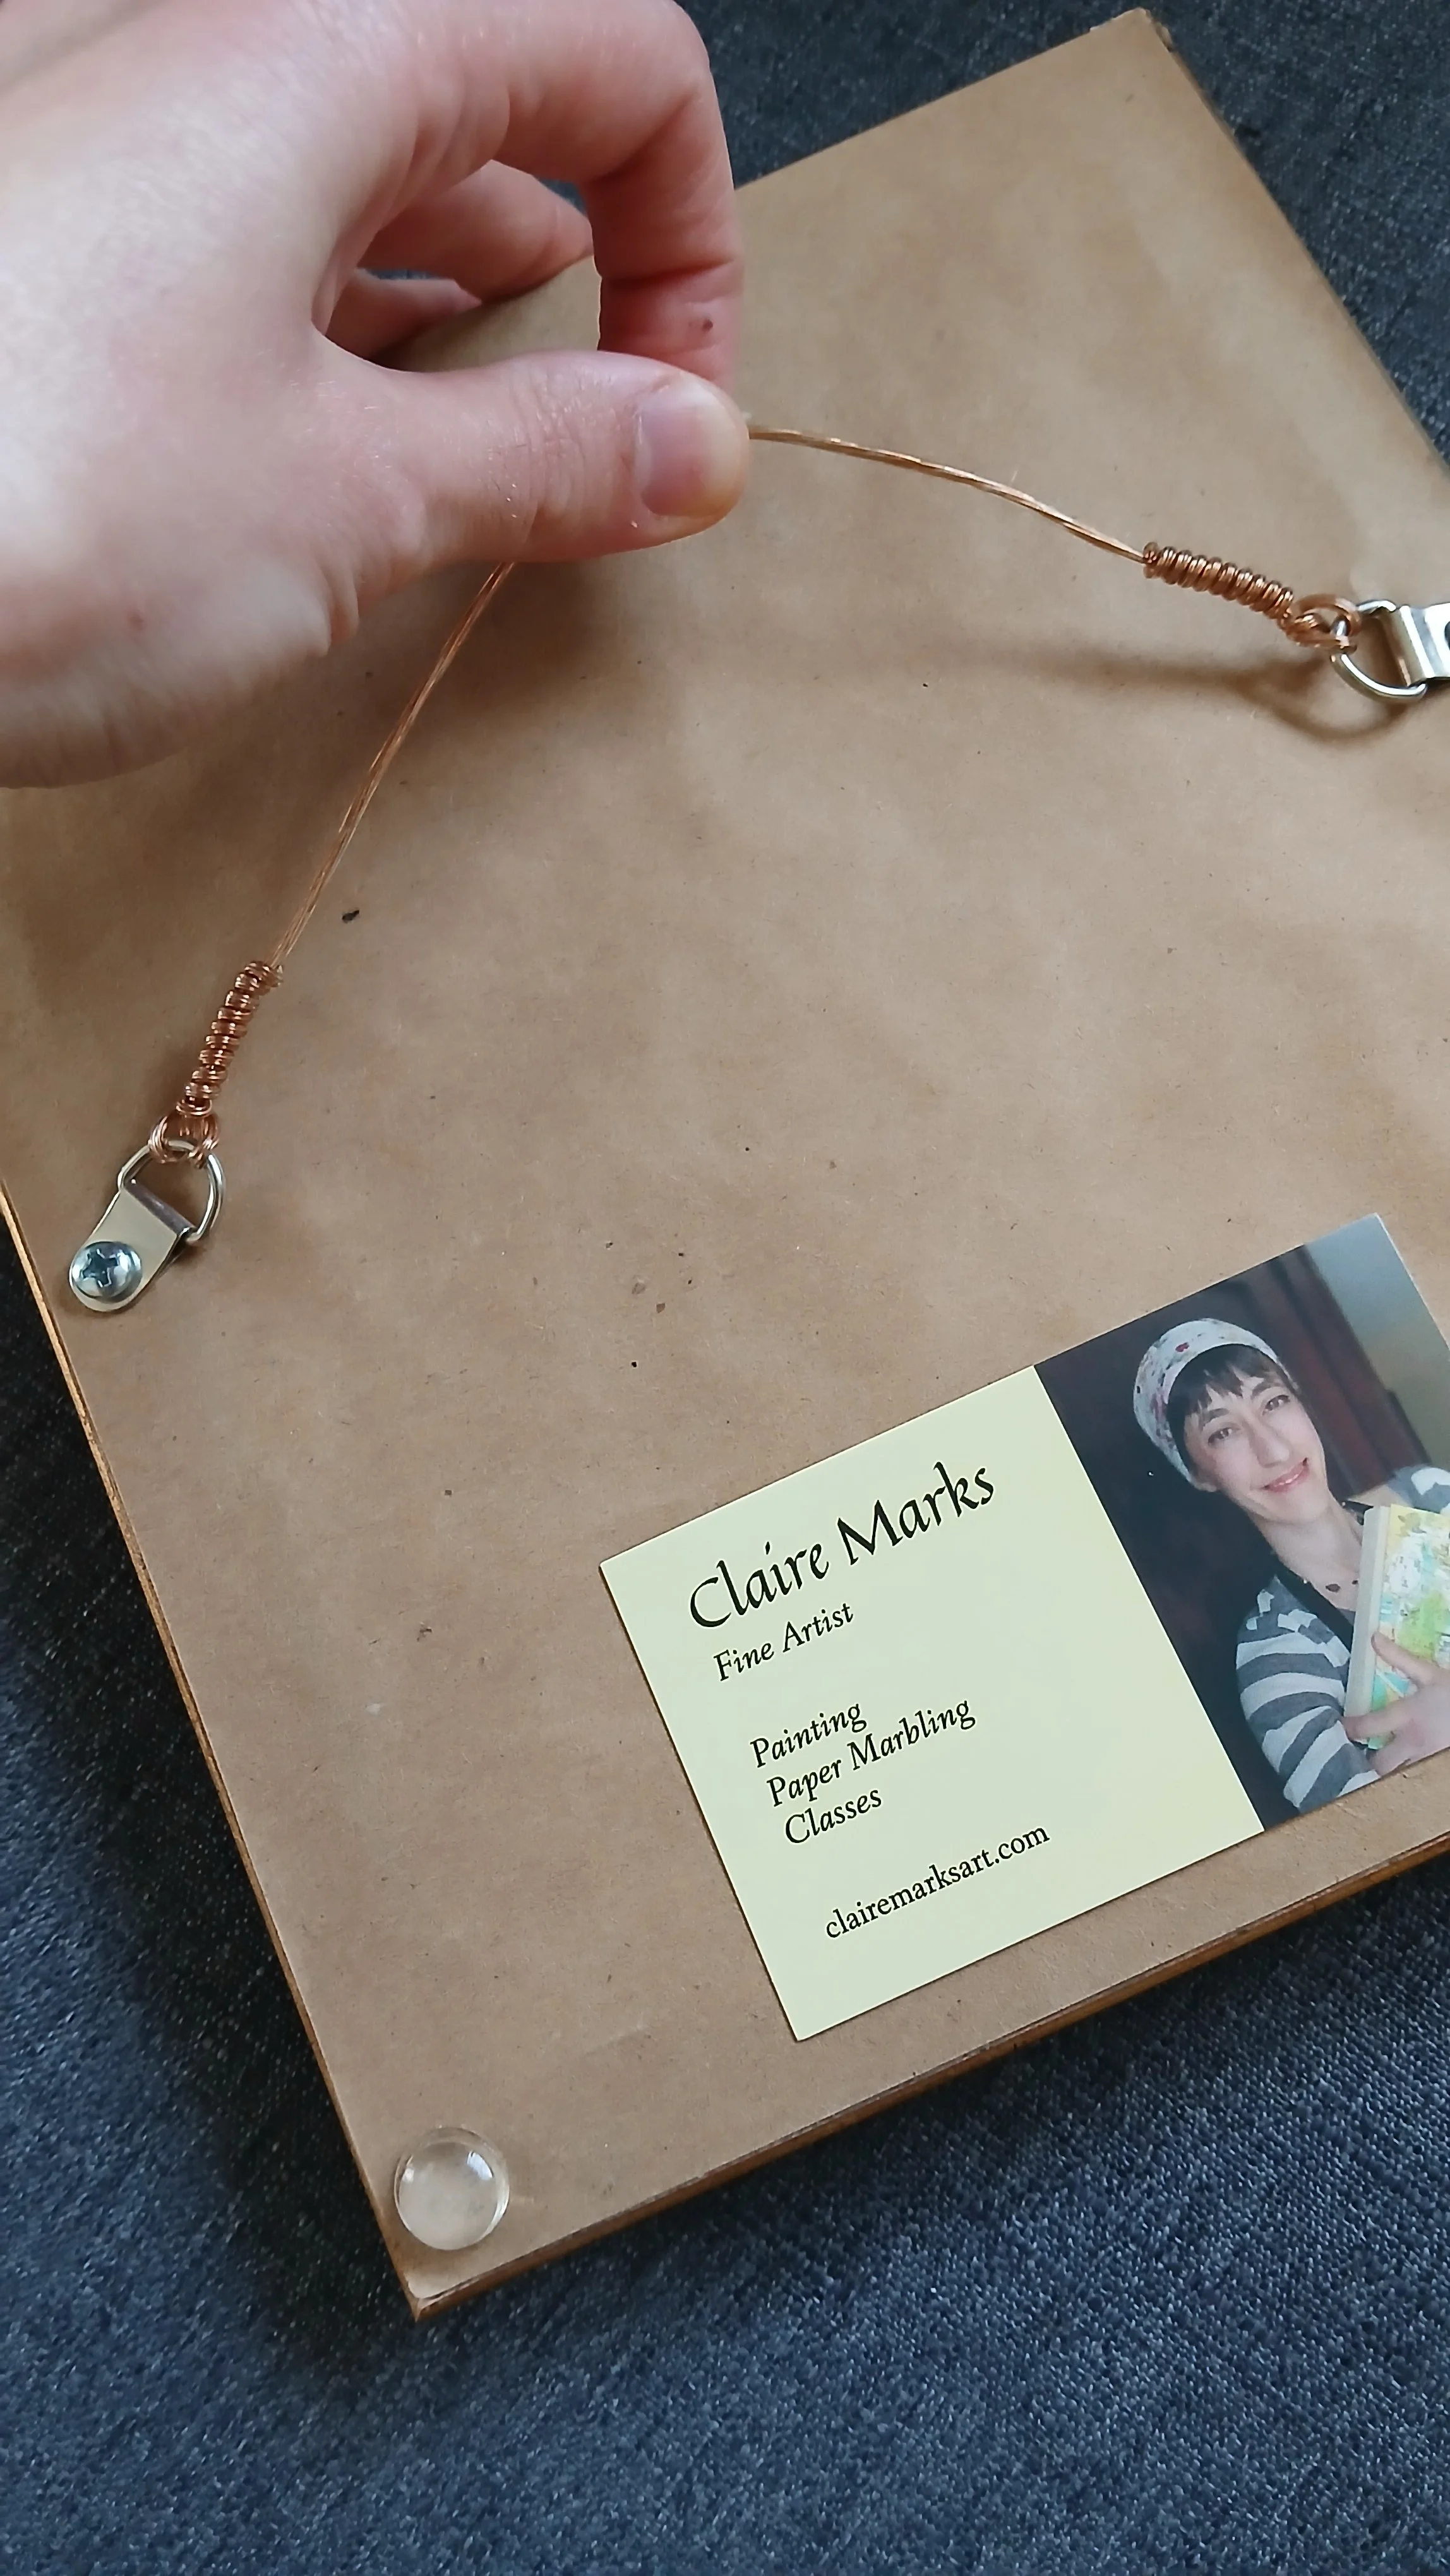
I finish the back with a piece of brown paper, some d-ring hangers, and a copper wire. Also important are little plastic bumpers for the bottom corners to protect the wall and help prevent slipping.
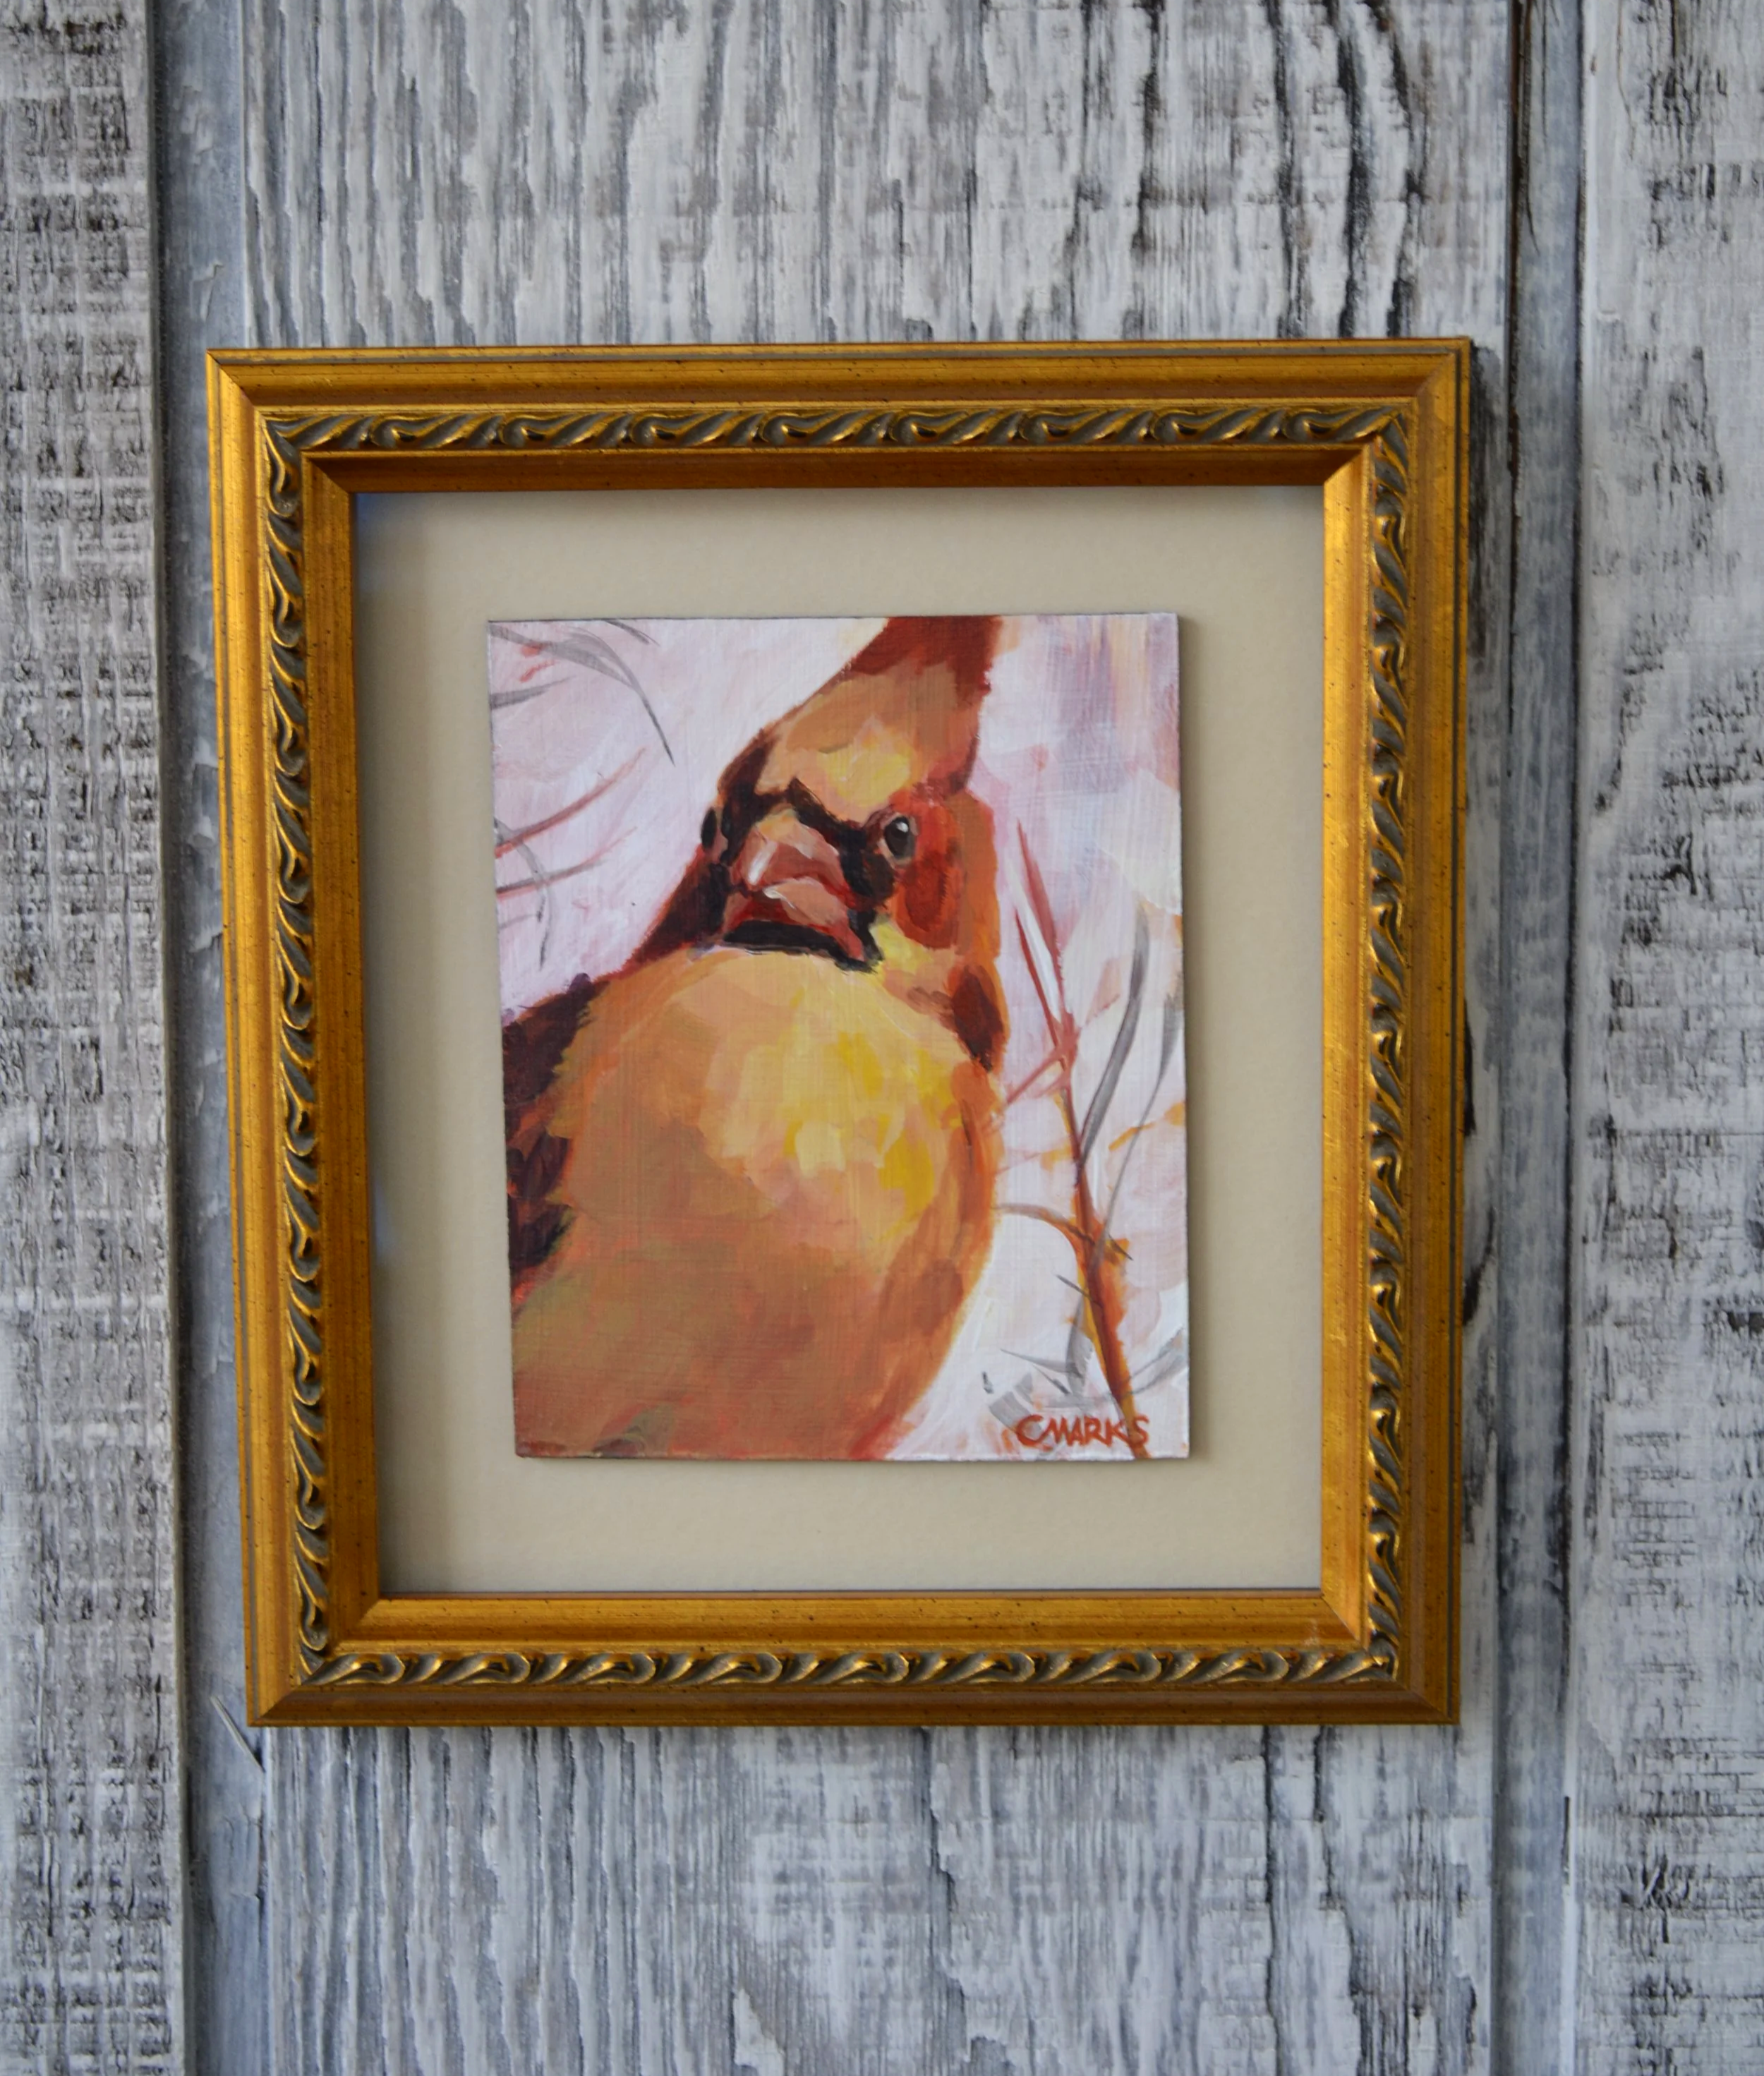
Thanks for following along!