Friday August 7, 2026
Operation Paper Lampshade
A couple weeks ago, I made an attempt at something I’ve never tried before…I recovered an old lampshade!
My grandma just downsized into an apartment, and she was finding homes for pieces she didn’t want to bring with her. This is a lamp I’ve seen in her living room my whole life. It had belonged to her mother. I’ve always liked it for the turquoise-color ceramic base and Japanese-inspired cherry blossoms.
Unfortunately, the silk for the lampshade was in bad shape. It was fraying and had slits coming up the side. It was really overdue for an upgrade. Sadly, I didn’t have the foresight to take a before photo of the old shade before I ripped it off.
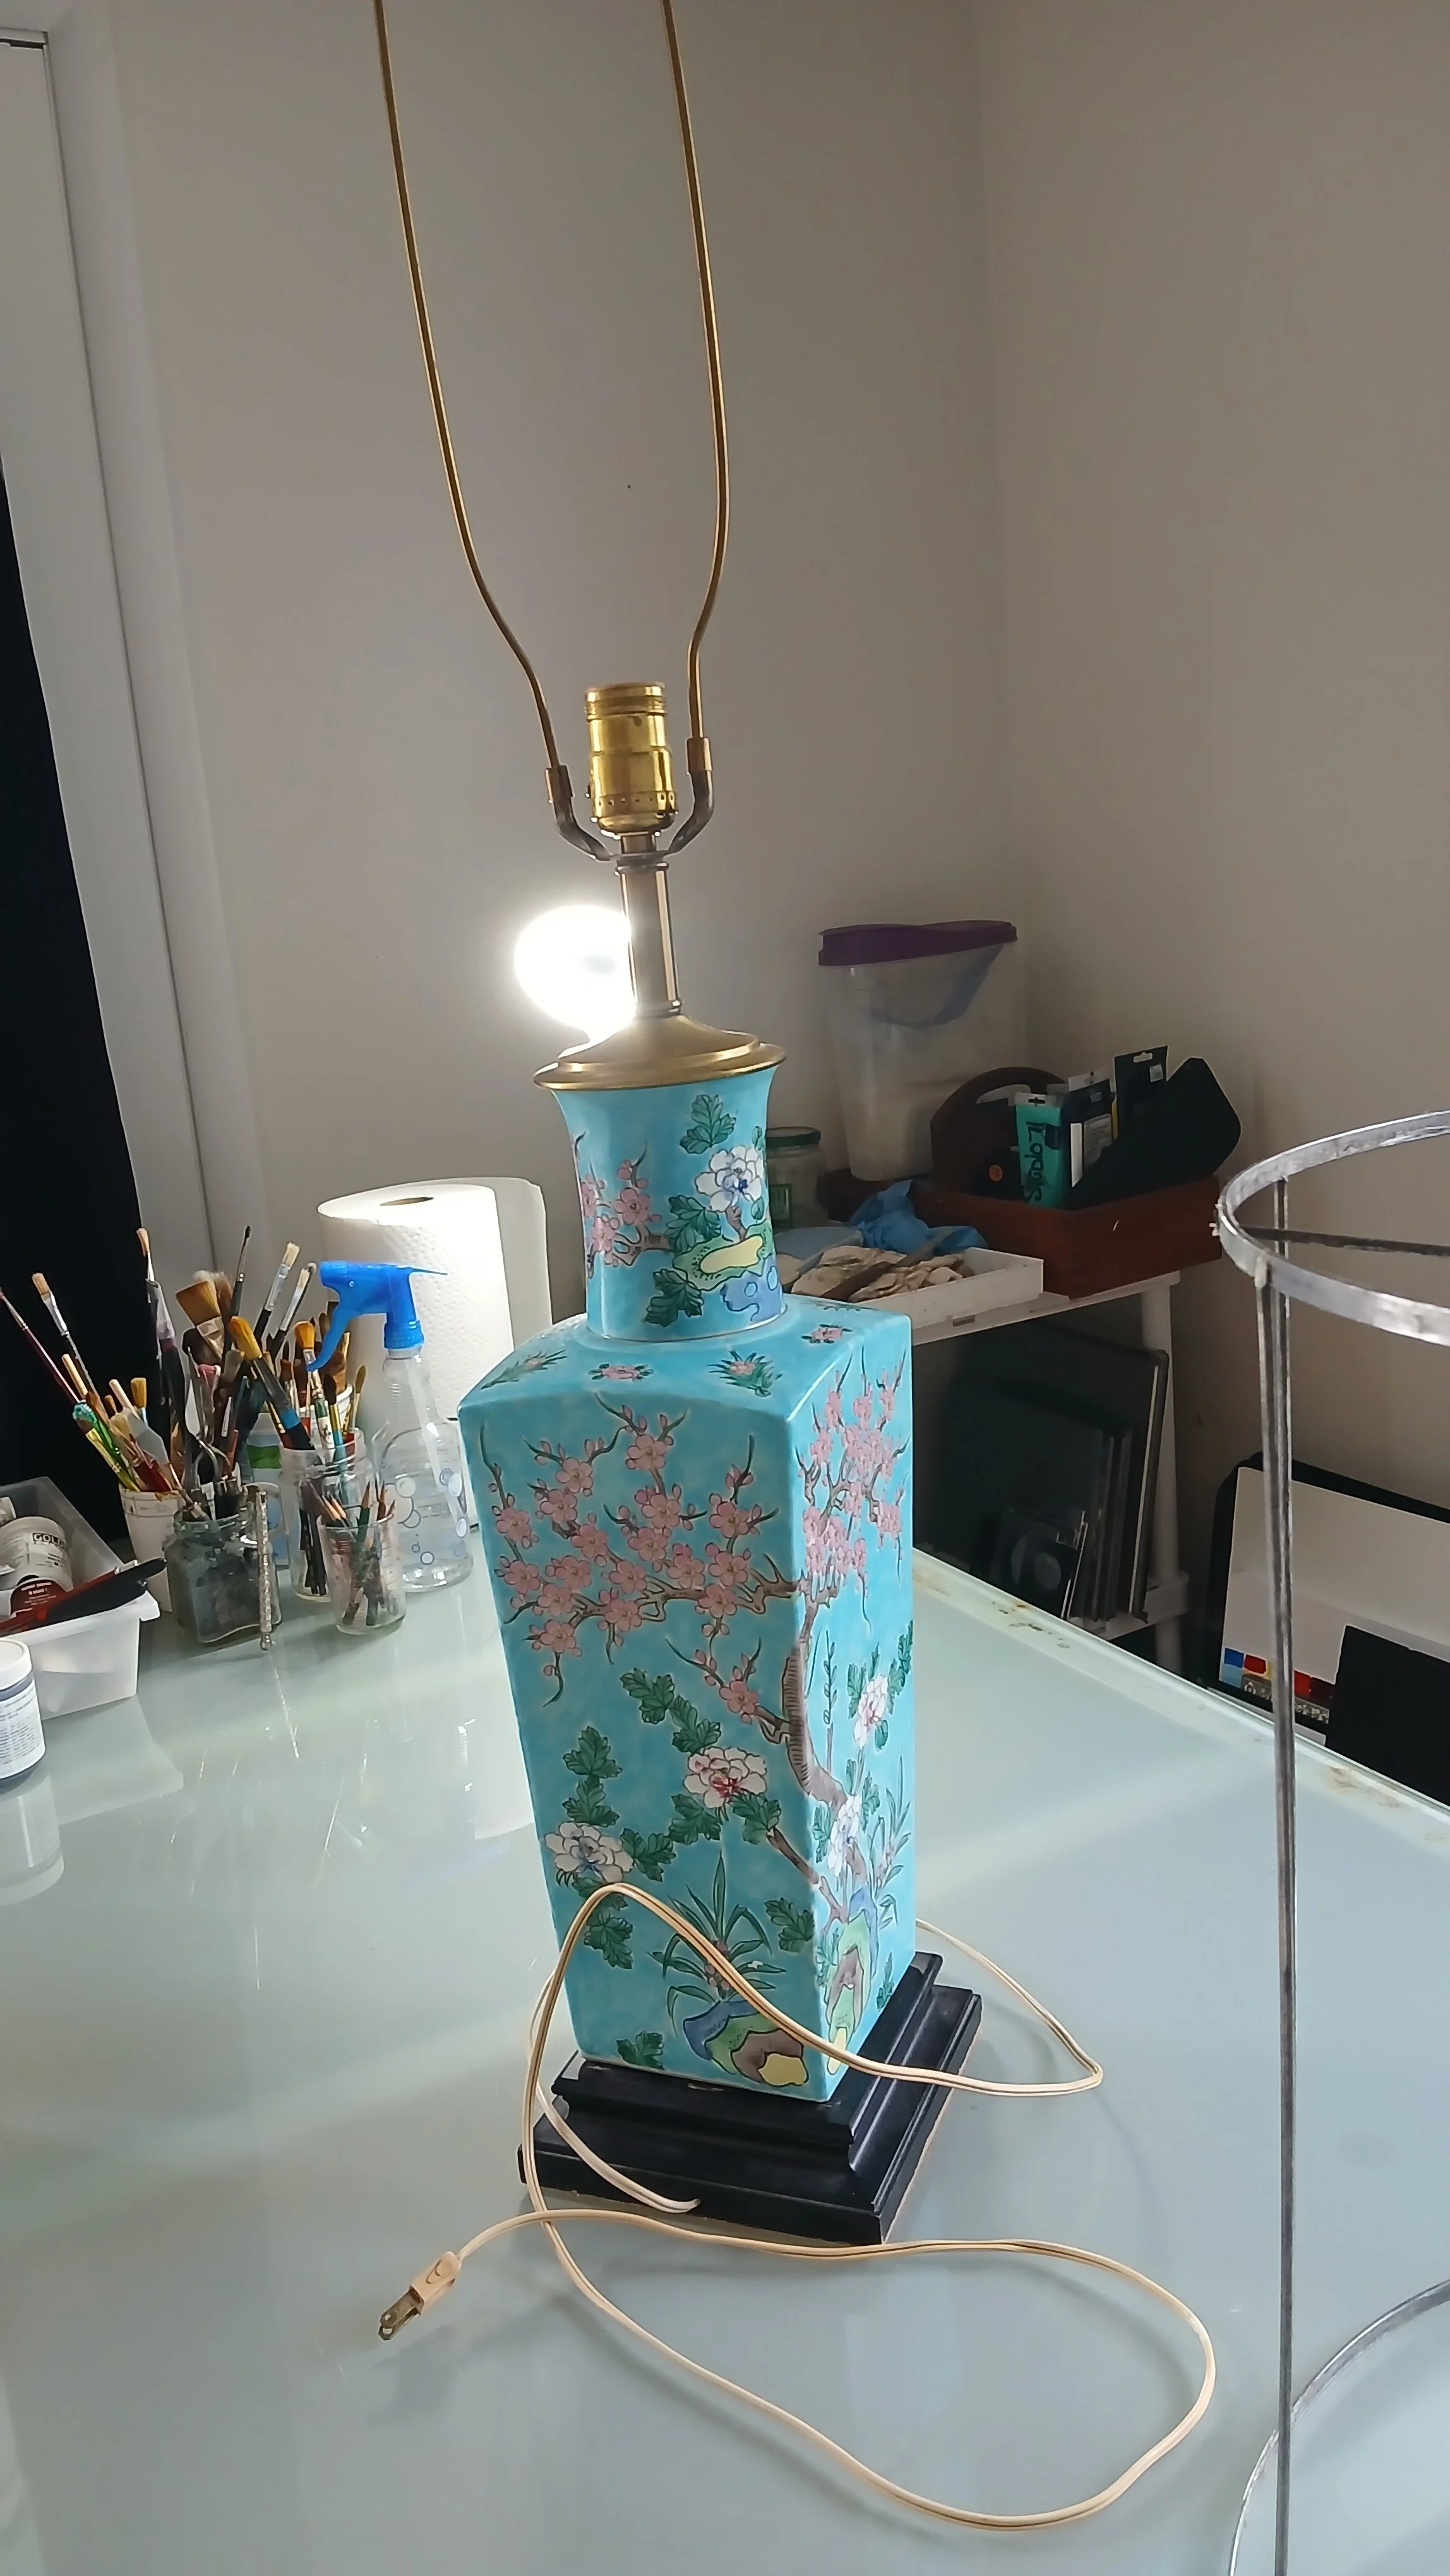
For a millisecond I entertained the idea of finding a professional to recover the shade. And then I felt a bubbling of confidence and curiosity…”Ugh! I can’t give this opportunity to someone else! I can probably figure this out.”
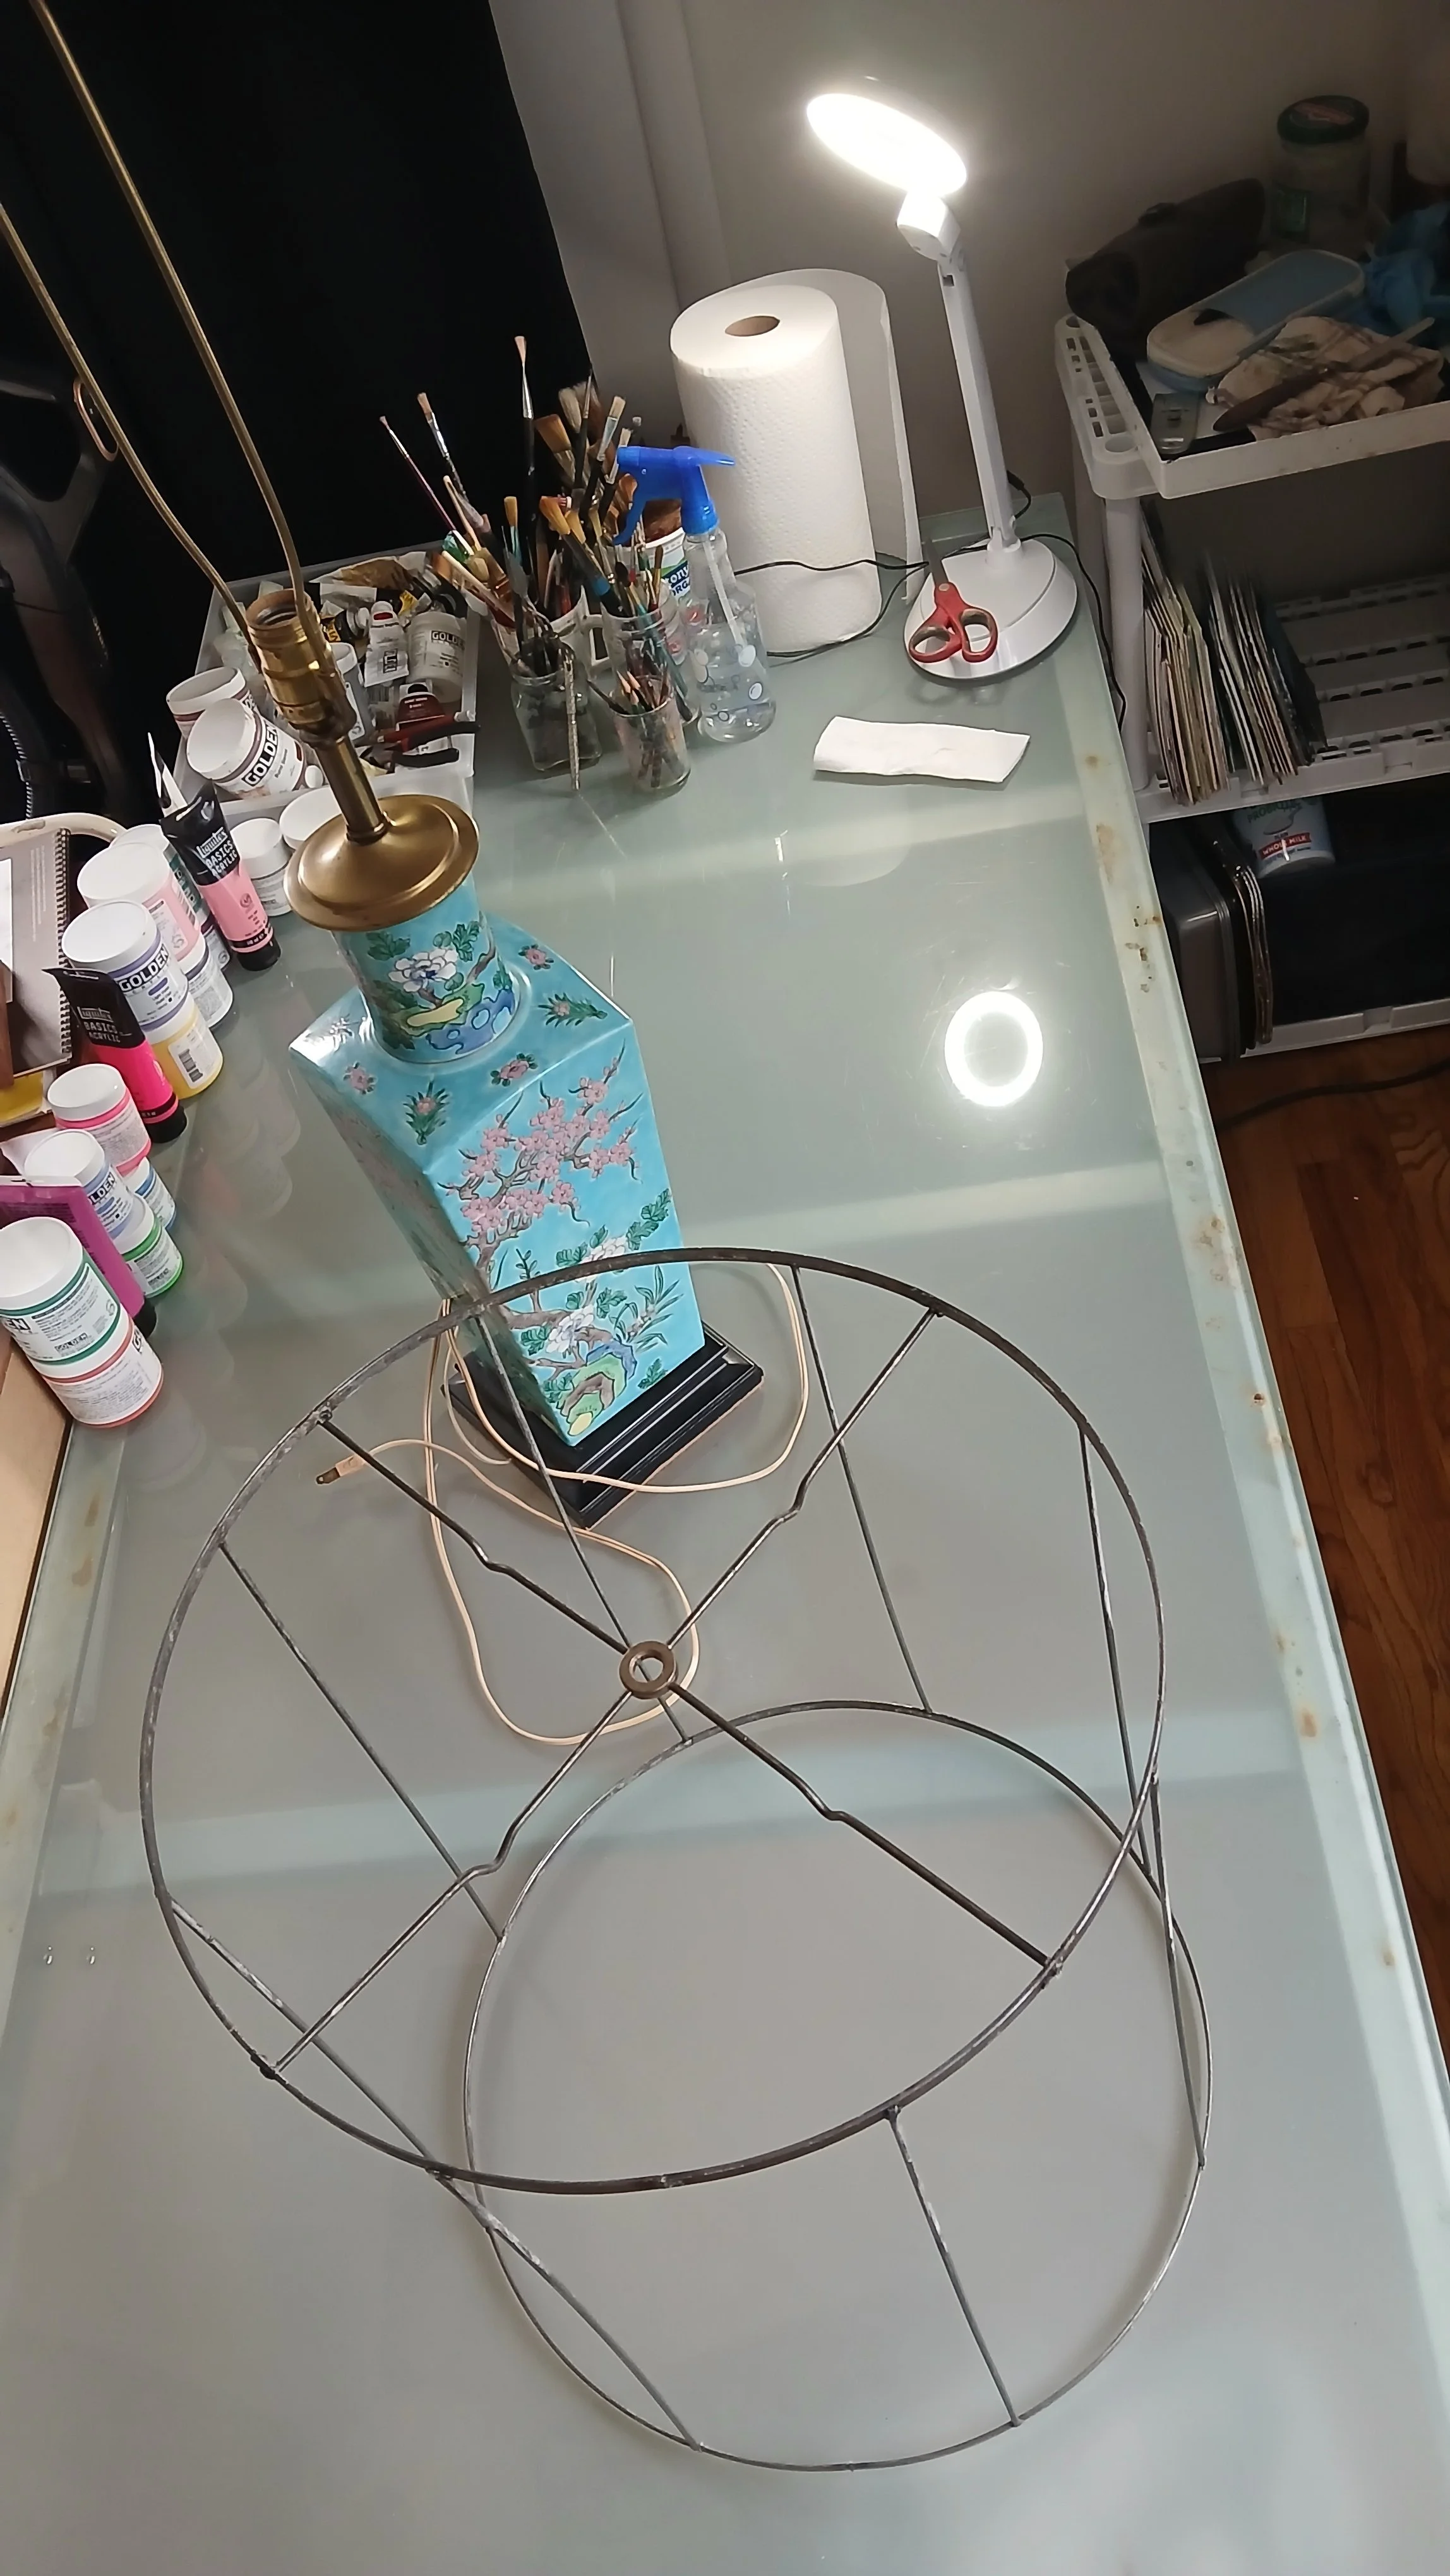
Removing all the fabric and tape covering the wire frame was the first step. I had to use a blade to scrape as much of the hardened glue as I could off the top and bottom armature. That almost took as long as it did to make the rest of the shade.
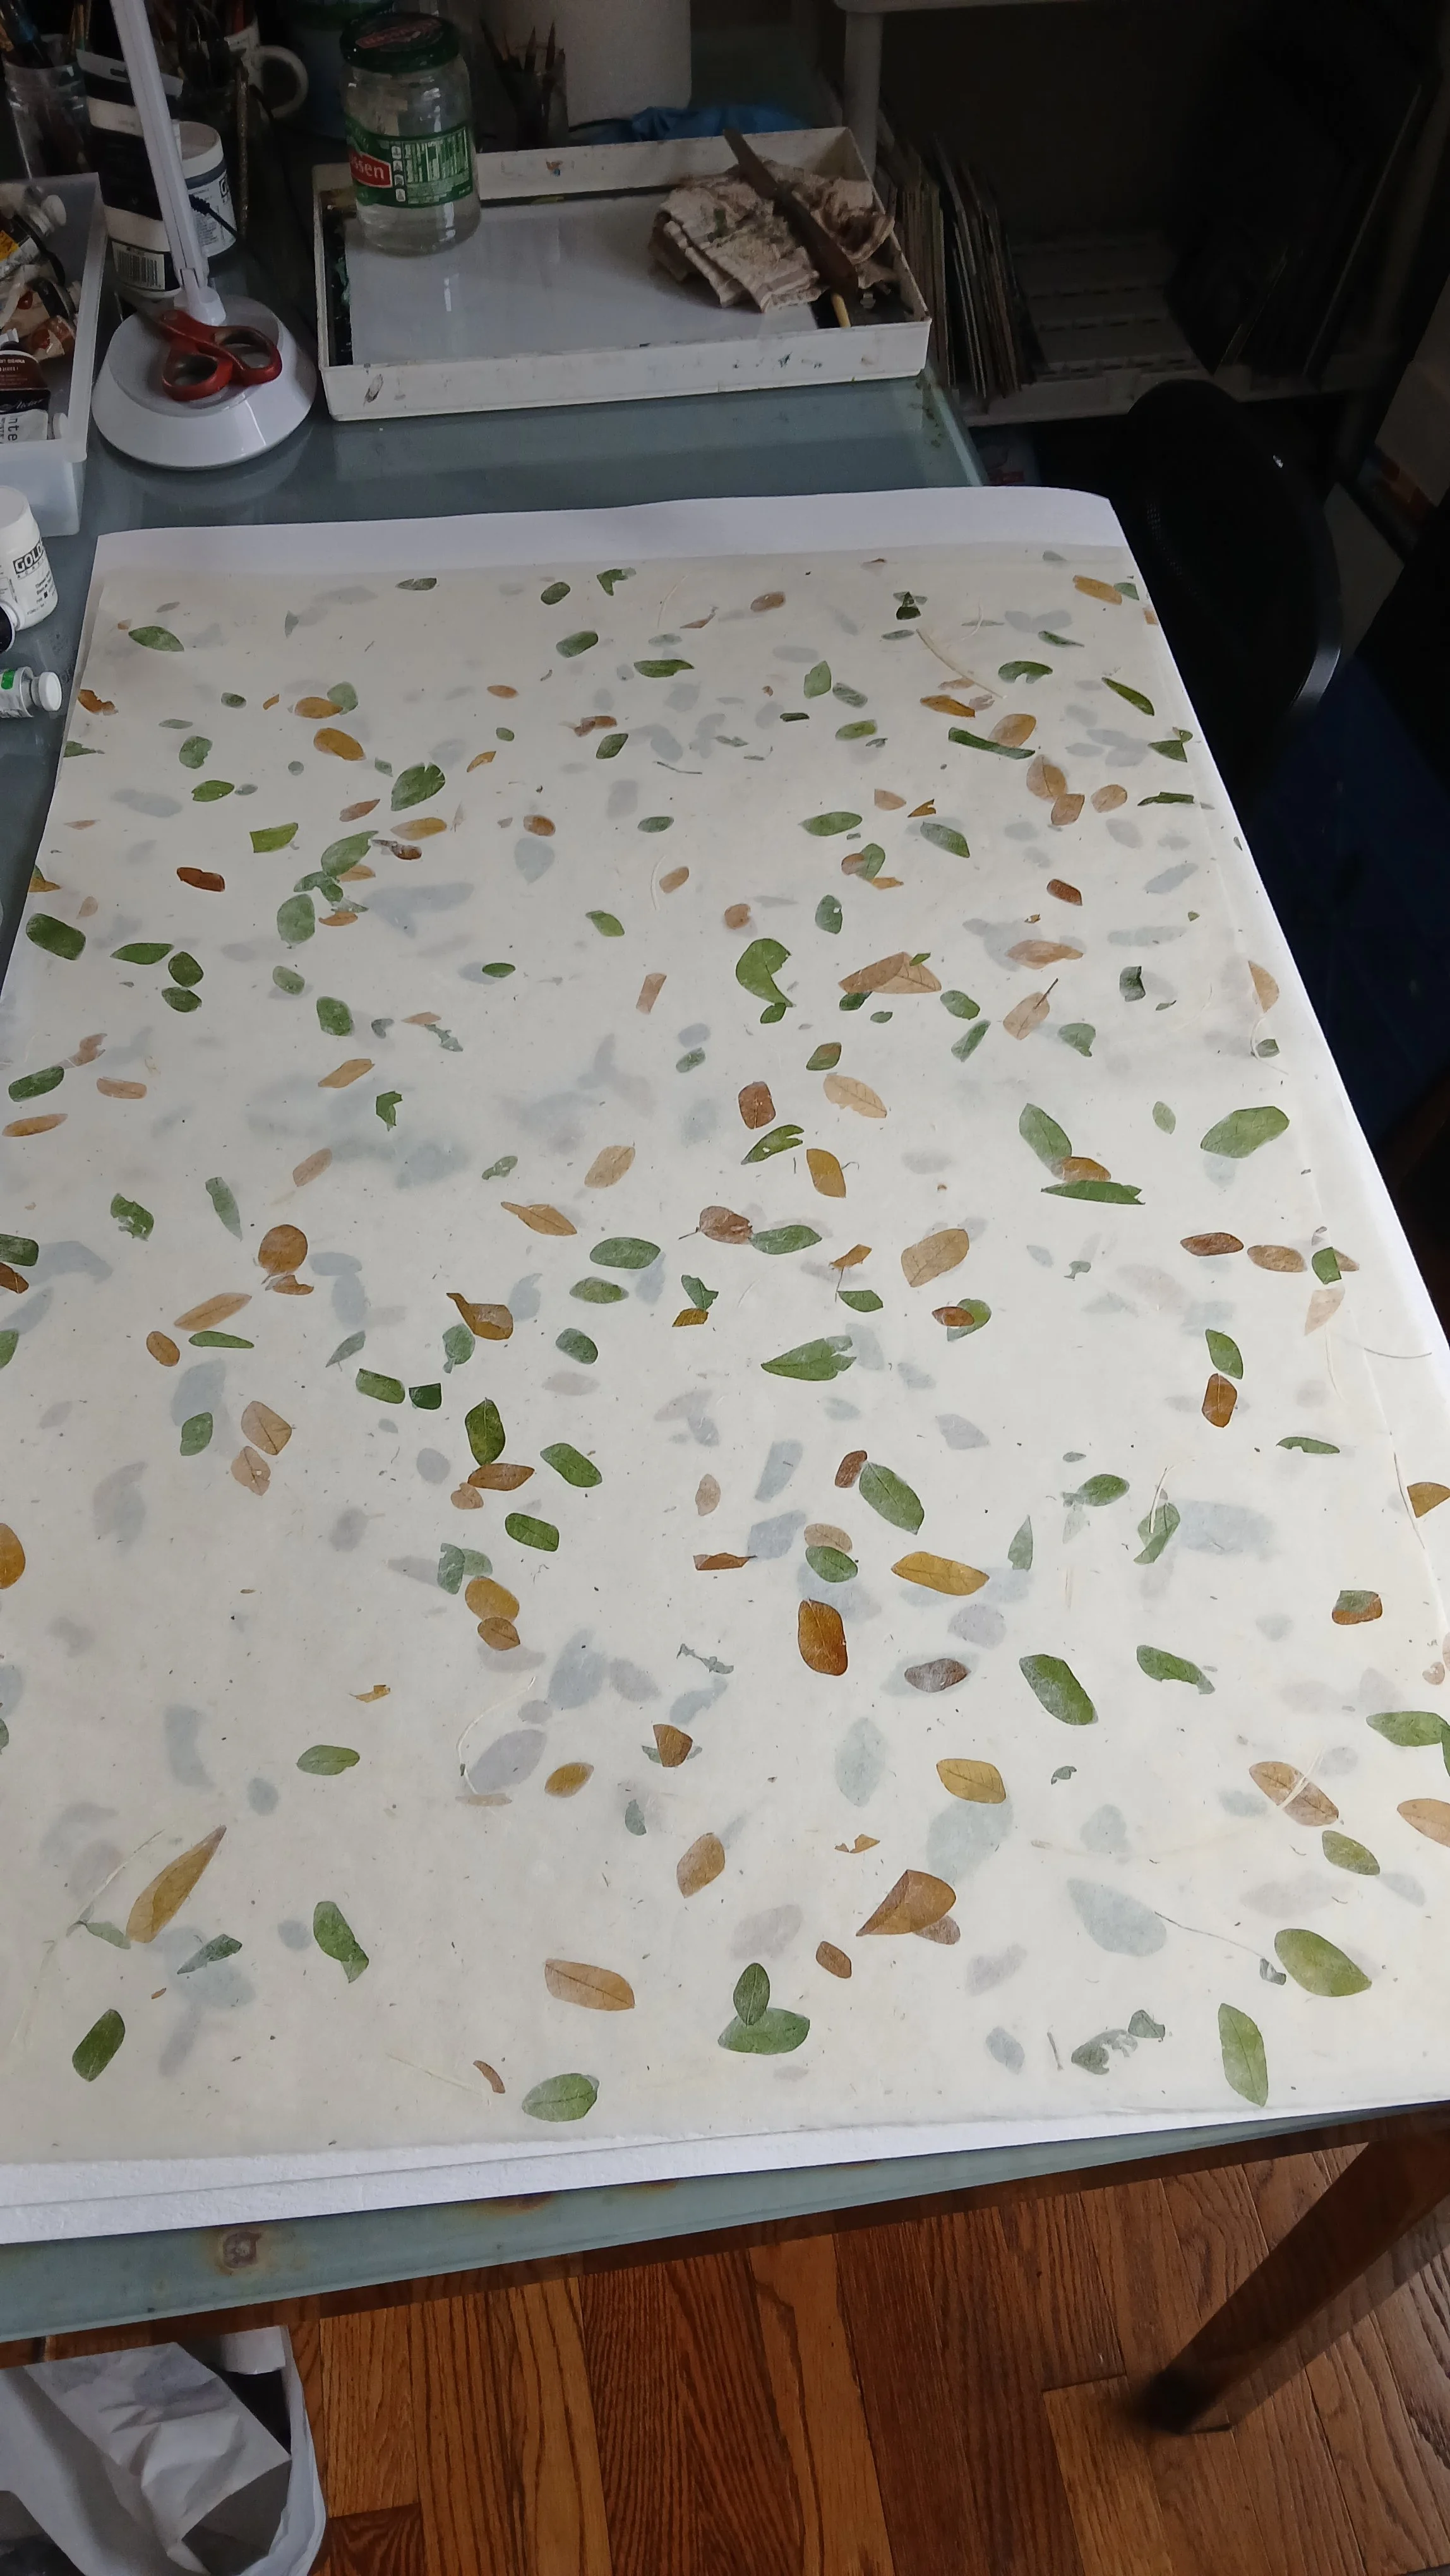
My idea was to use Japanese mulberry (kozo) paper as a cover rather than silk. Paper is a material I’m more comfortable working with, and I knew the translucency of the paper would have a similar effect.
I made a pilgrimage to Hollo’s Papercraft on my day off in search of the perfect paper (The Occasional Gazette: A Trip to Hollo’s Papercraft).
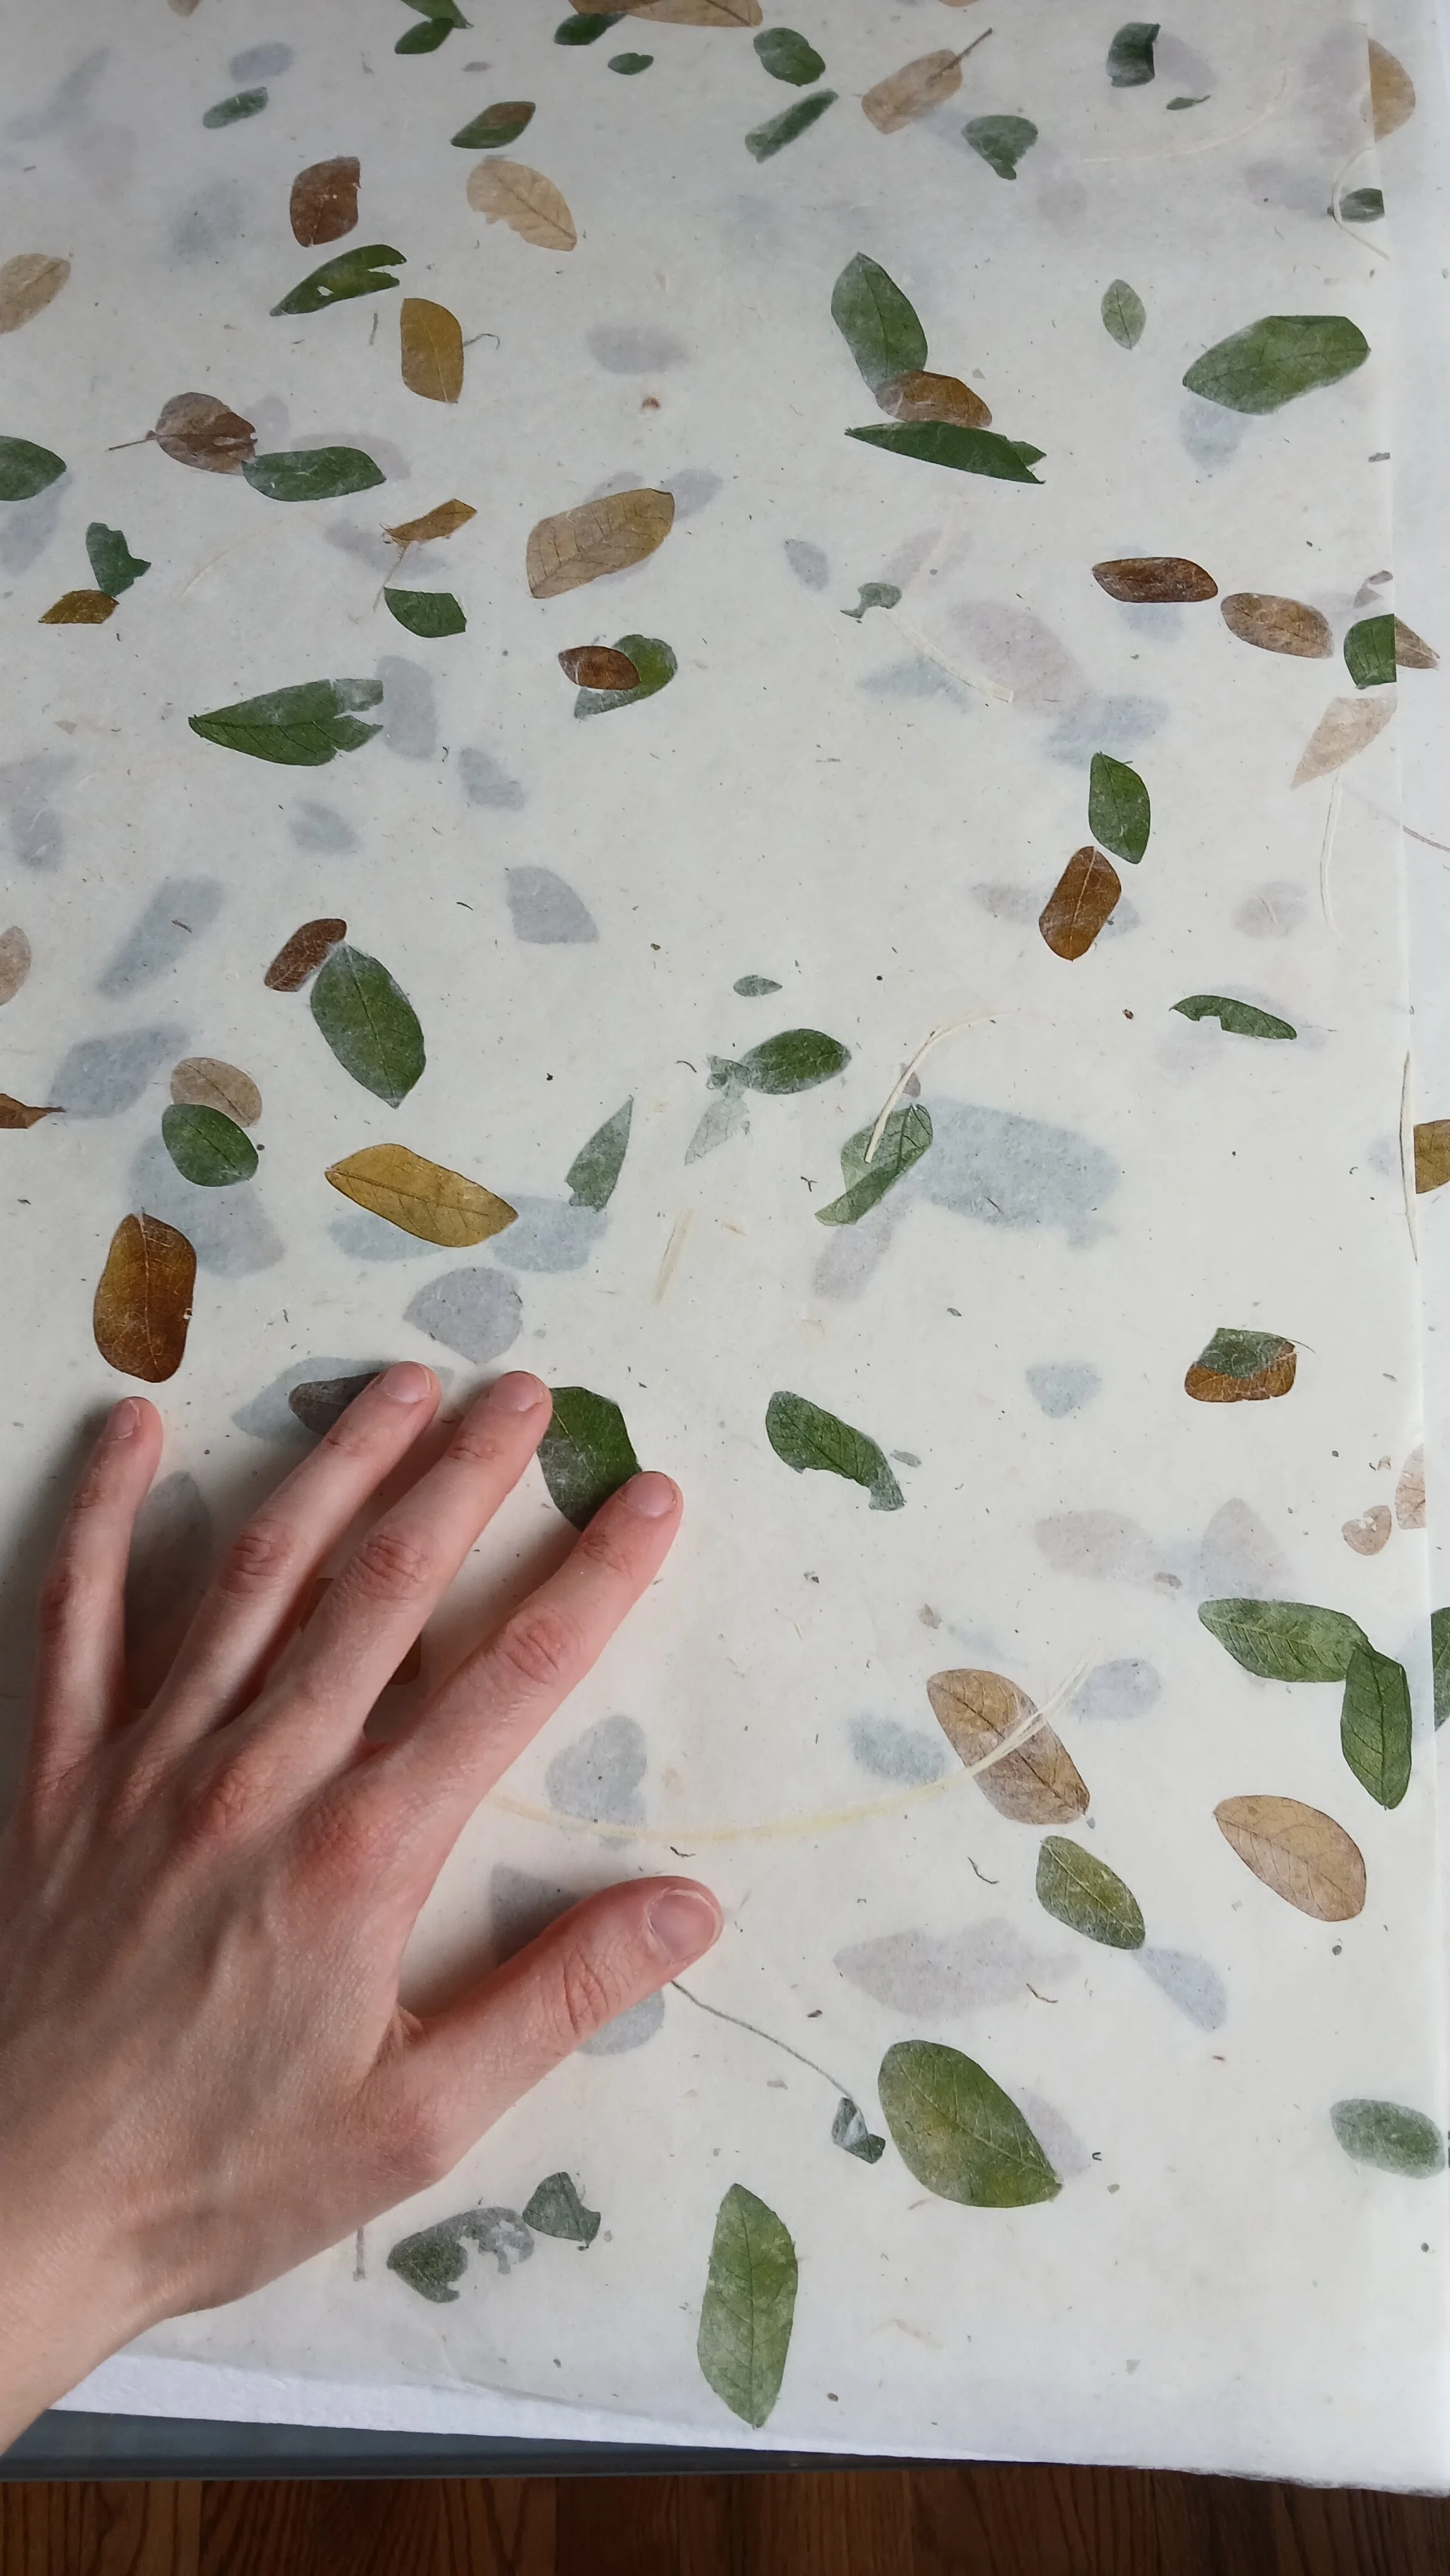
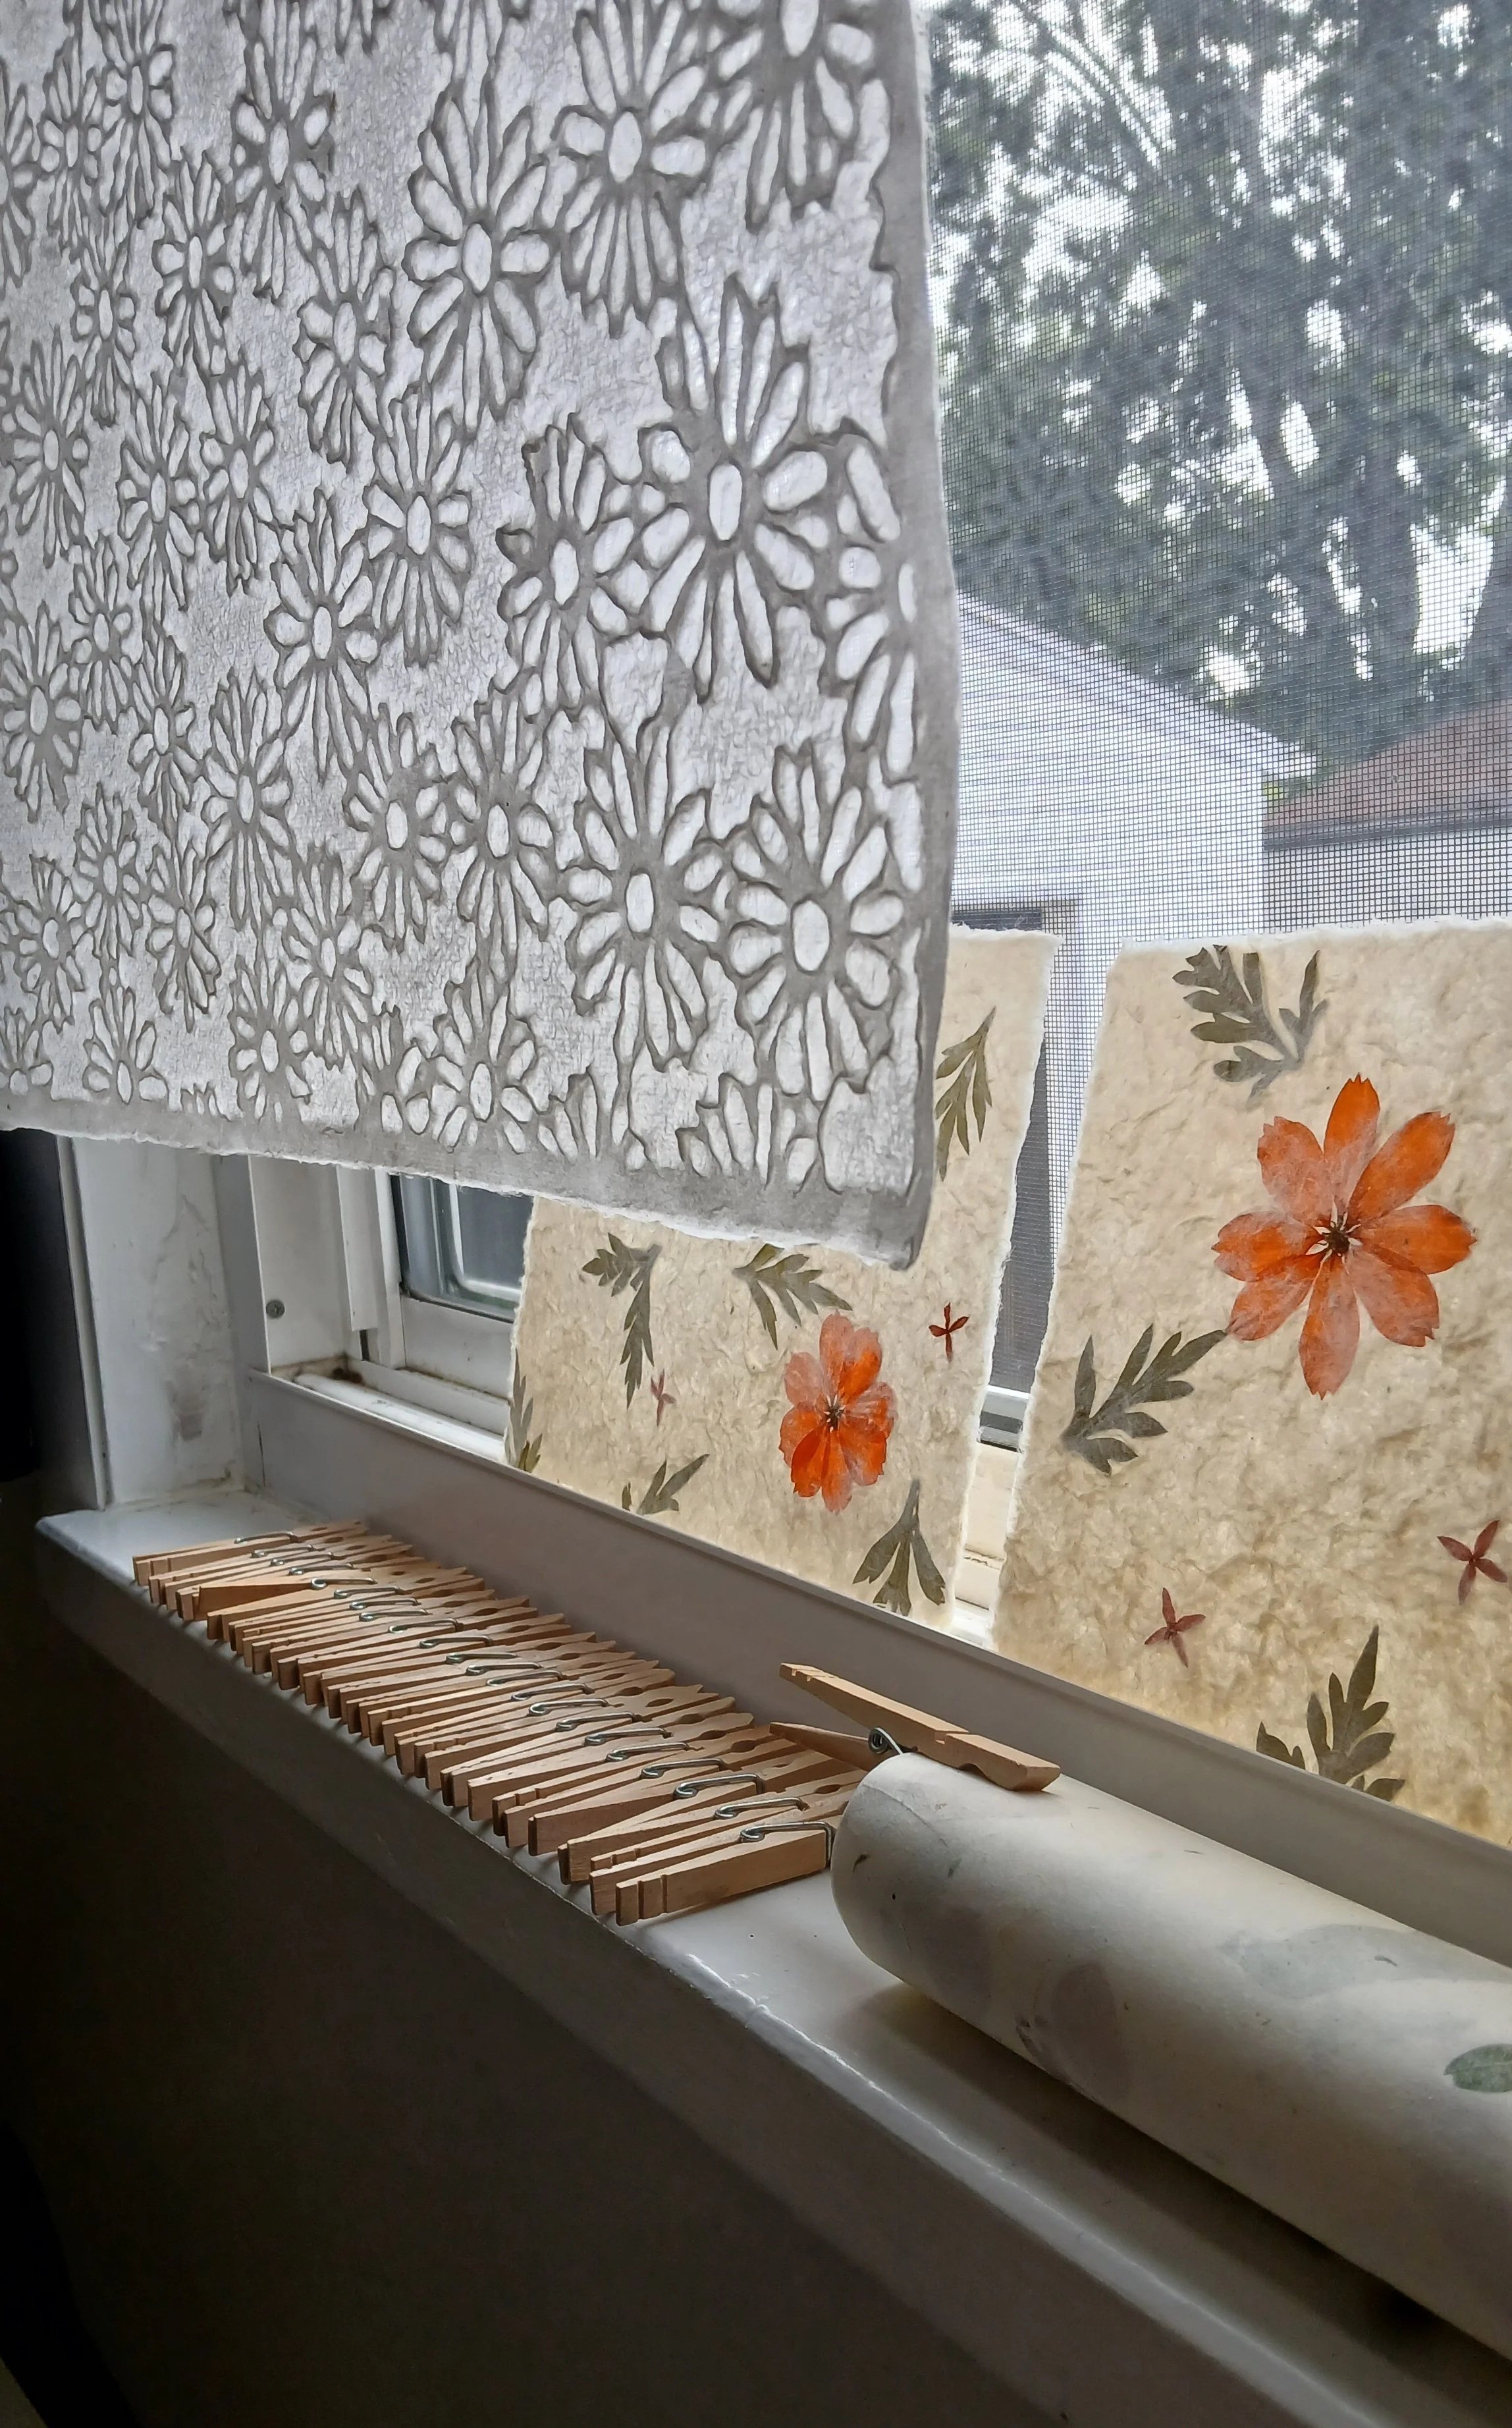
I chose an off-white paper with leaves embedded (two sheets). The saleswoman advised me to buy a crepe liner paper as well, which were only $1.00 per sheet.
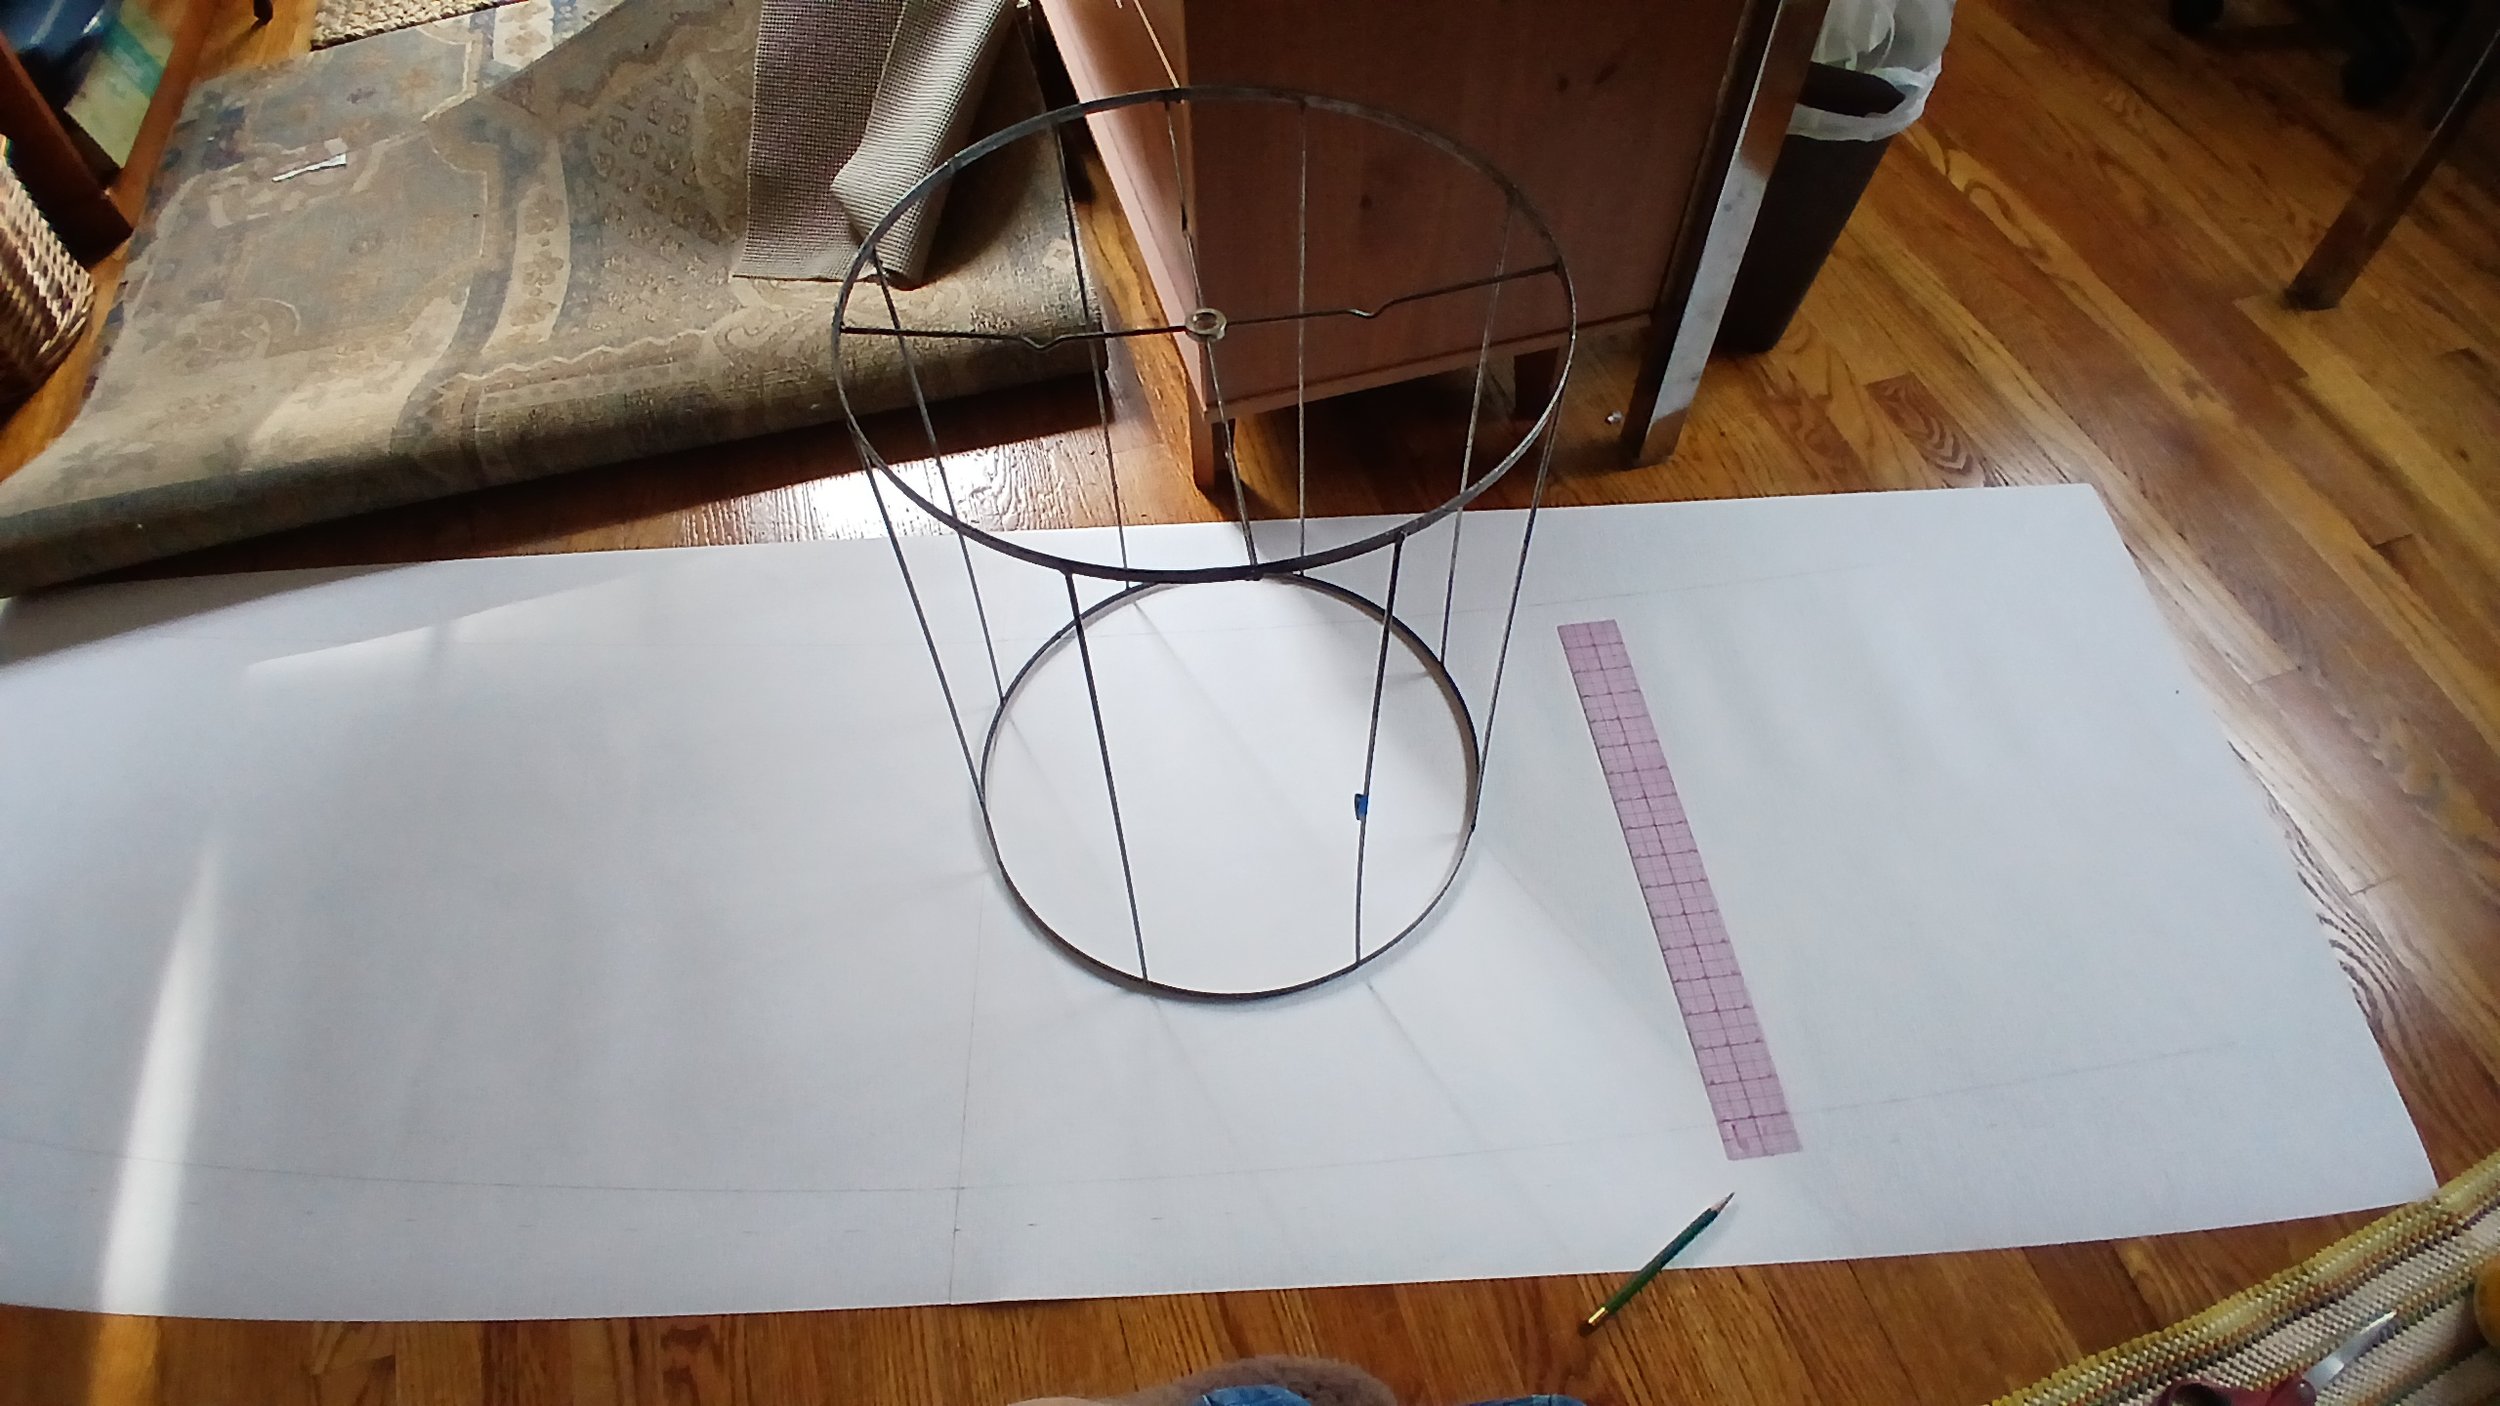
As they say, “Measure twice, cut once.” I had hoped the shade was a perfect cylinder, meaning I would get away with making a basic rectangle piece of paper to cover it. Turns out that the top diameter is 15”, and the bottom one is 16”. This I knew would make the process a bit more complicated.
I started with the liner. After gluing the edges of the papers together to make one long piece, I put a bit blue tape on one of the vertical wires as a marker. Then I laid it on the paper and used a pencil to trace the top and bottom as I slowly turned it on the paper. I was really amazed how just a one-inch difference led to a significant curve in the template I had to make.
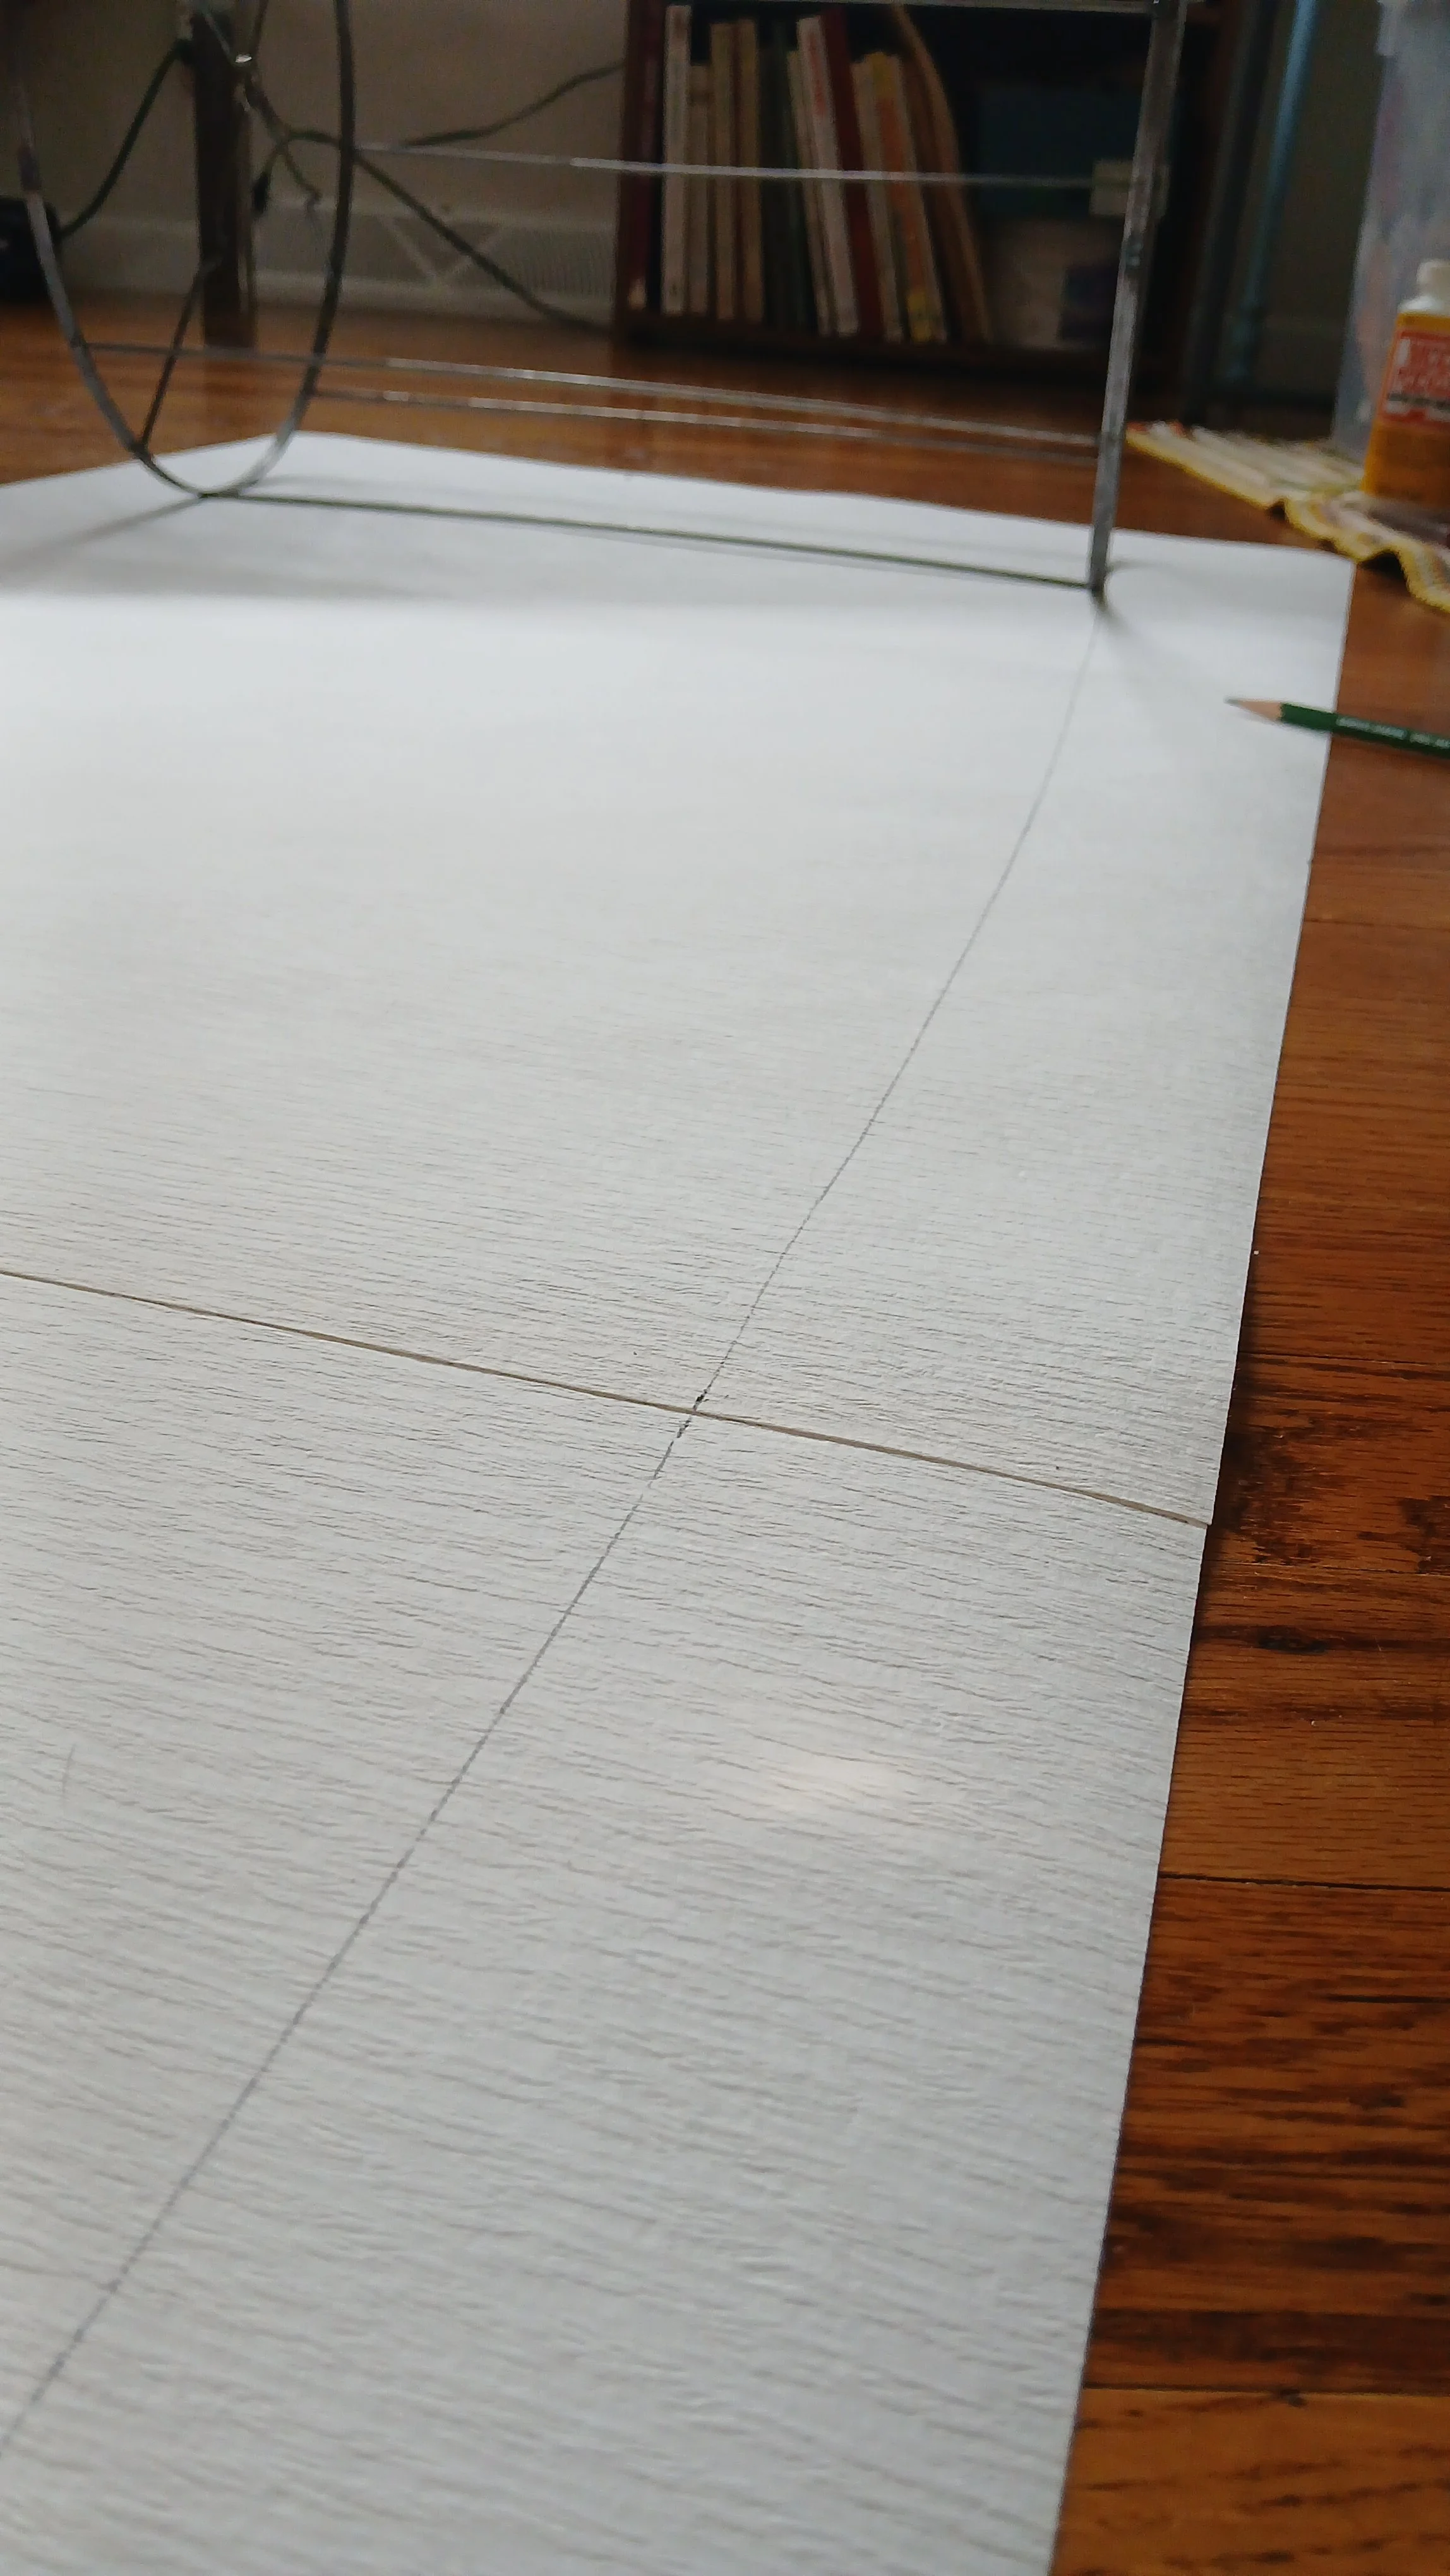
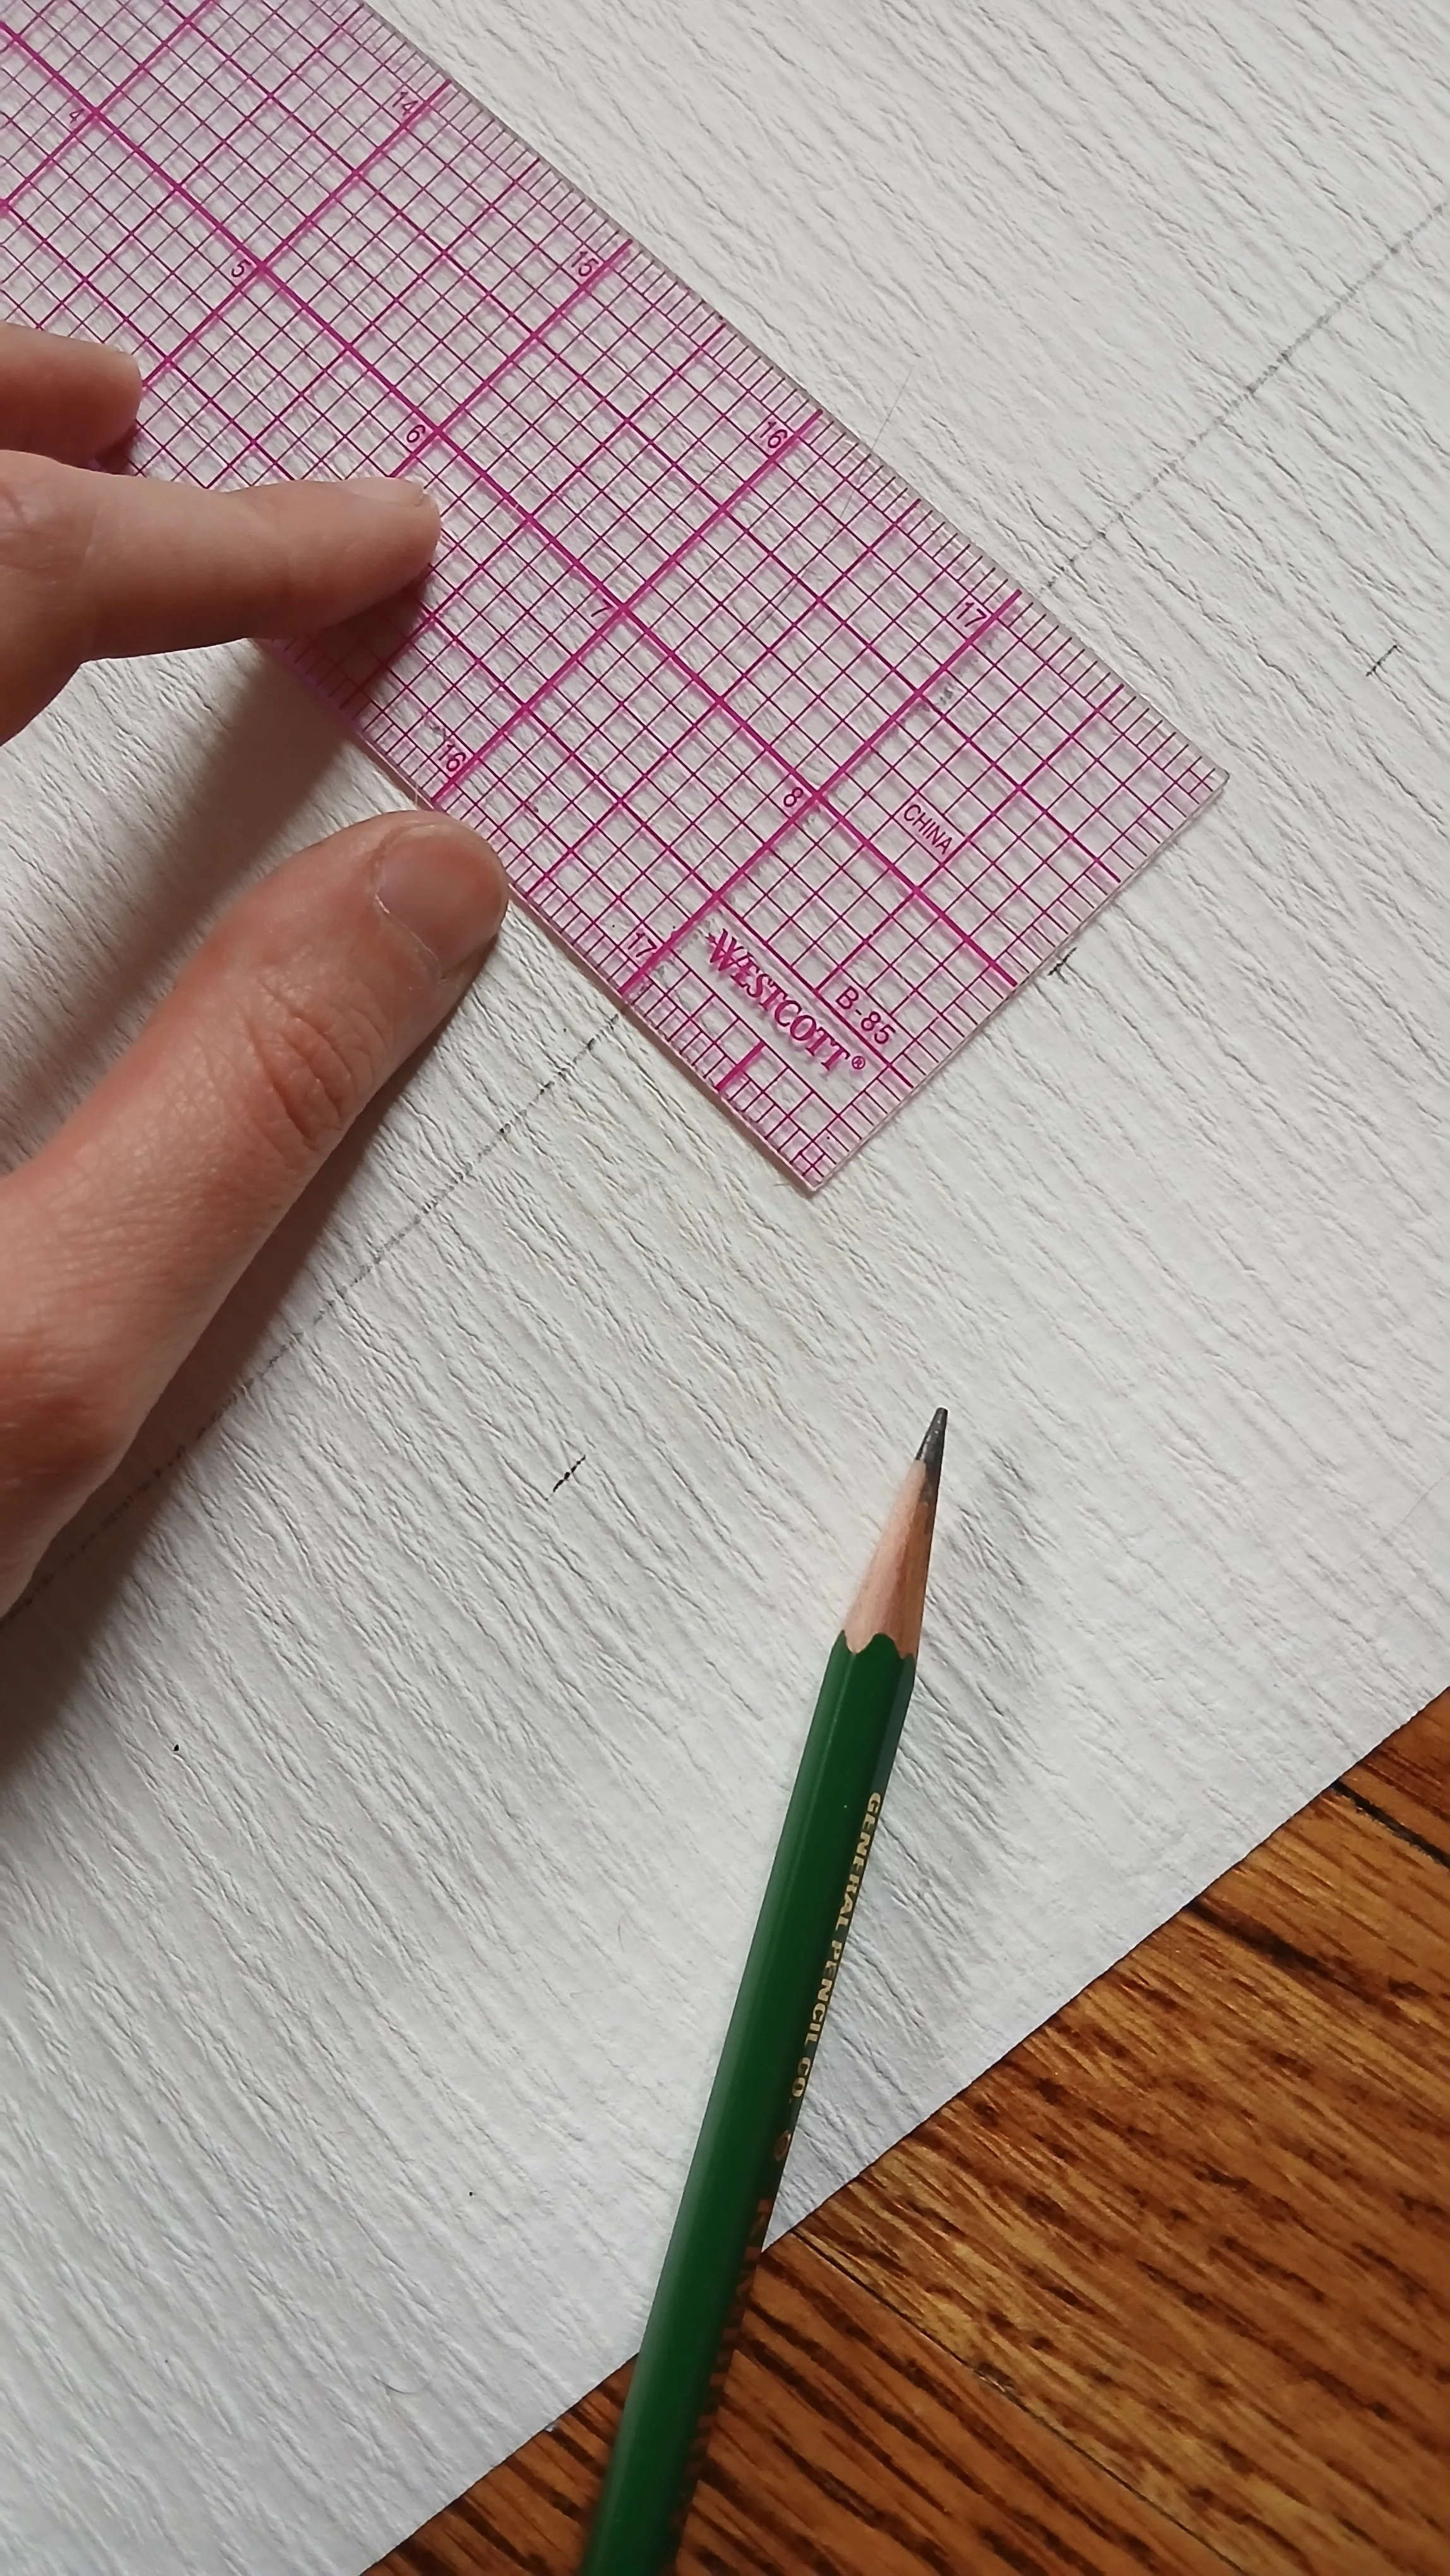
The next step involved using a gridded ruler to measure out 1” allowance past the top and bottom lines I just drew. This extra paper would be turned into tabs later and folded over with glue to cover the top and bottom of the wire frame.
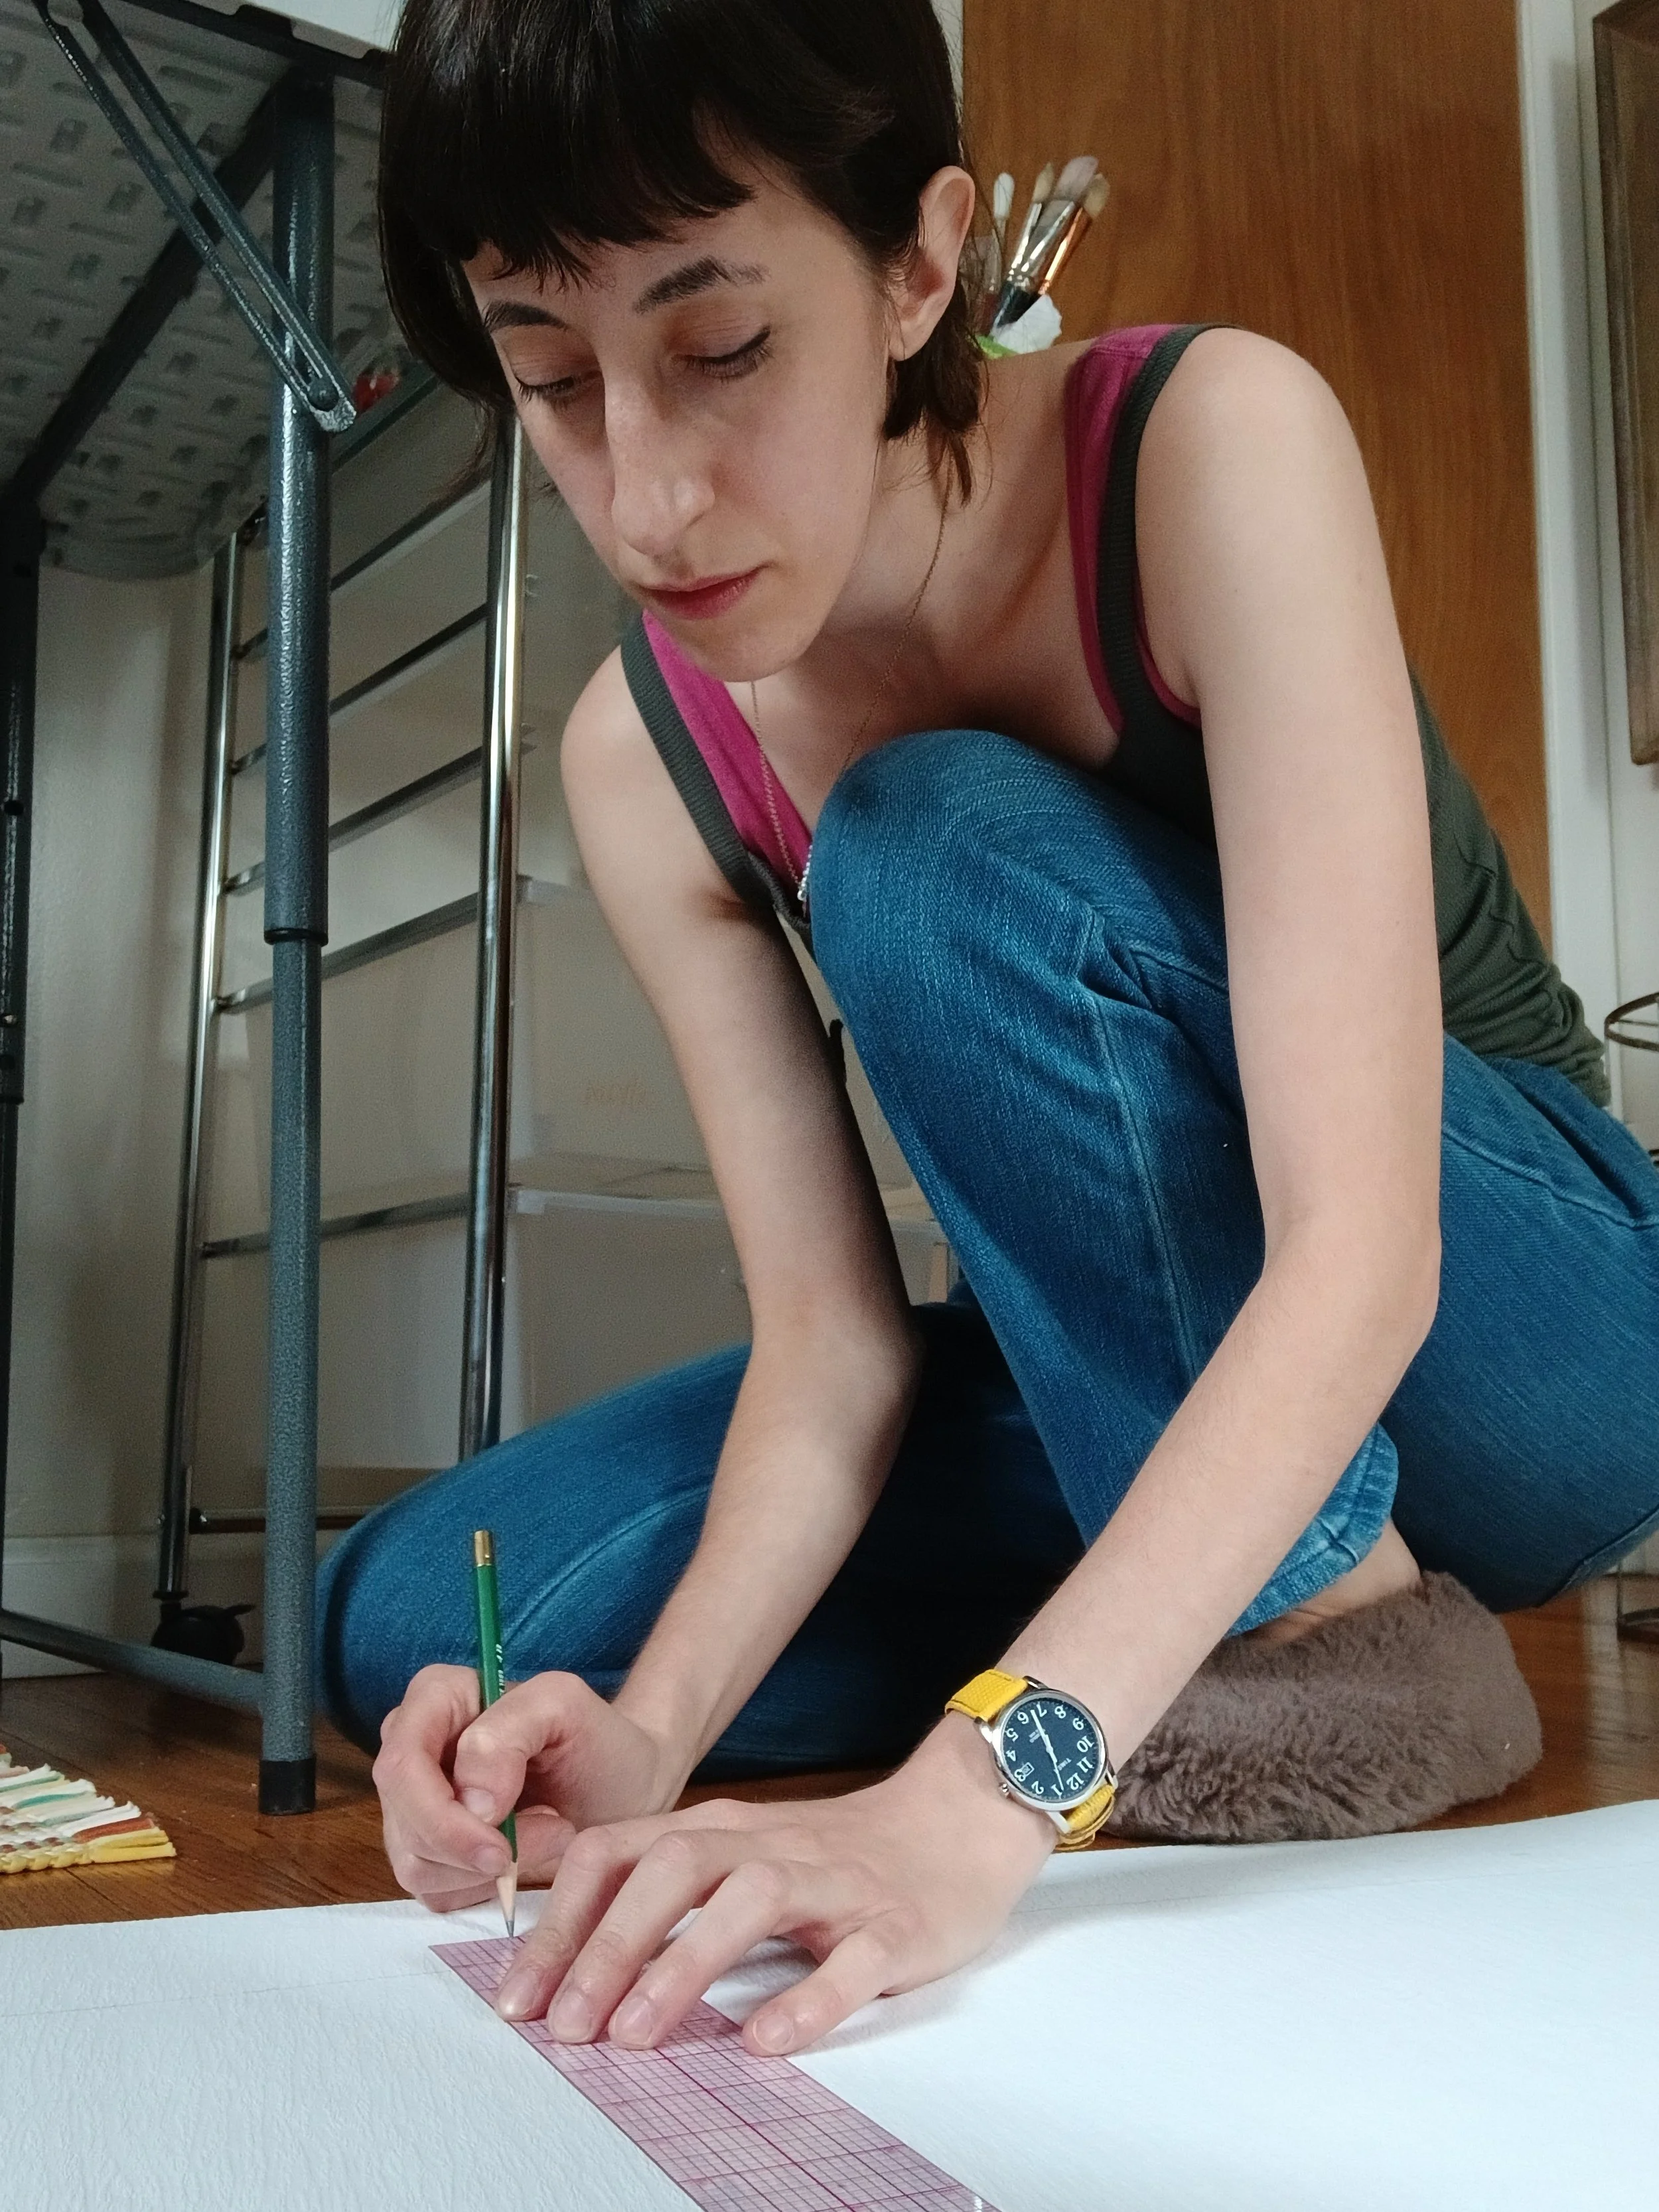
I had to use the floor as my work surface for this process.
Wrapping my liner around the wire frame after being cut out — it fits!!
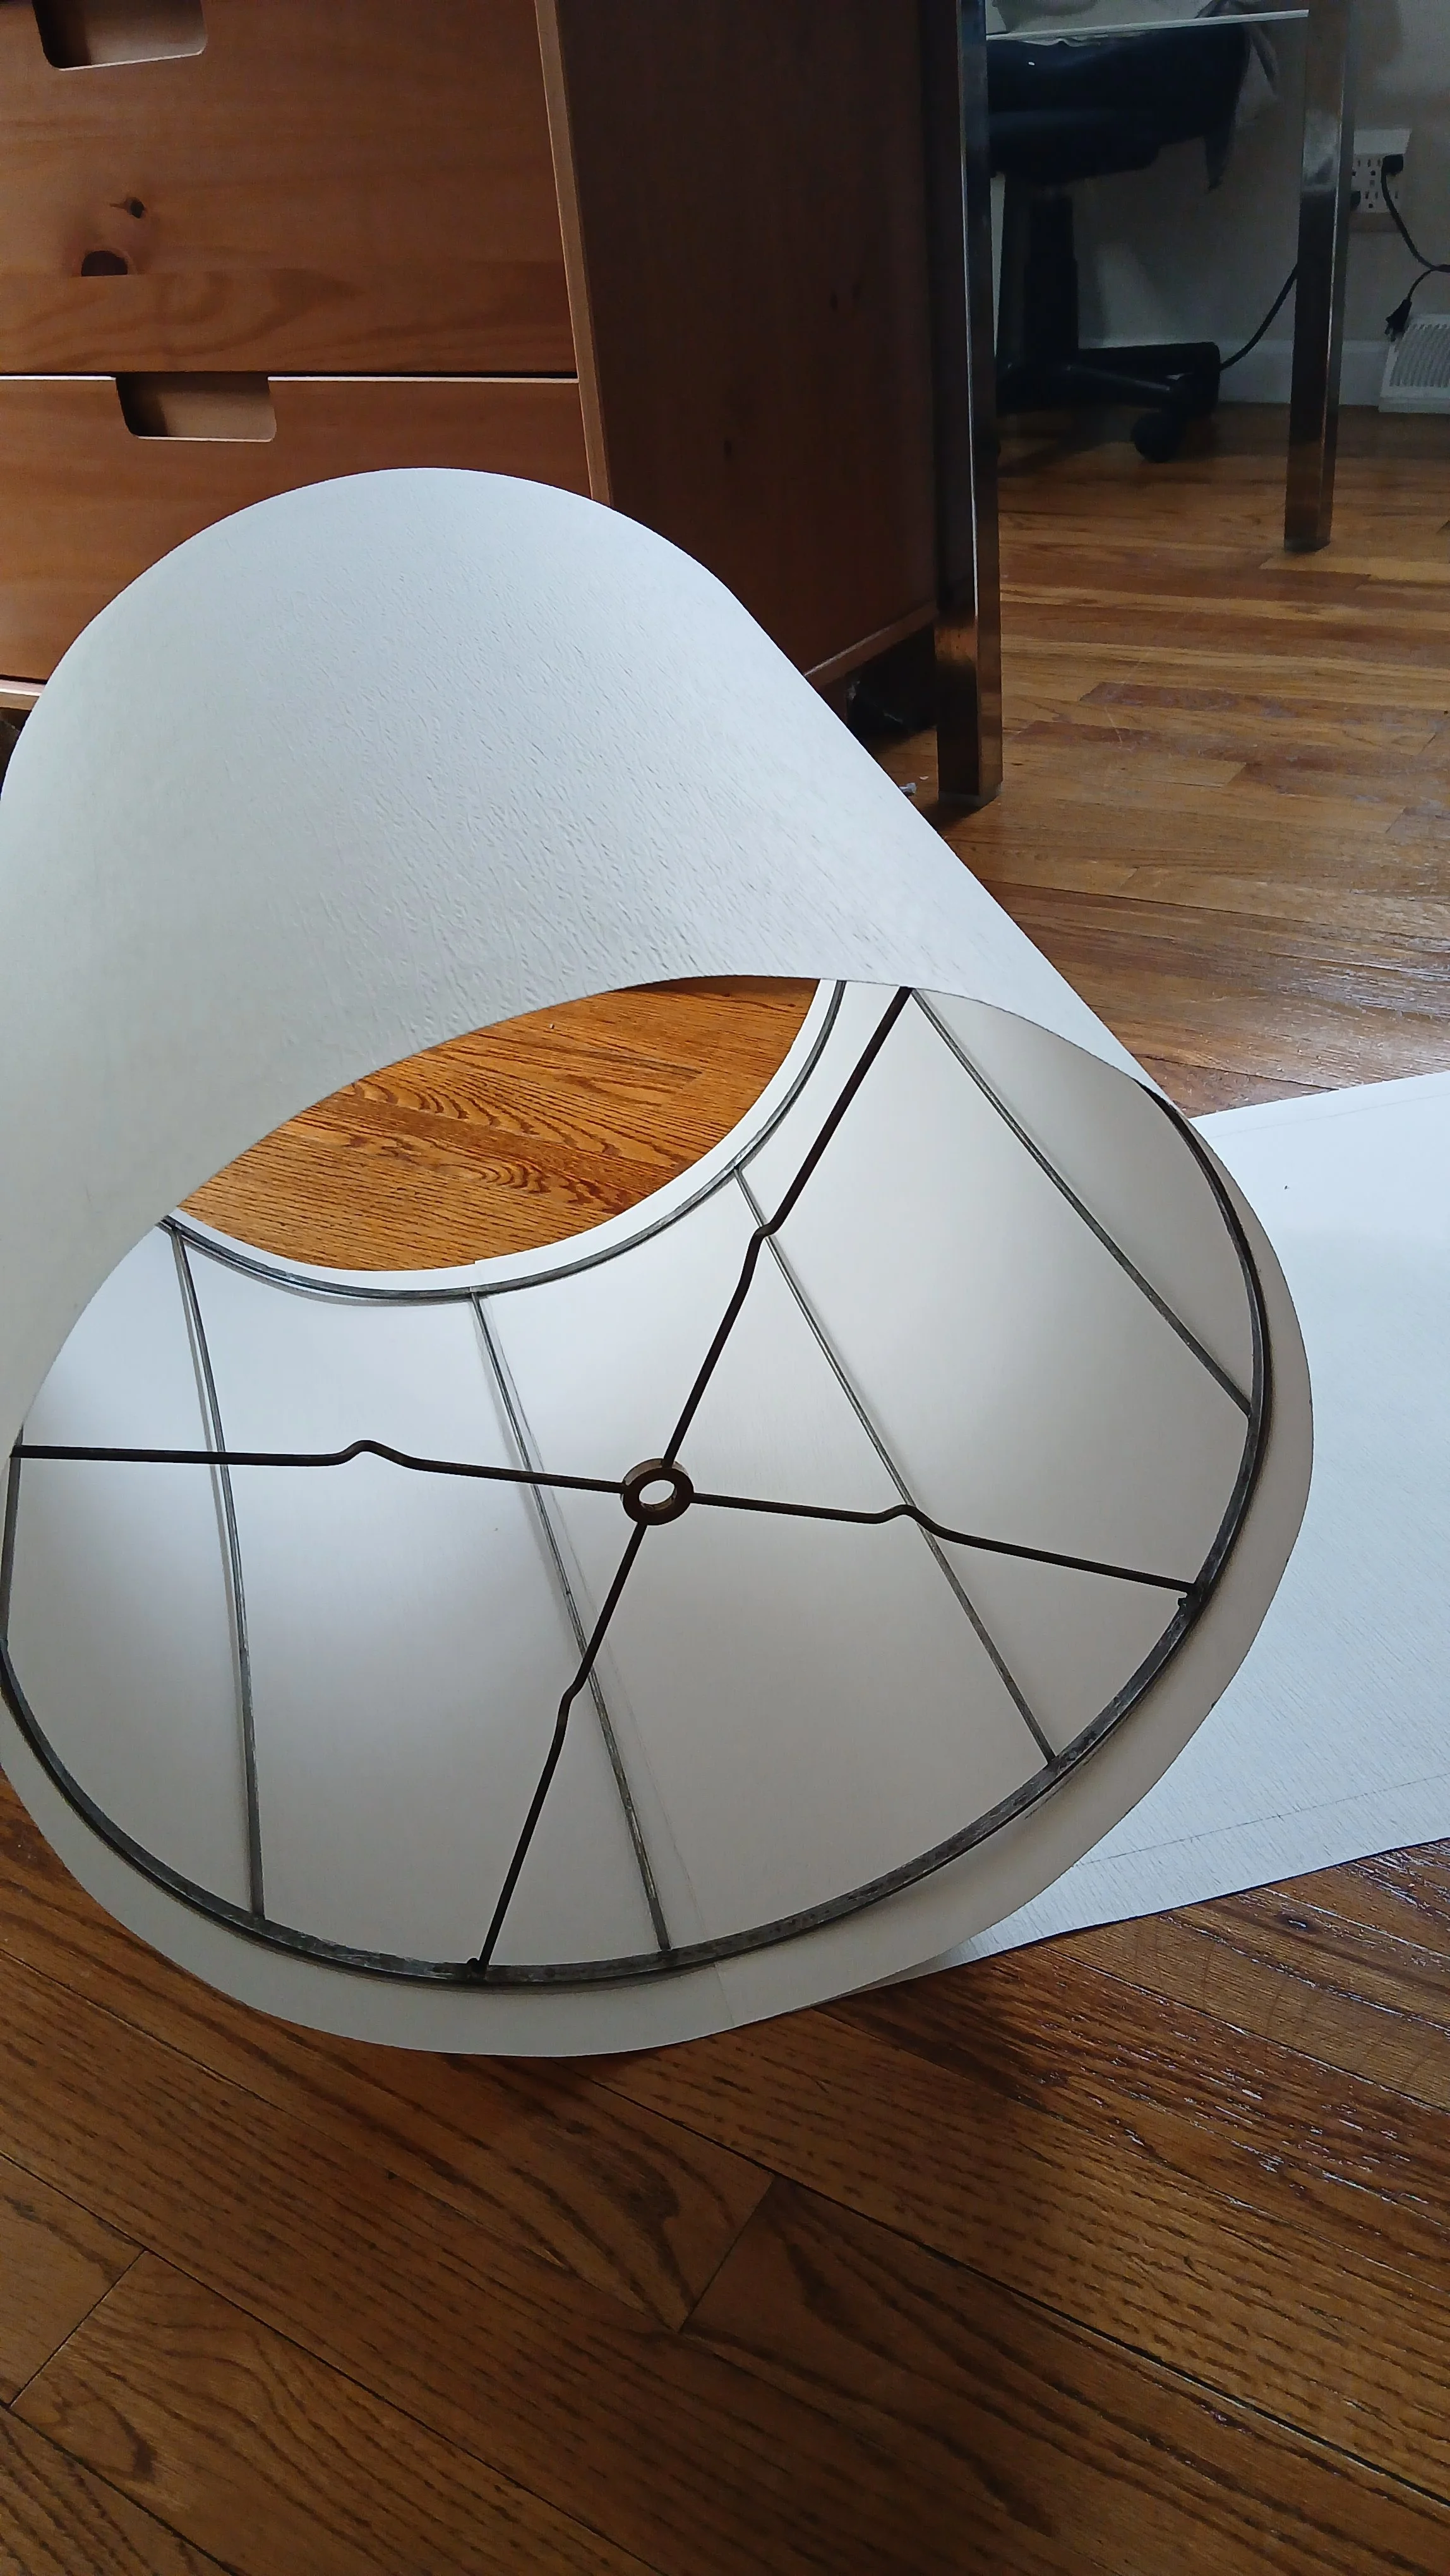
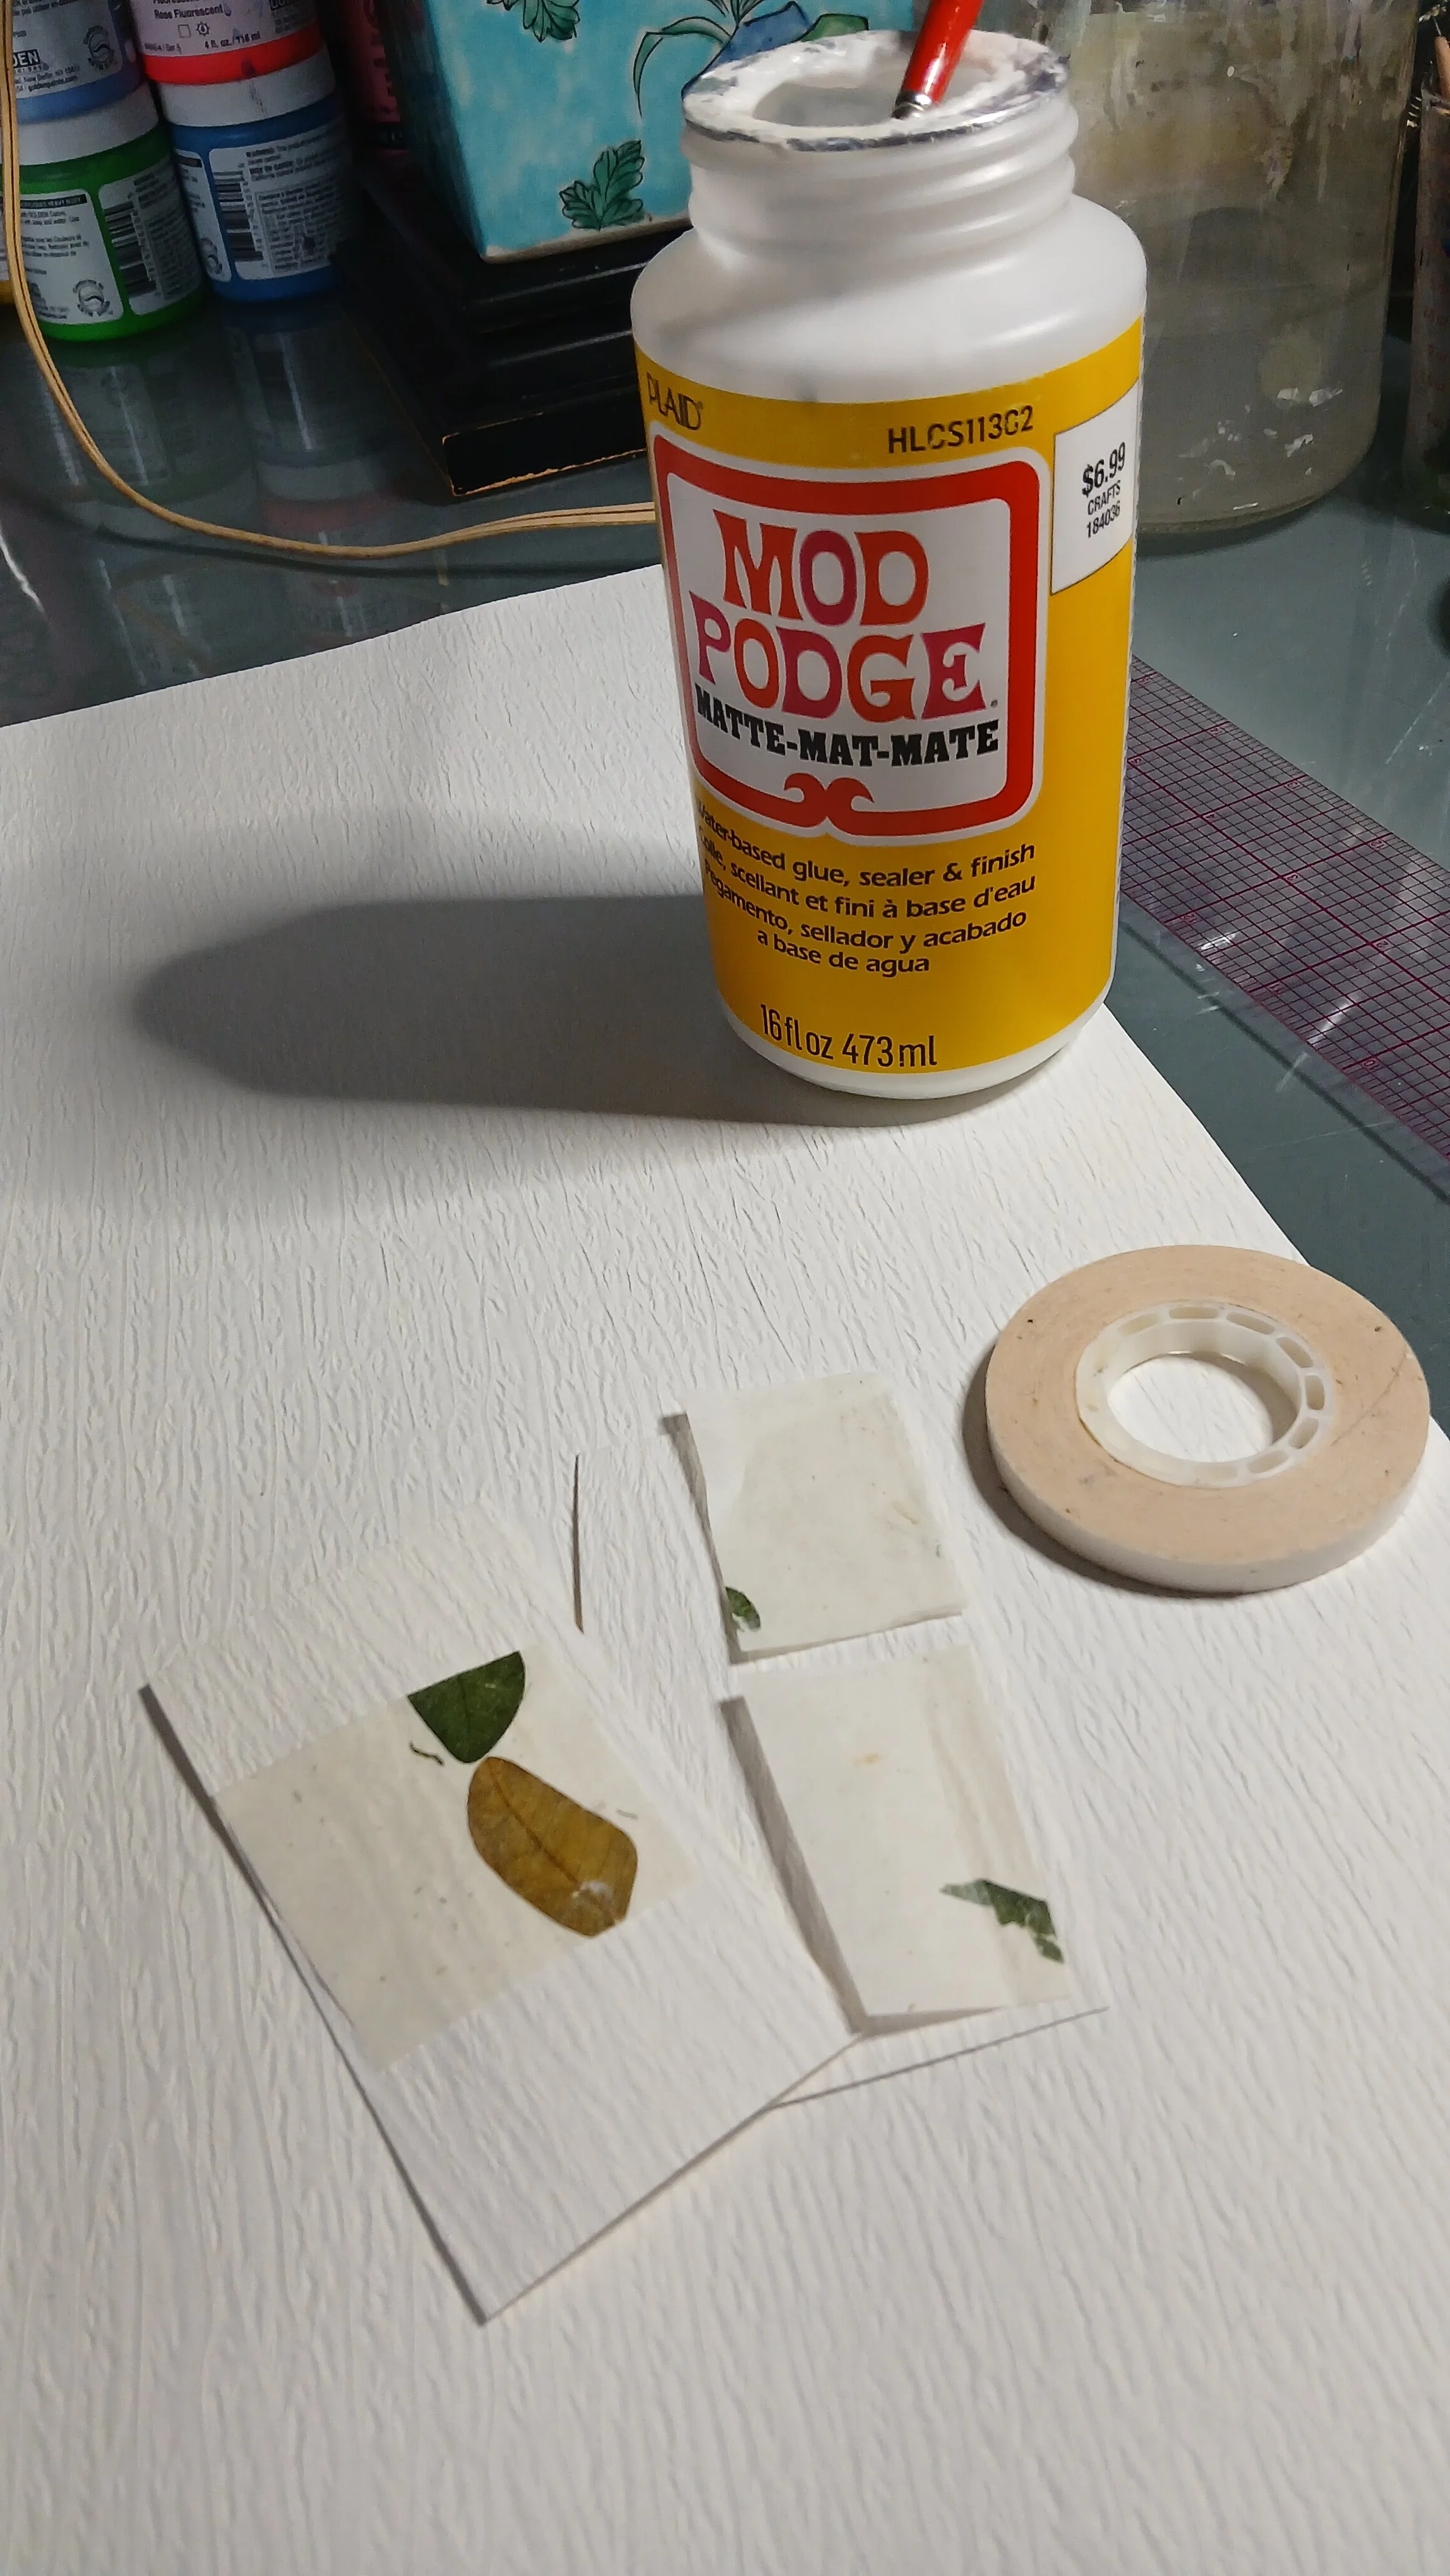
I did some tests with the Mod Podge to see how it would work with the kozo paper. I wasn’t sure whether the glue would seep through and make it look funky. I thought about using a roll of sticky tape to attach the kozo paper, too (I saw some people on YouTube attaching their shade coverings in this way), but the tape I have just isn’t sticky enough for me to trust it. Thankfully the Mod Podge worked wonderfully!
Now it’s coming together! In this picture you see the extra kozo paper on the shade, which I trimmed off.
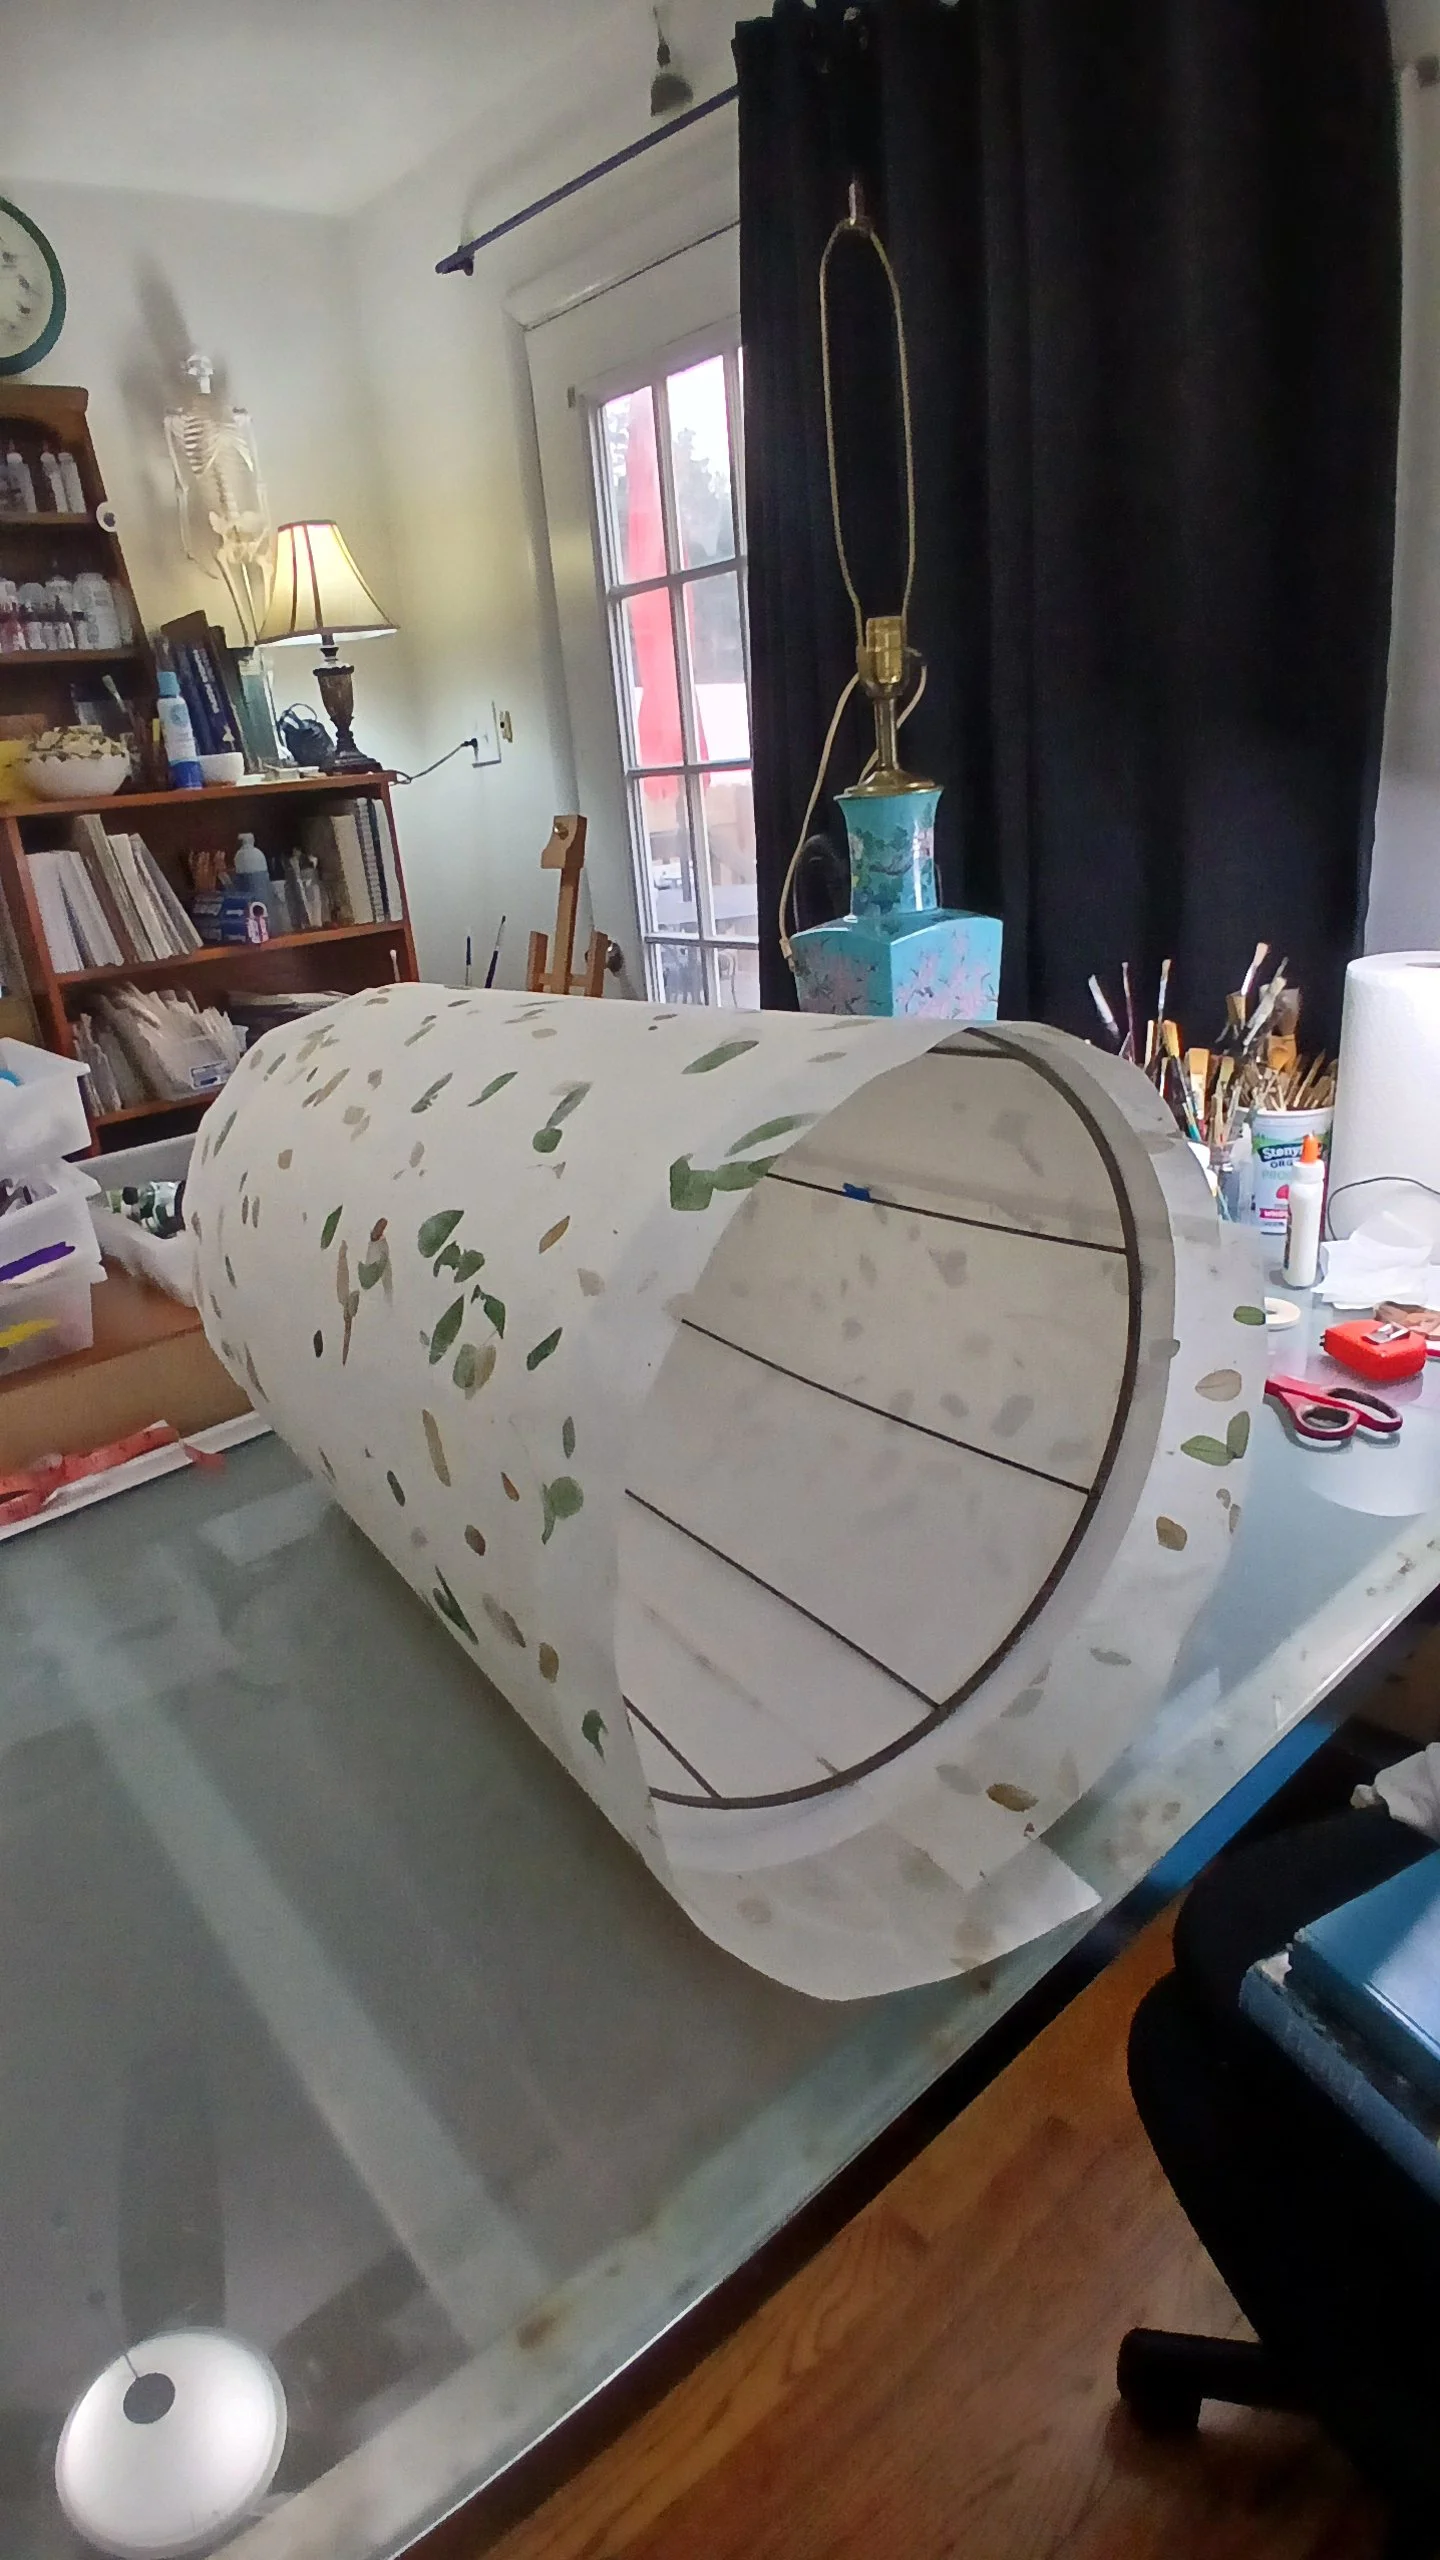
Yayyyyy!
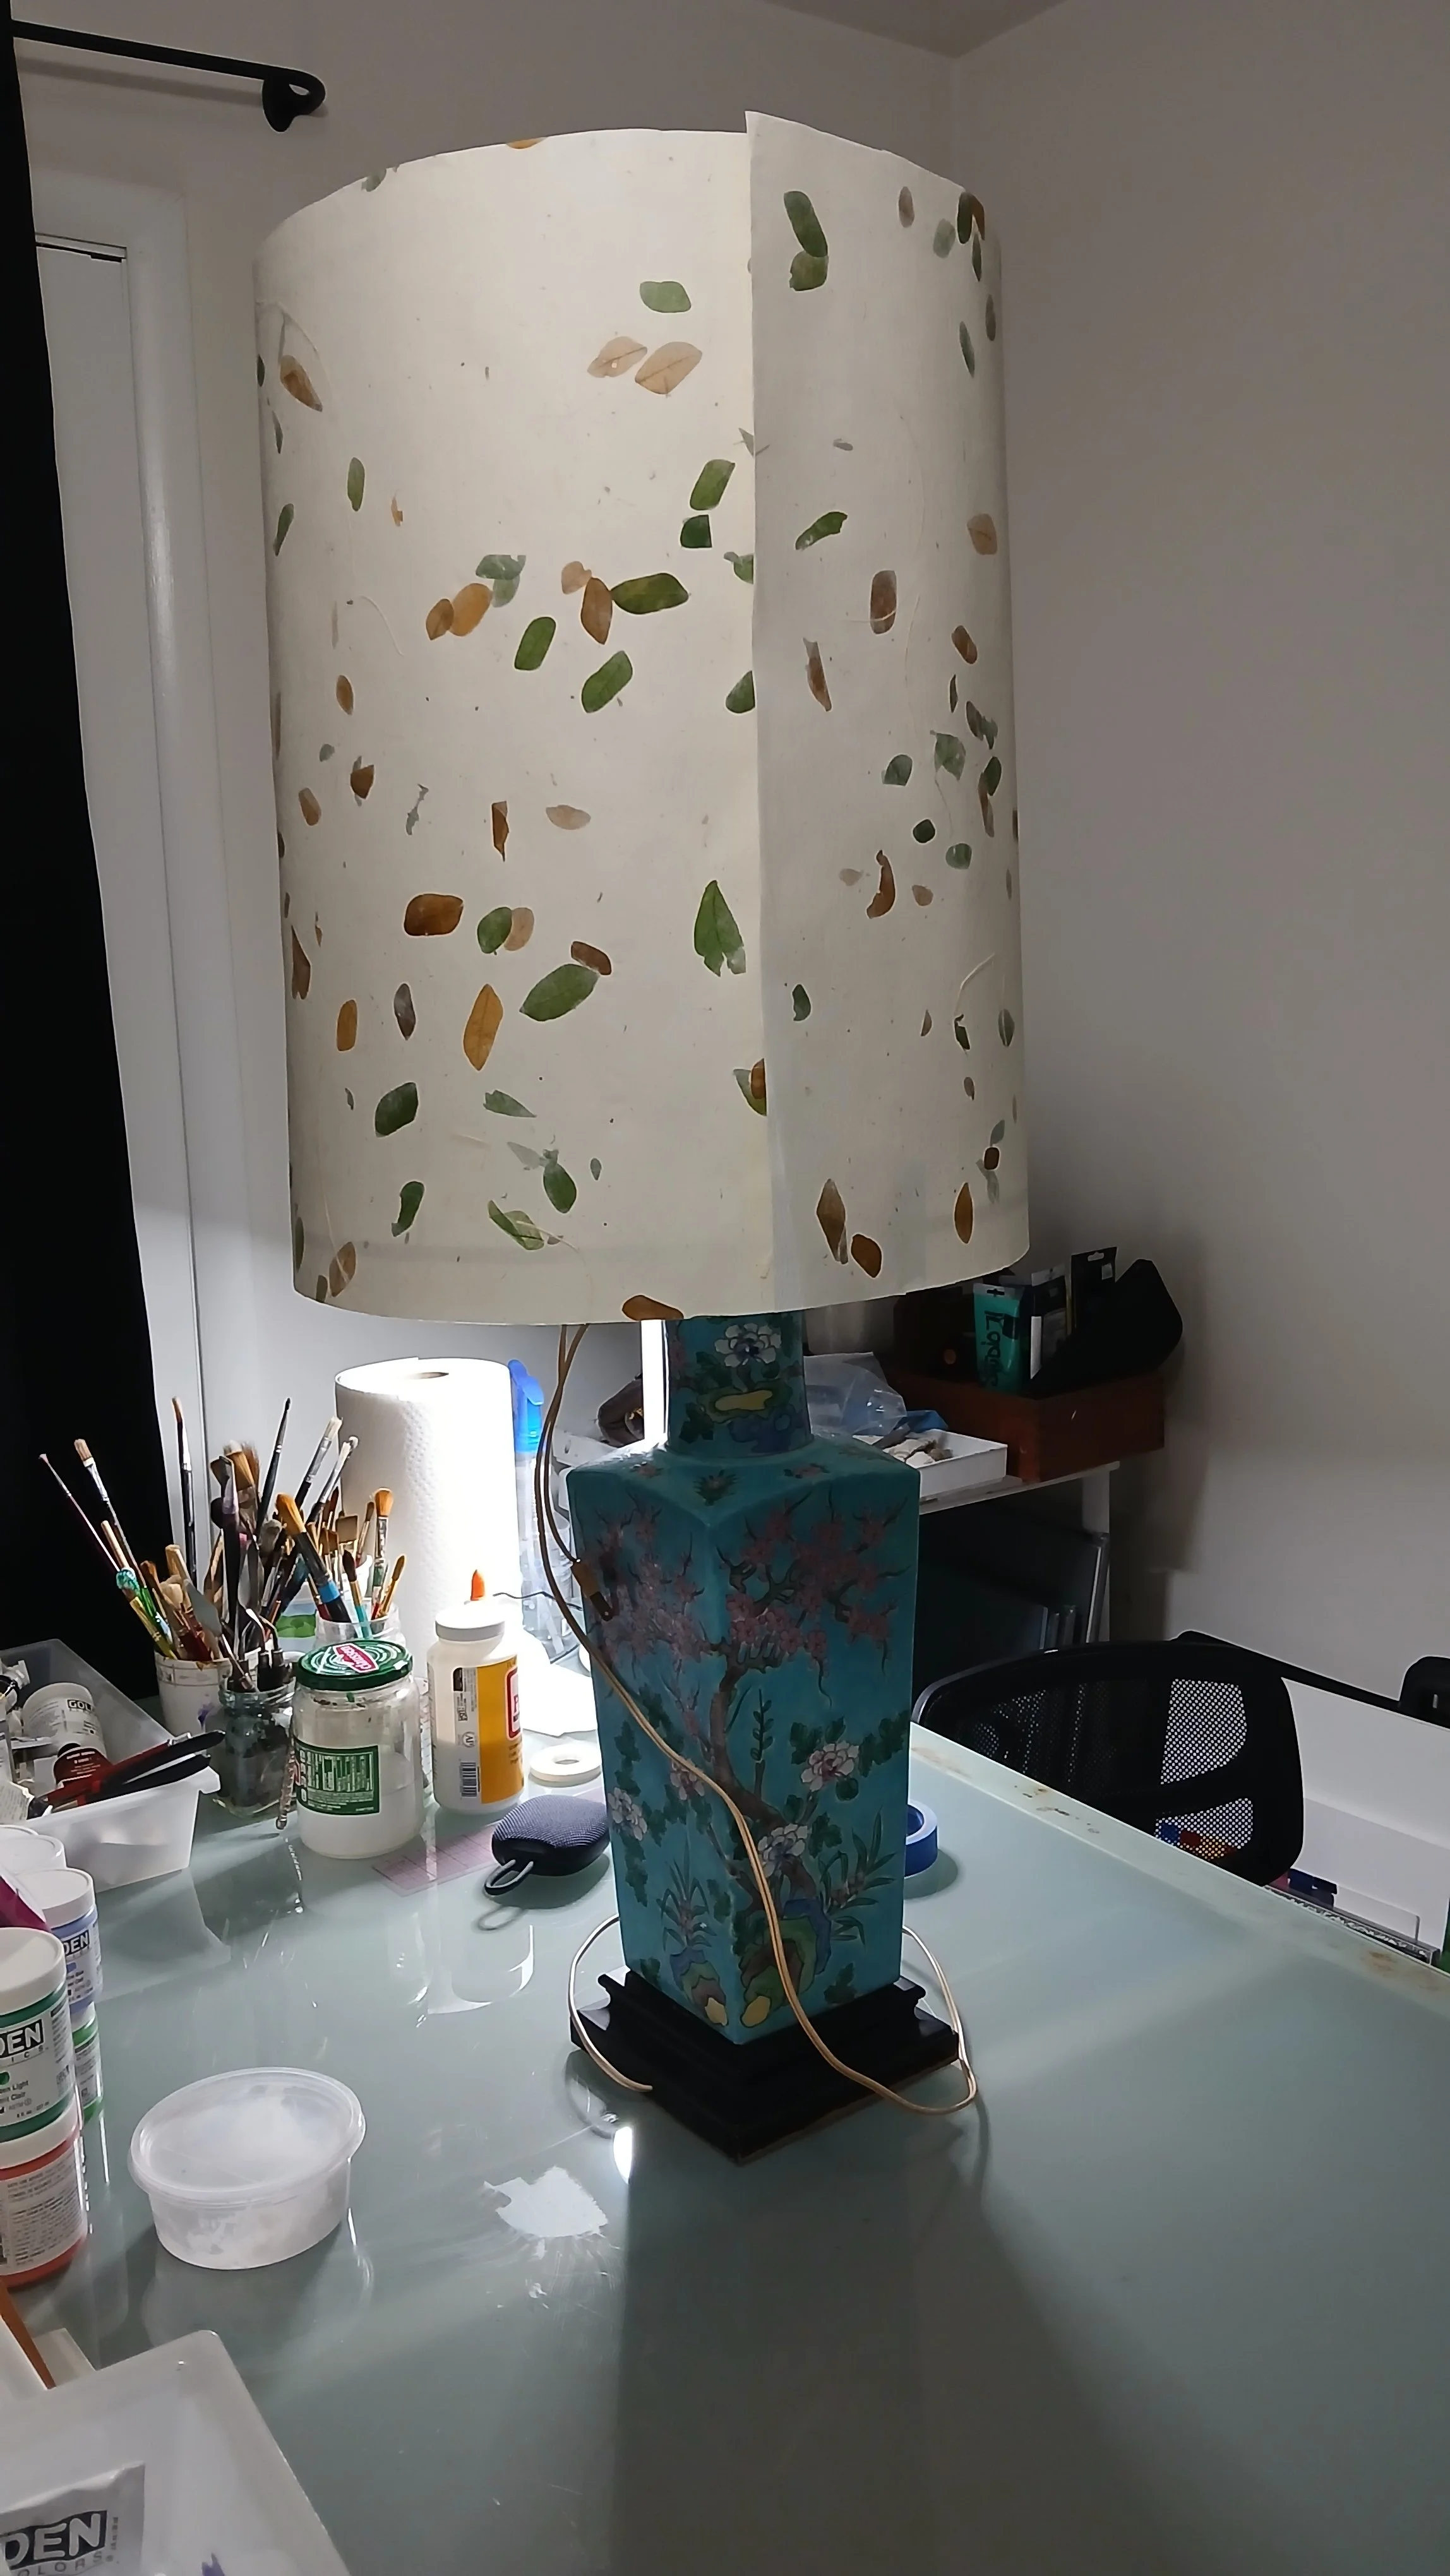
Gluing the shade to the wire frame was definitely the most challenging part of the project. My measurements were correct and everything was aligning, but metal and paper aren’t the best of friends when you’re trying to glue them together. I used clothespins to hold the paper in place when drying.
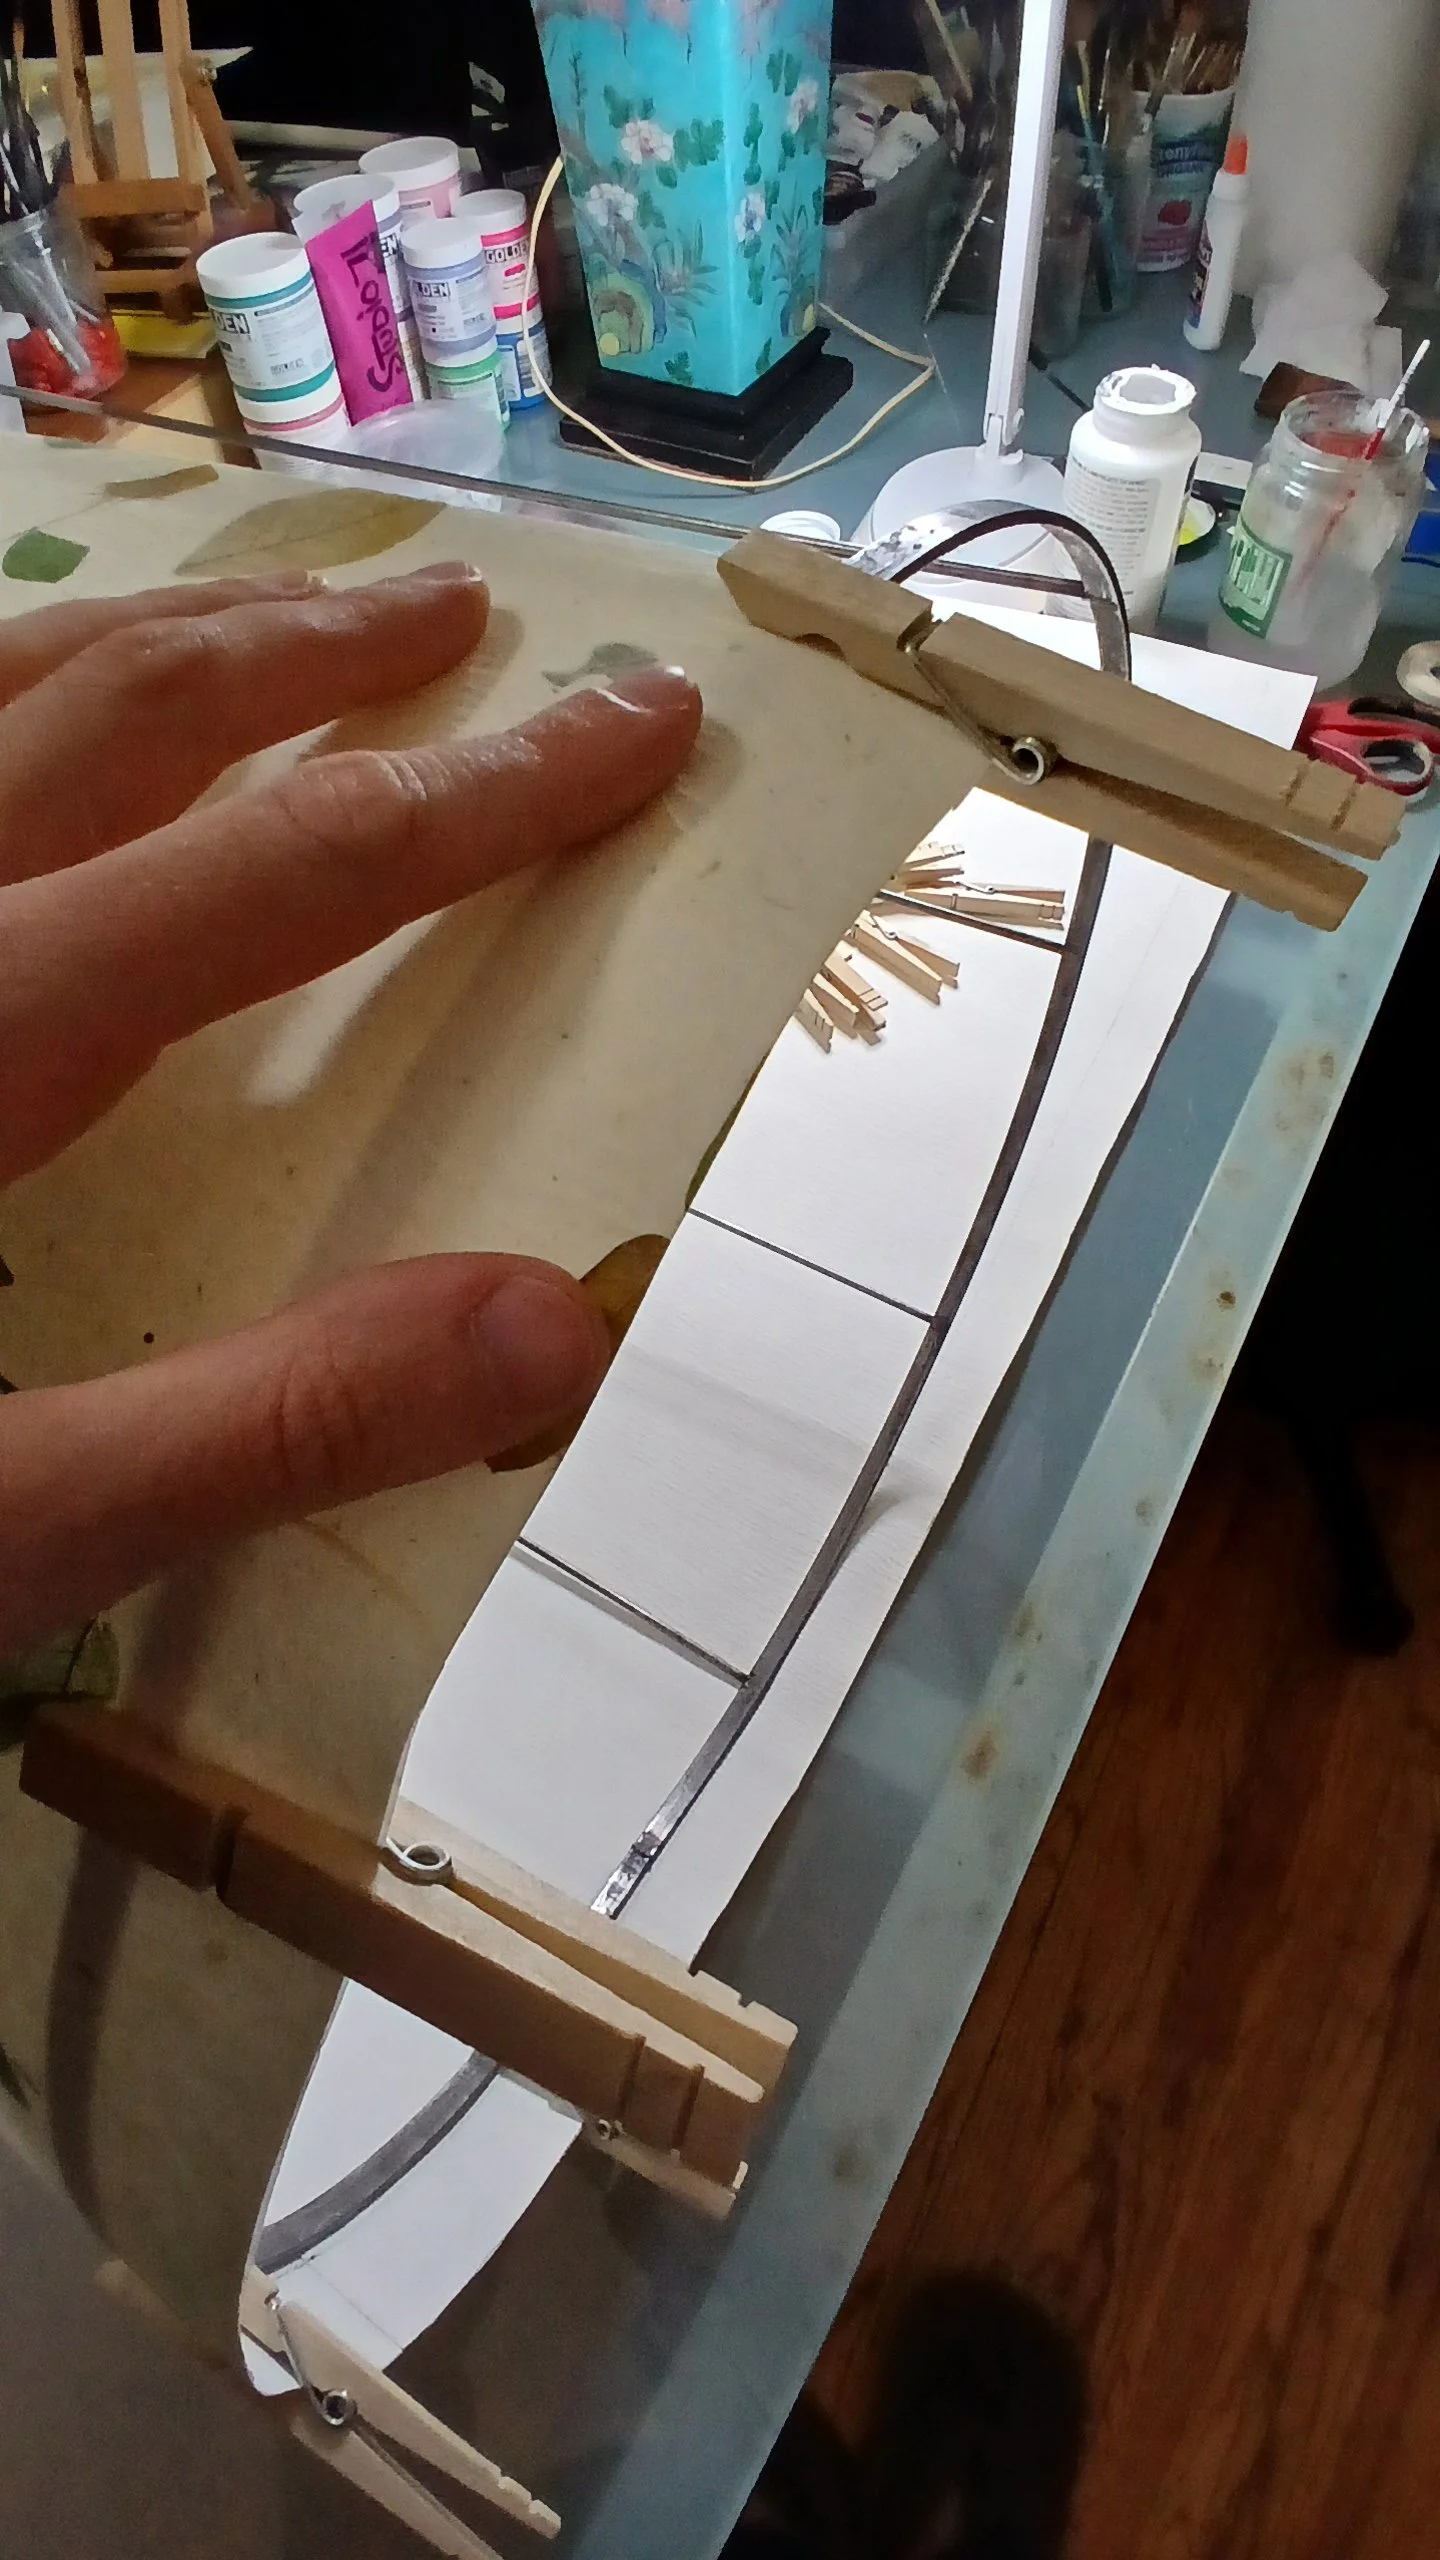
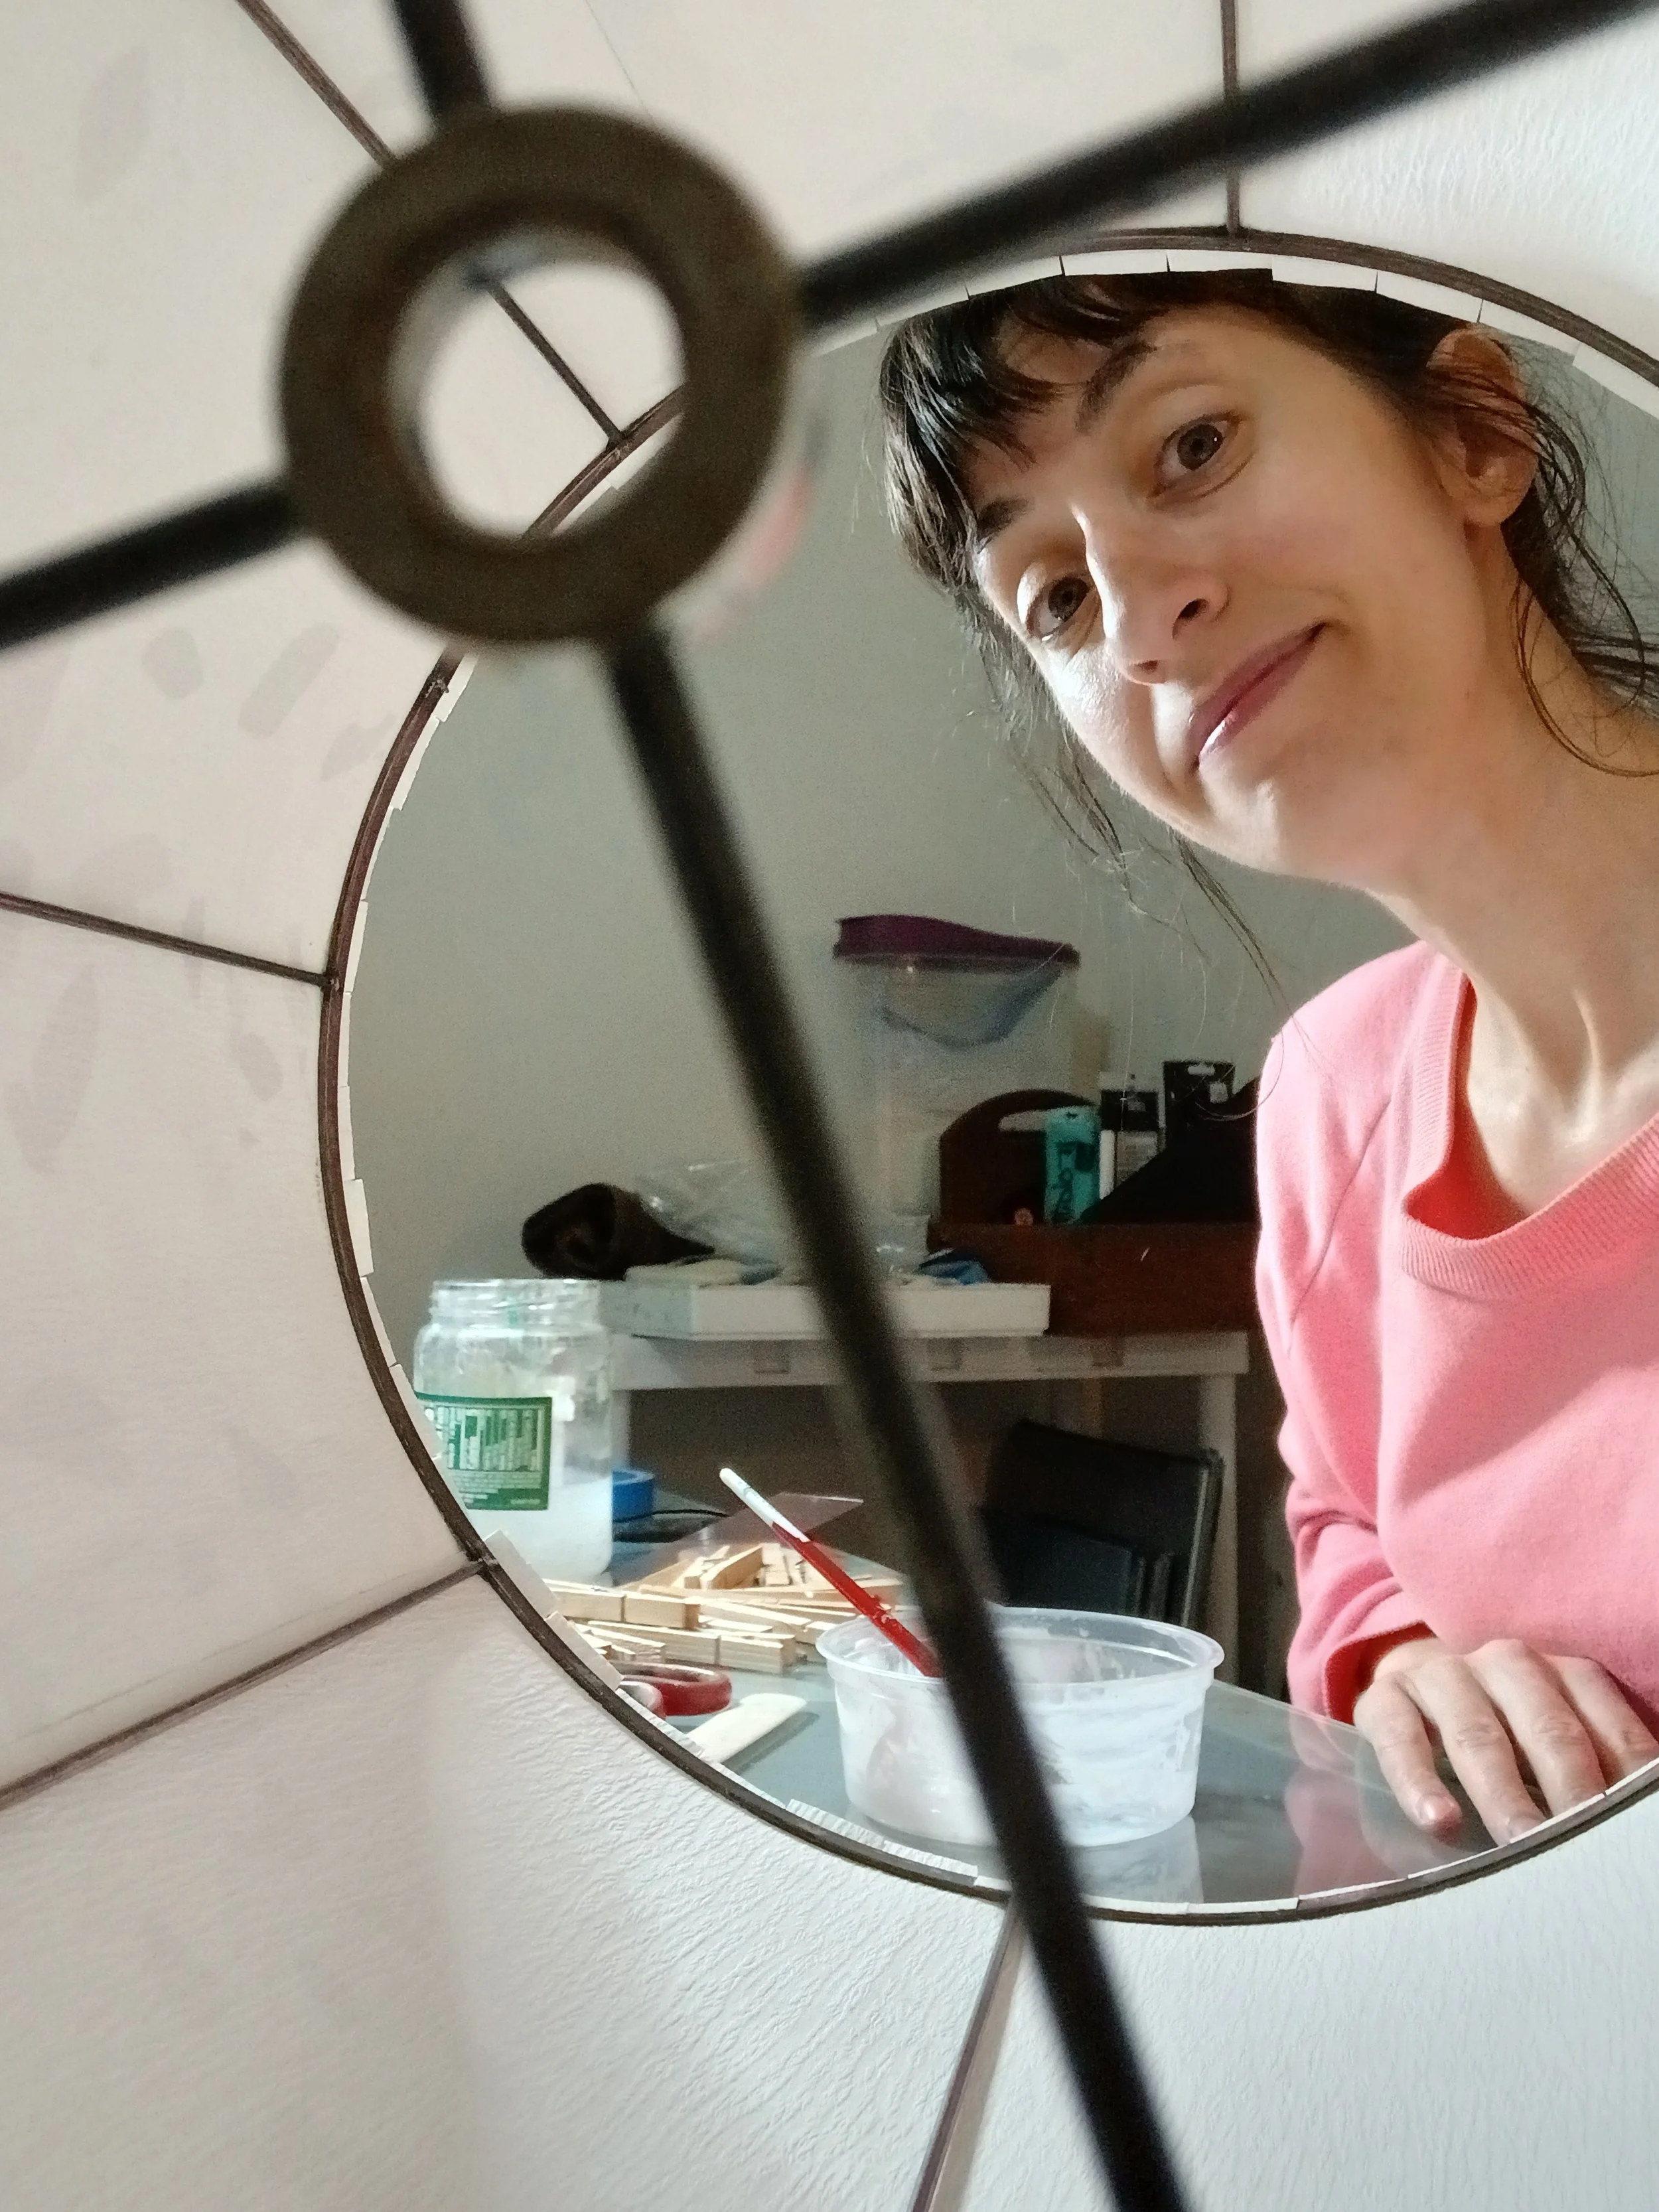
Next: Cutting 1” tabs and gluing them down!
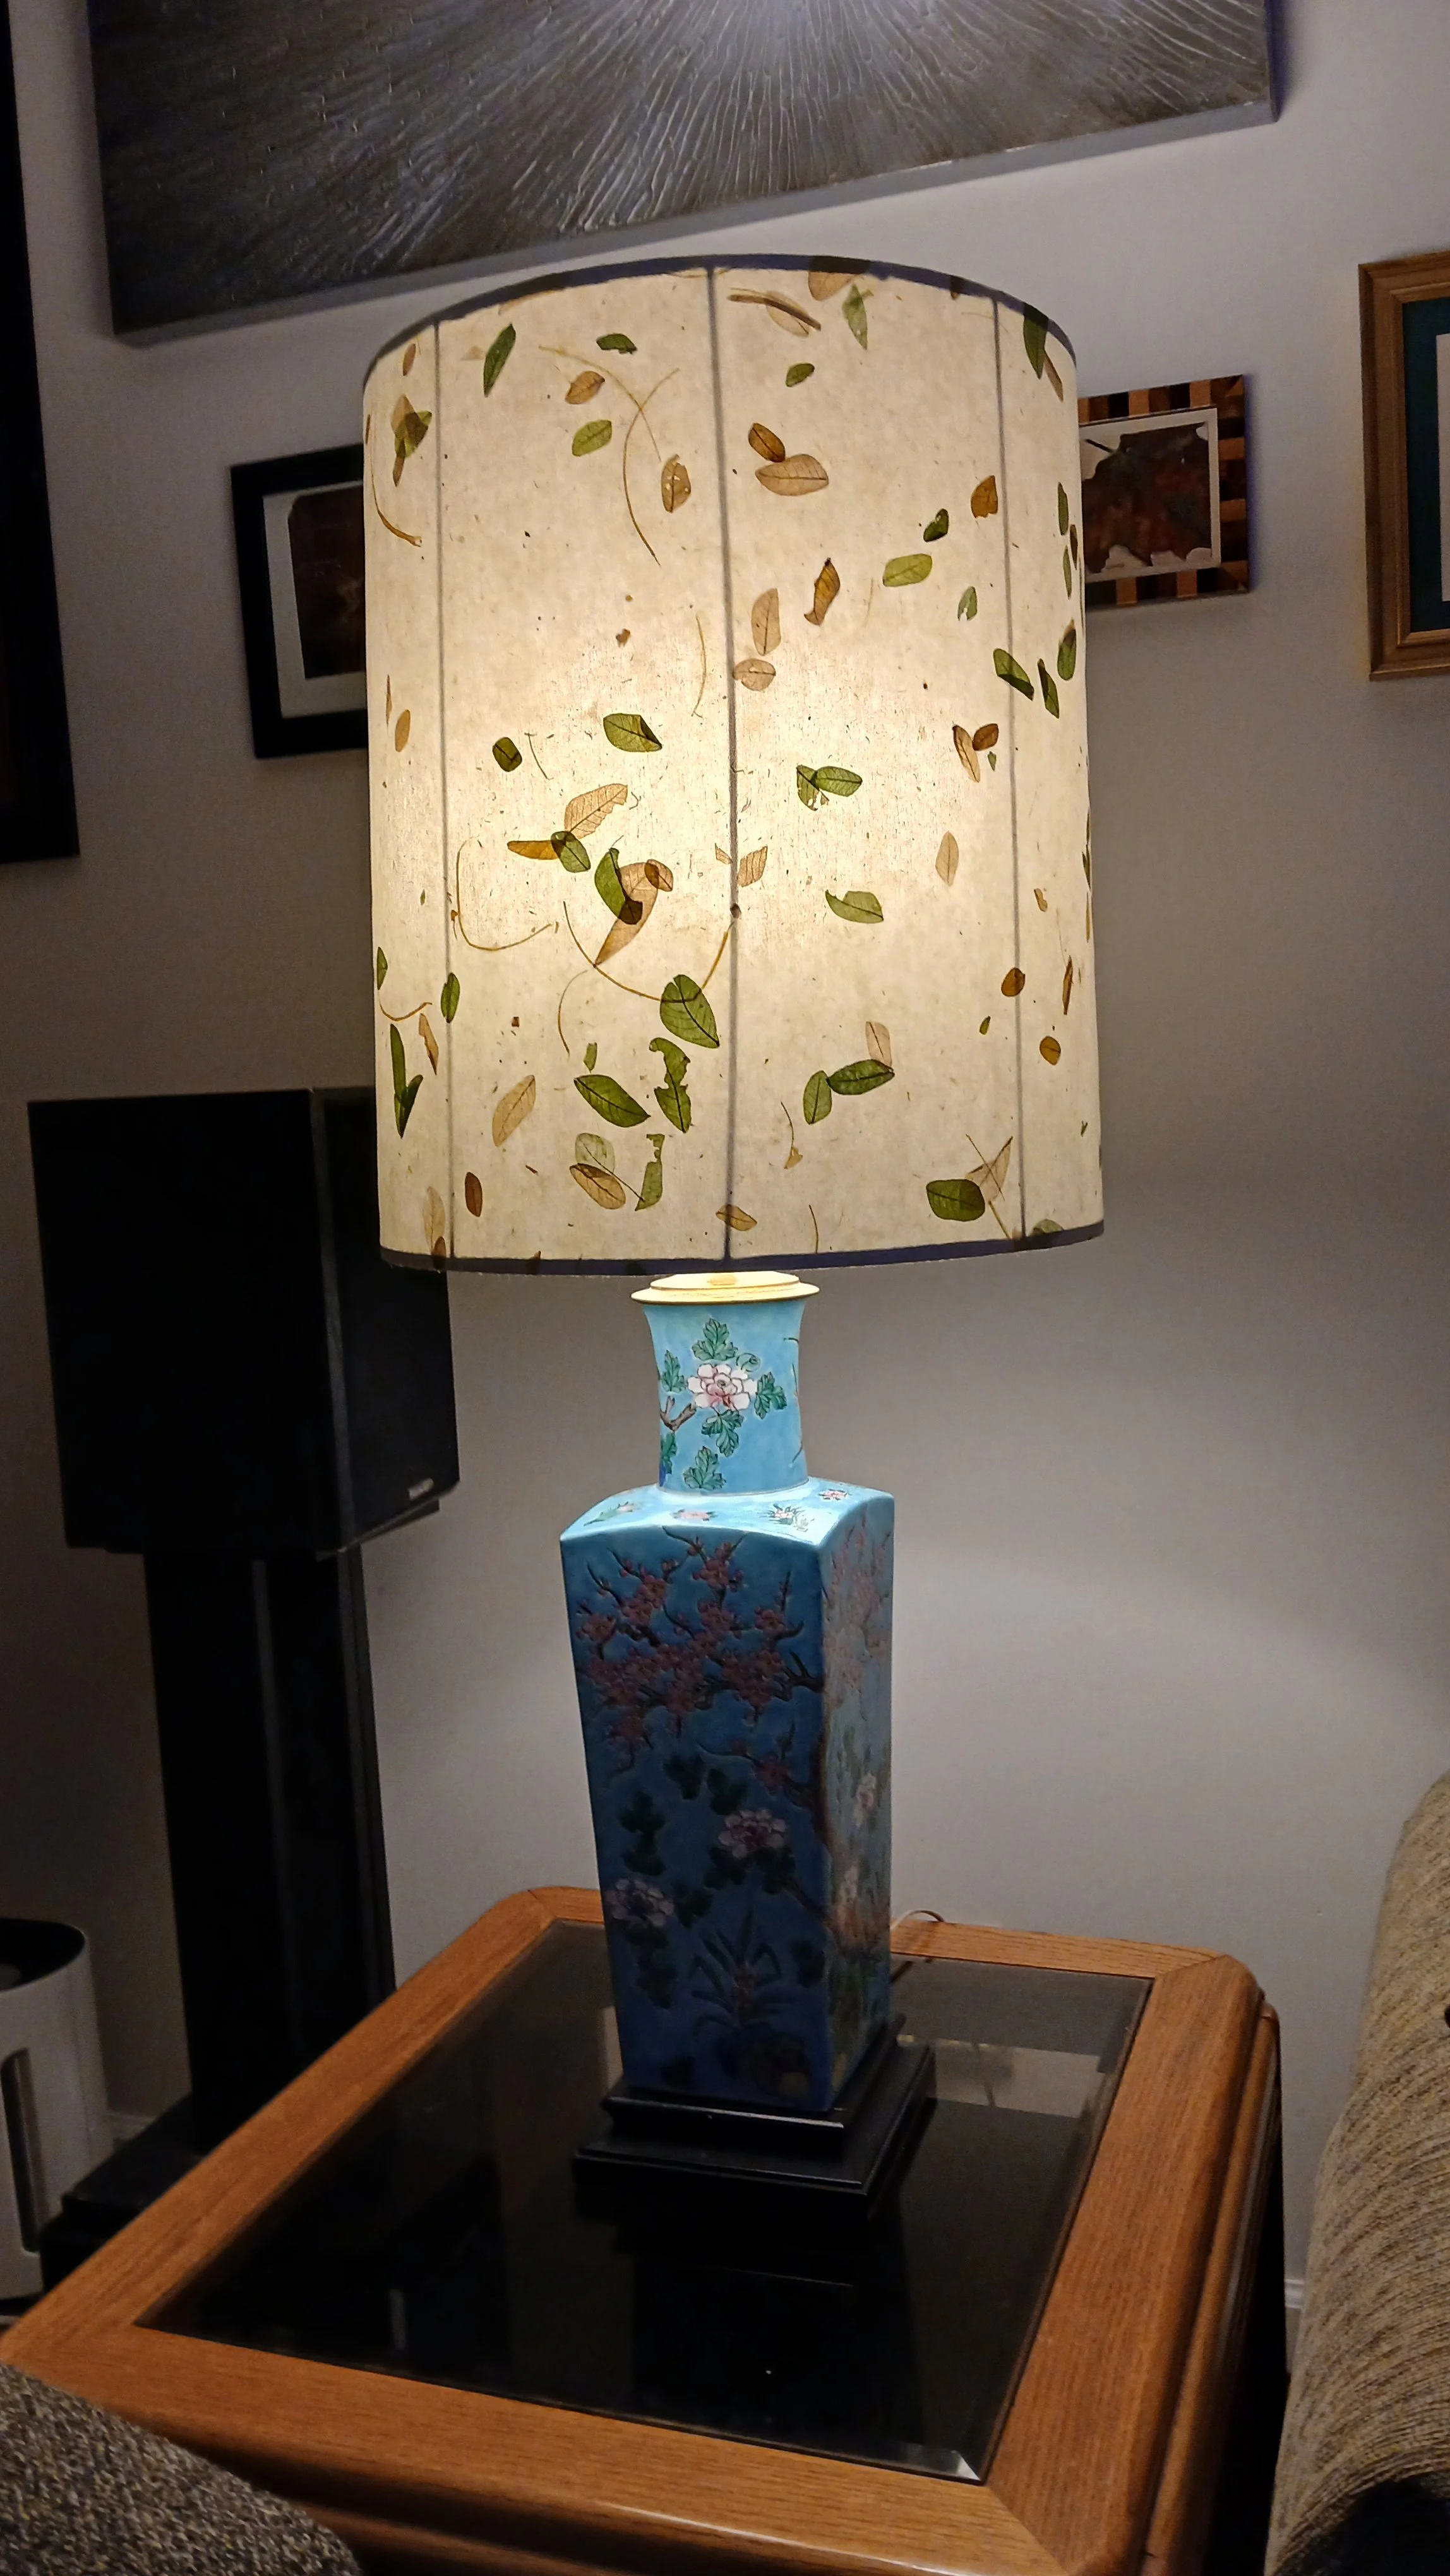
And the lamp is done!
I might go back later and add a strip liner to the top and bottom for a more finished look, but for now, I’m very pleased with the result.
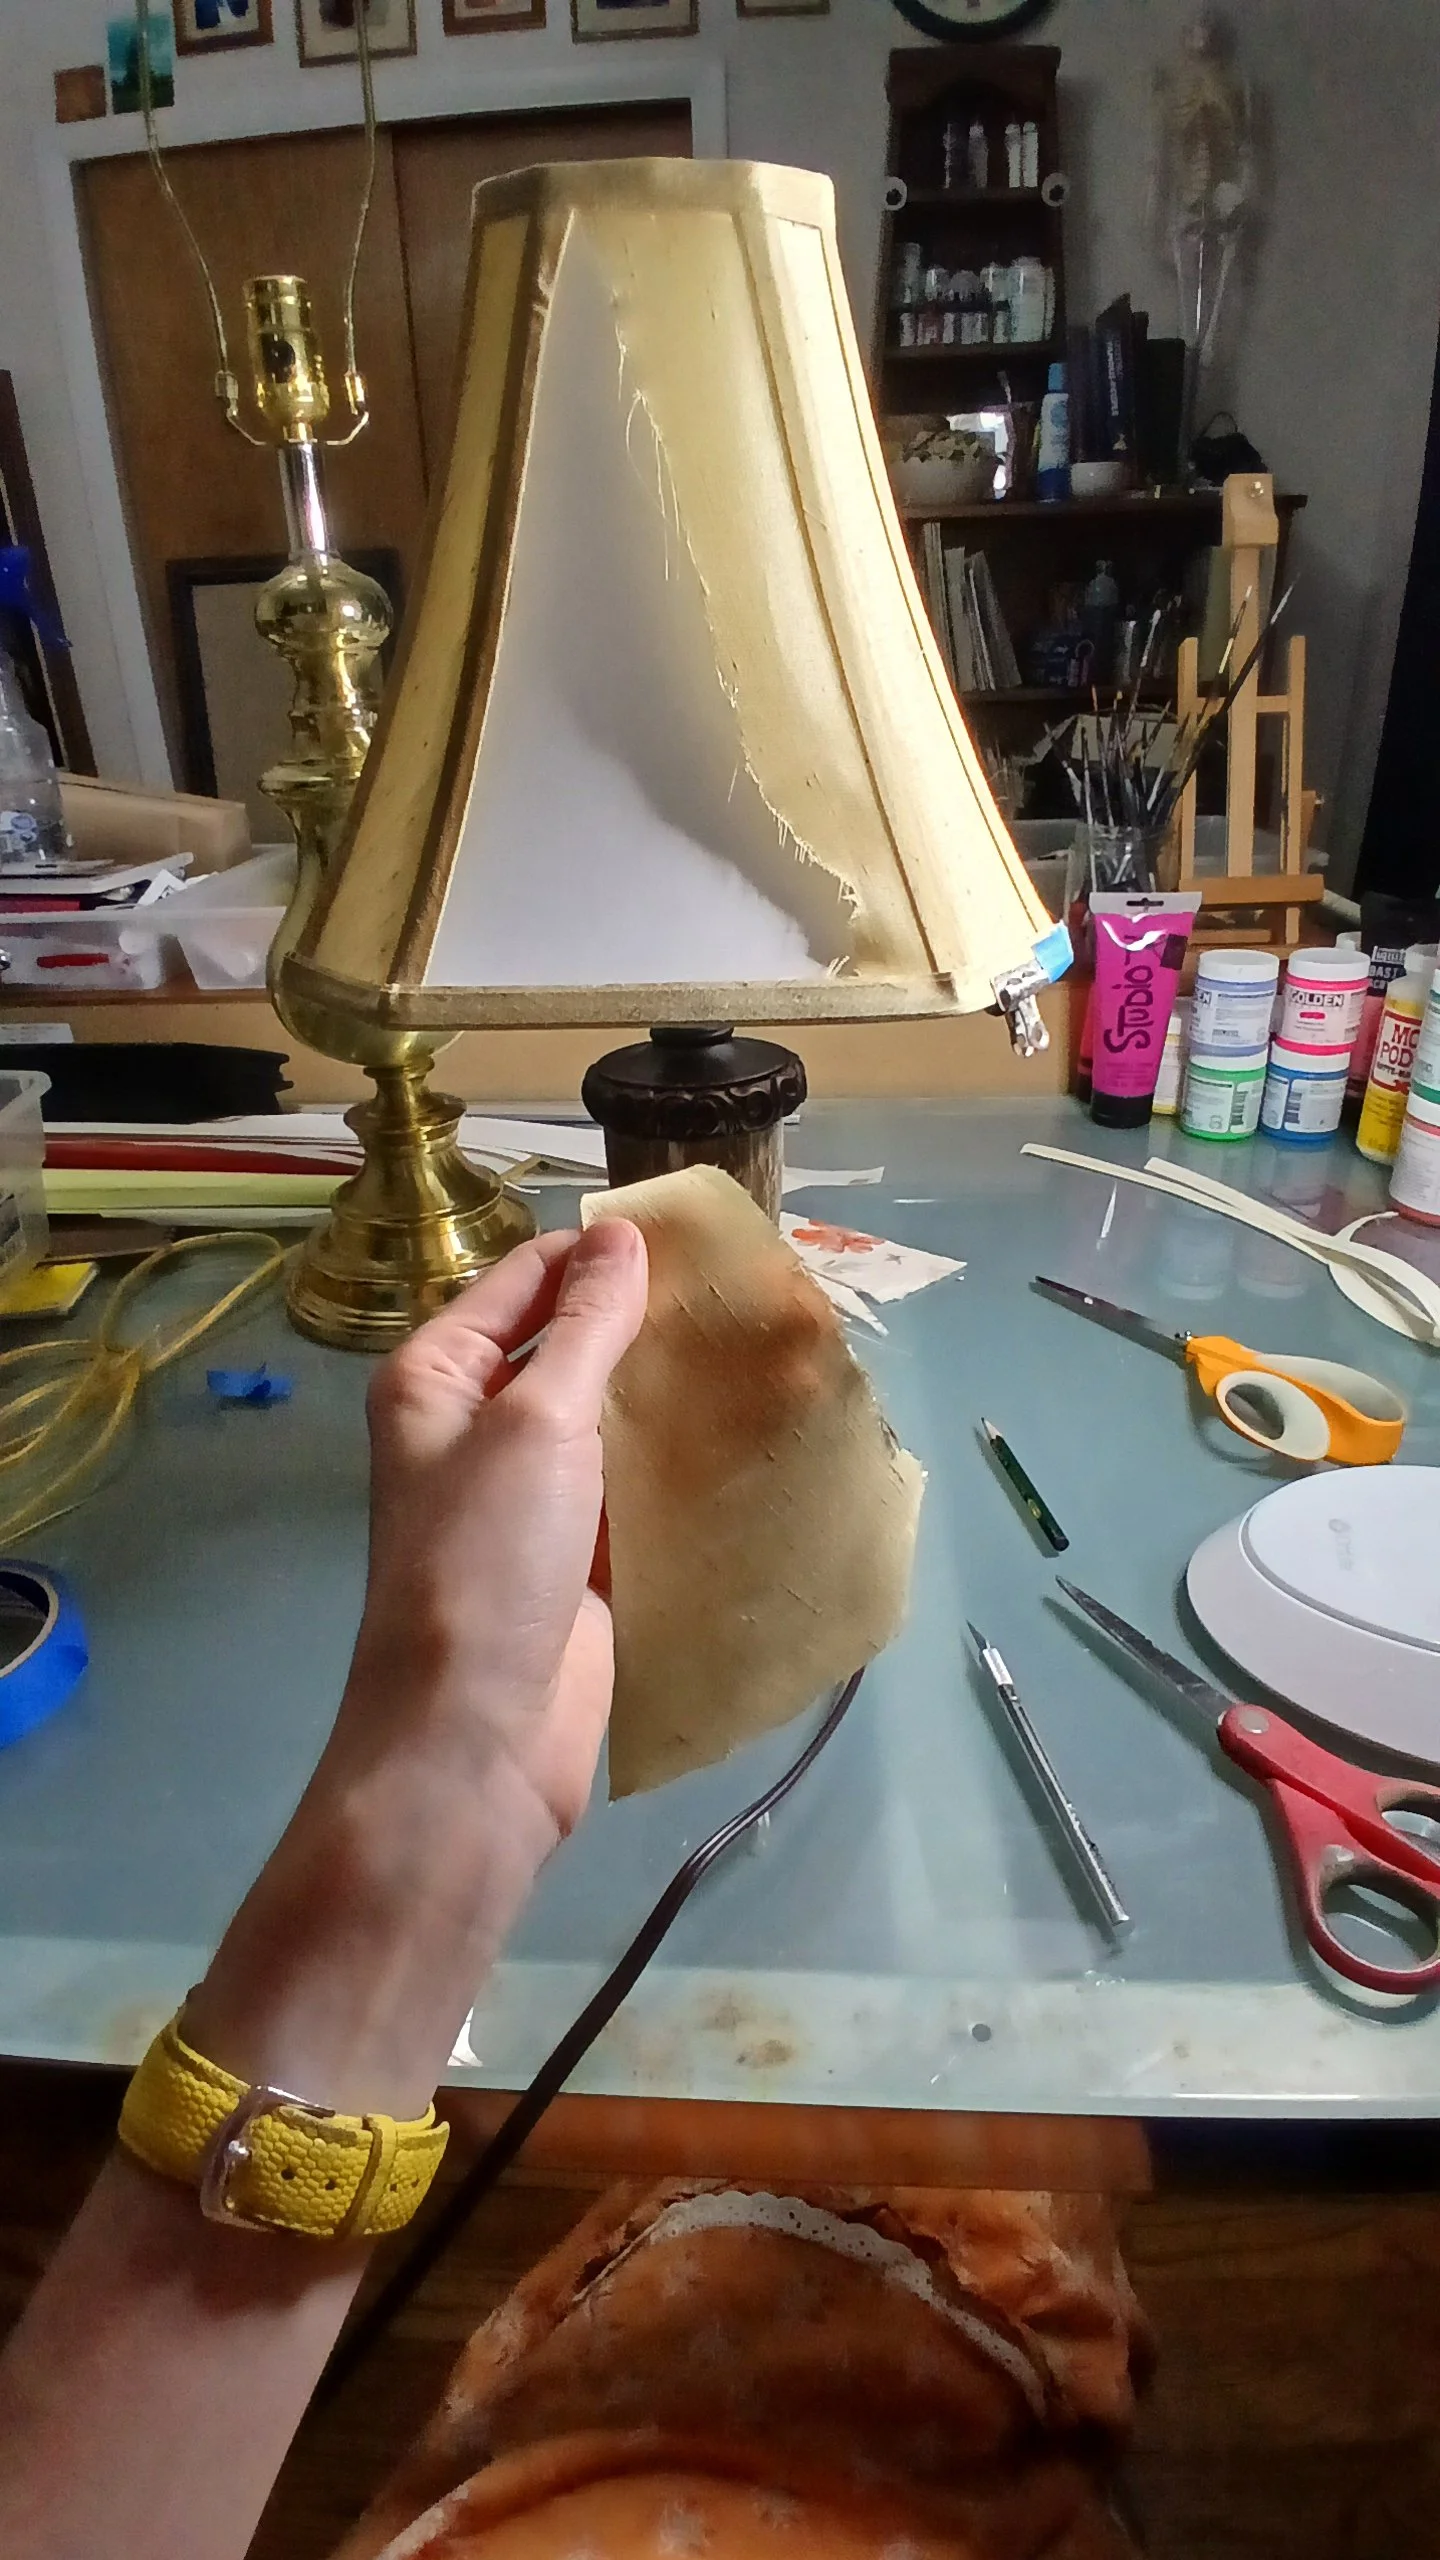
I’m never going to look at lampshades the same way again!
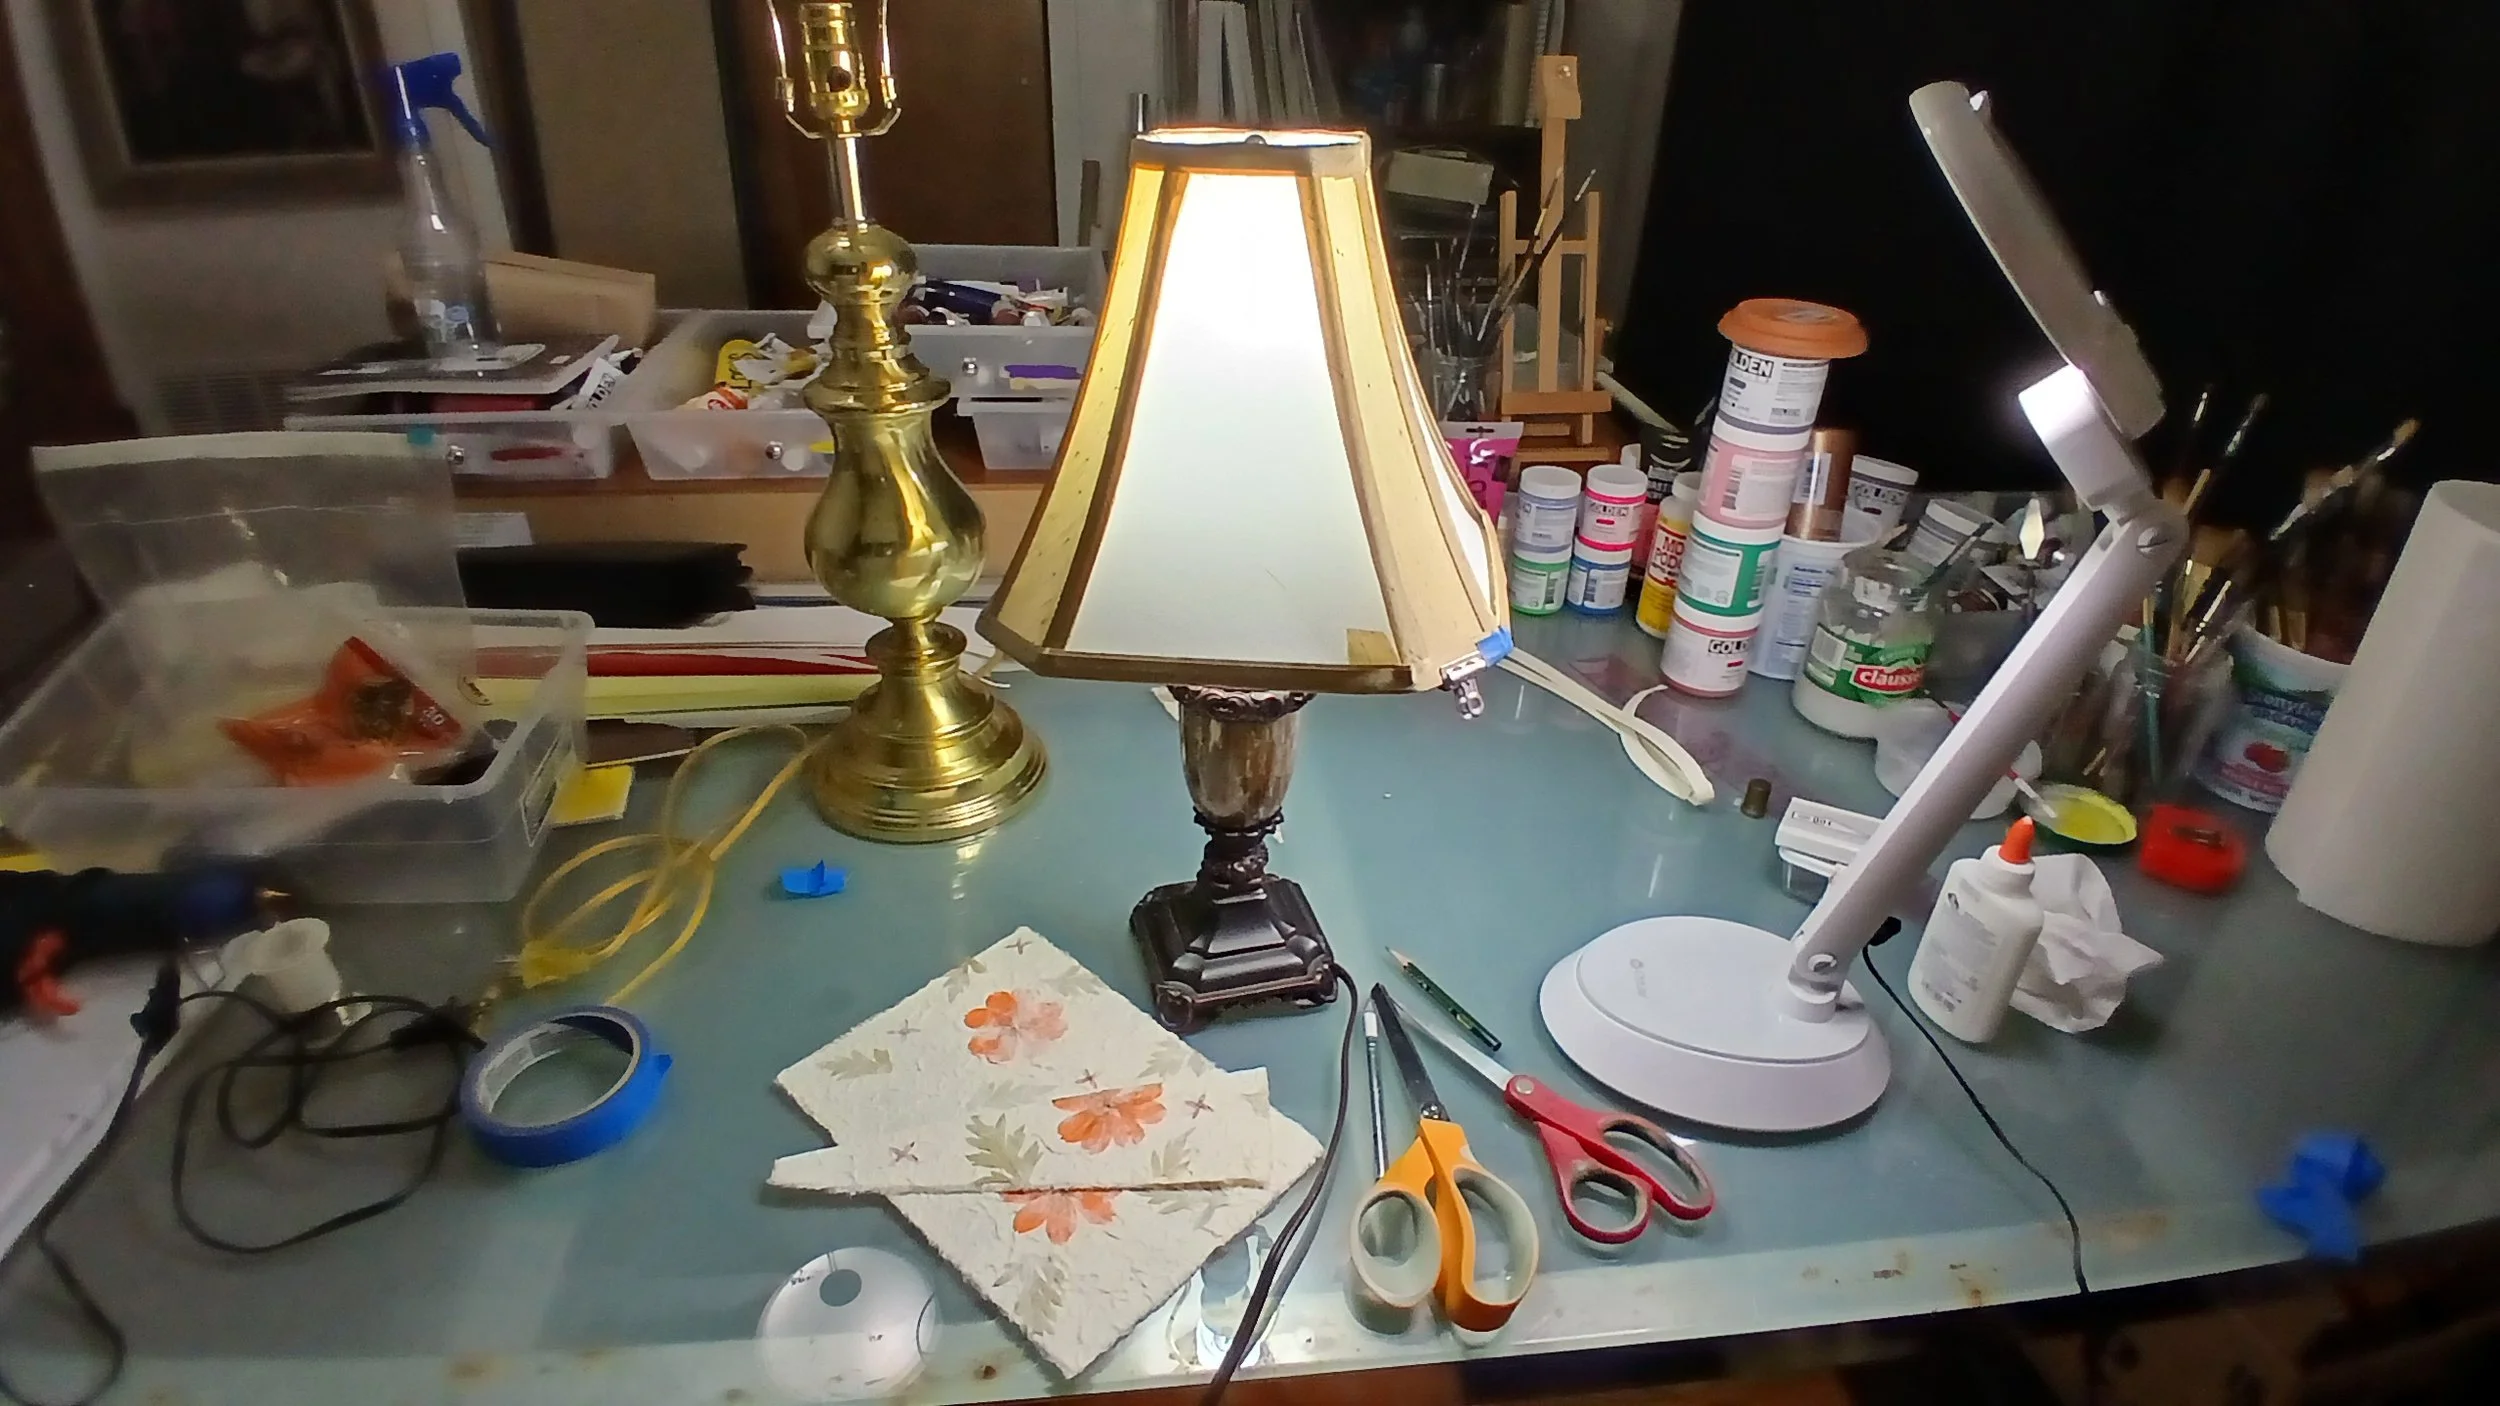
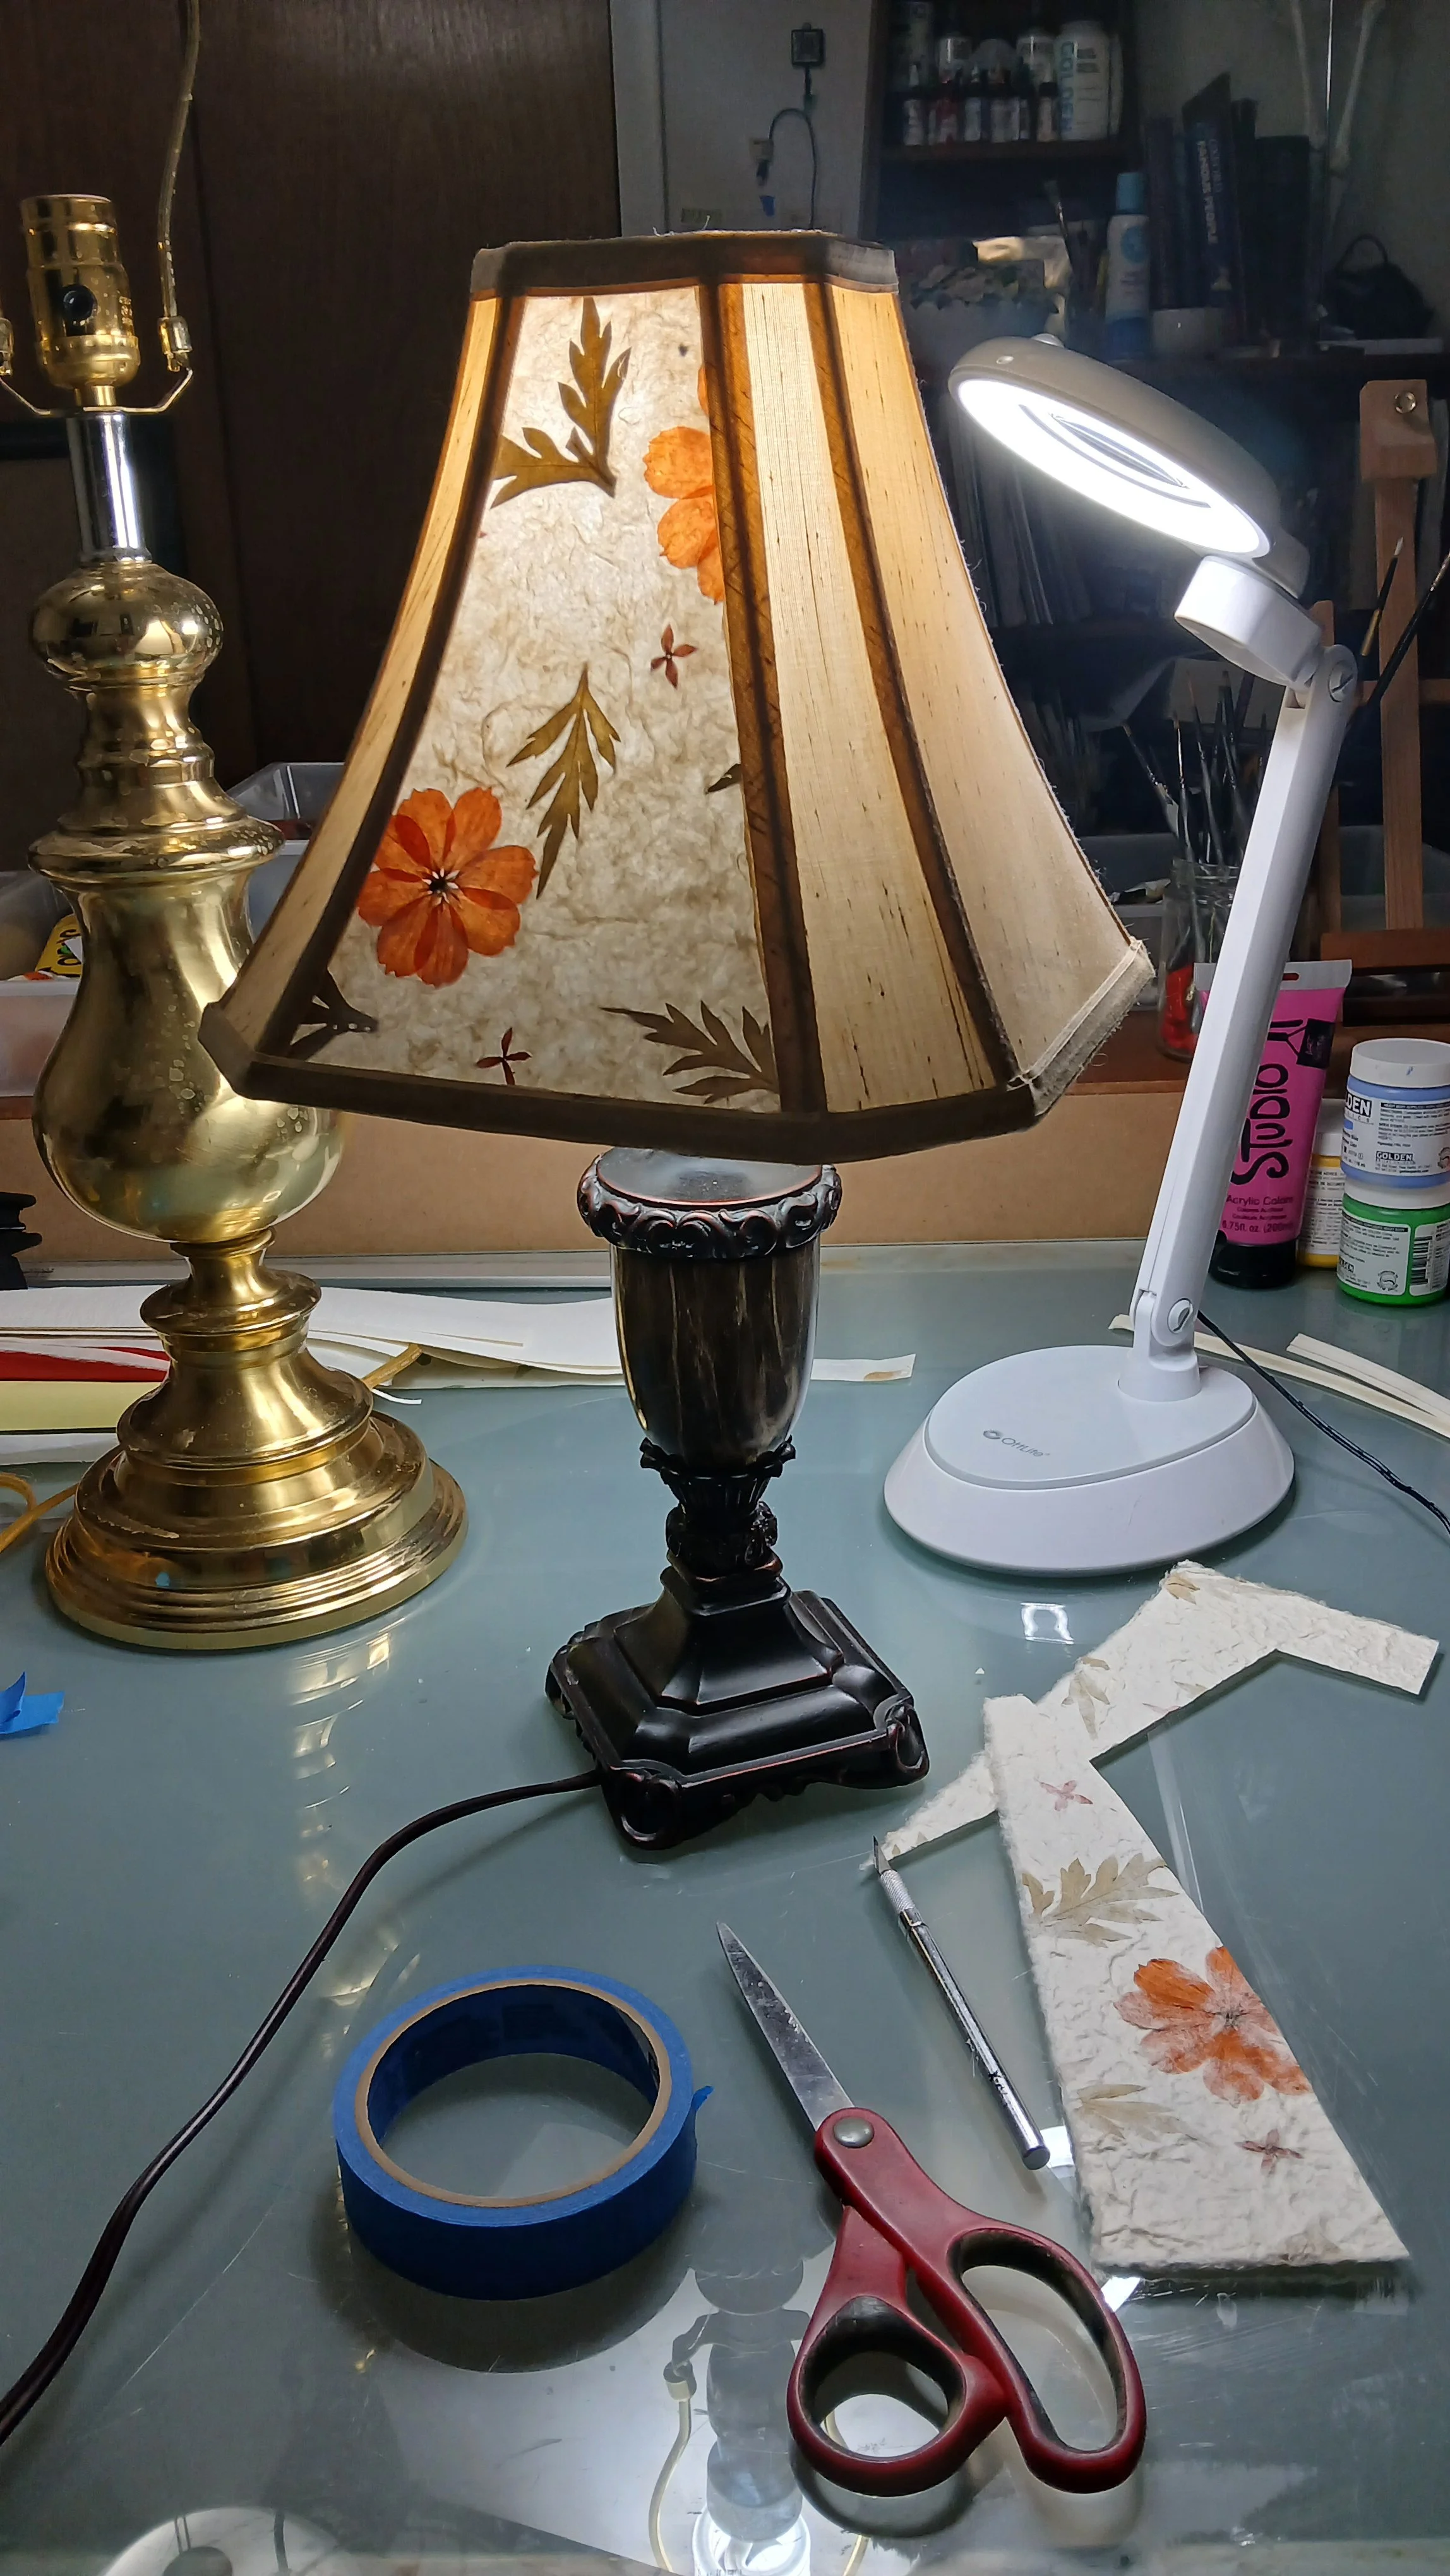
I couldn’t resist altering the little lamp I keep on my studio bookshelf.